How to upload iso files to your proxmox server
In this article, we will go through the necessary steps to add installation disk images (iso and img files) to your proxmox server so that you can use them as installation media for virtual machines and lxc/lxd containers.
First, make sure that you have created and selected the appropriate storage disk - this can be done by opening the proxmox management interface in your browser, selecting Datacenter and proxmox
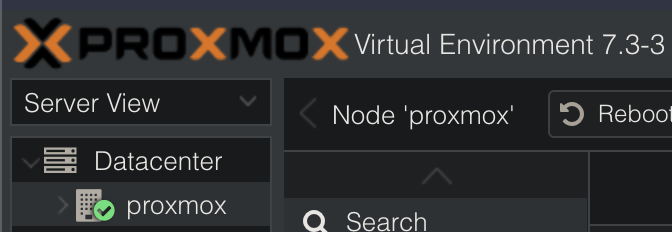
and then Disks and Directory. If you have only 1 drive (not recommended though) you will have a local disk directory already setup, as indicated by the four disks stacked on top of each other in the UI. This can be found under Datacenter > proxmox > local .


I will demonstrate the steps necessary to upload an iso disk image using proxmox 7.3.3, but later versions should have a similar setup.
The next step is to click on the respective disk that you want to select and upload the iso/img file to - in my case local.
Once that is done a new vertical navigation bar will appear, like the one below:
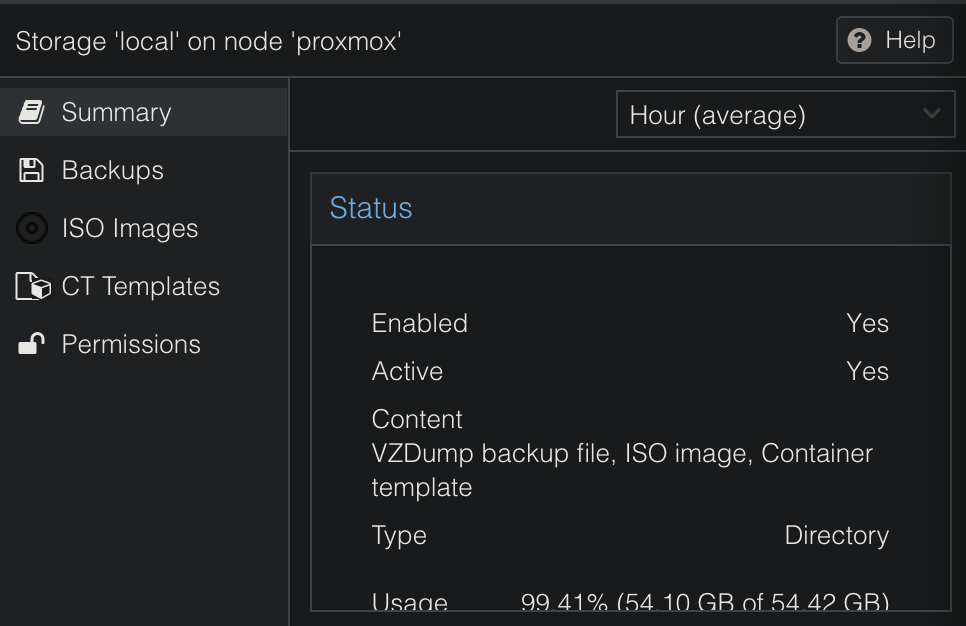
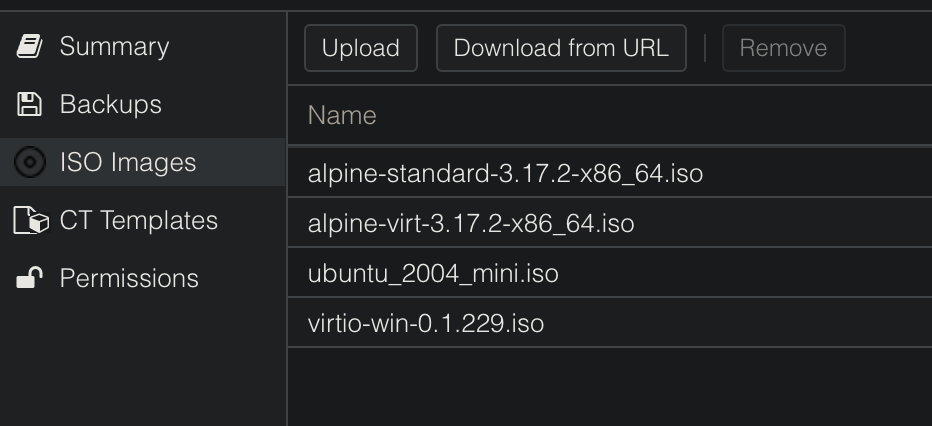
In this bar you need to select ISO Images which will contain our disk images. These can be uploaded from your computer via the Upload button or with Download from URL button.
Please note that there is a size limit for proxmox upload functionality - it is around ~2 GB depending on your specific instance. If you hit that limit your proxmox will show you a popup with the error code 0:
"Error code: 0" or "Upload failed with code 0"