Setting Up Wazuh as Your SIEM on Debian 12 & Proxmox: A Step-by-Step Guide
Welcome to the SIEM Homelab Series - We will walk through the process of installing your very own instance of Wazuh as a Security Information and Event Management System (SIEM).
If you want to do threat research or learn more about the ins and outs of security monitoring it is time to start your own home lab.
Getting started
We will use a plain Debian image (iso) which you can download from: https://cdimage.debian.org/debian-cd/current/amd64/iso-dvd/. Make sure that the SHA256 or SHA512 hash of the file you downloaded matches the original one. You can see the expected hash in this file: https://cdimage.debian.org/debian-cd/current/amd64/iso-dvd/SHA256SUMS
# add the correct filename
sha256sum <debian-12.1.0-amd64-DVD-1.iso>
Setting up the virtual machine on proxmox
Once that is done and the iso is added to proxmox (if you want to learn how to do that: https://maikroservice.com/how-to-upload-iso-files-to-your-proxmox-server) you can create a new virtual machine with the blue button in the top right corner of your proxmox interface.

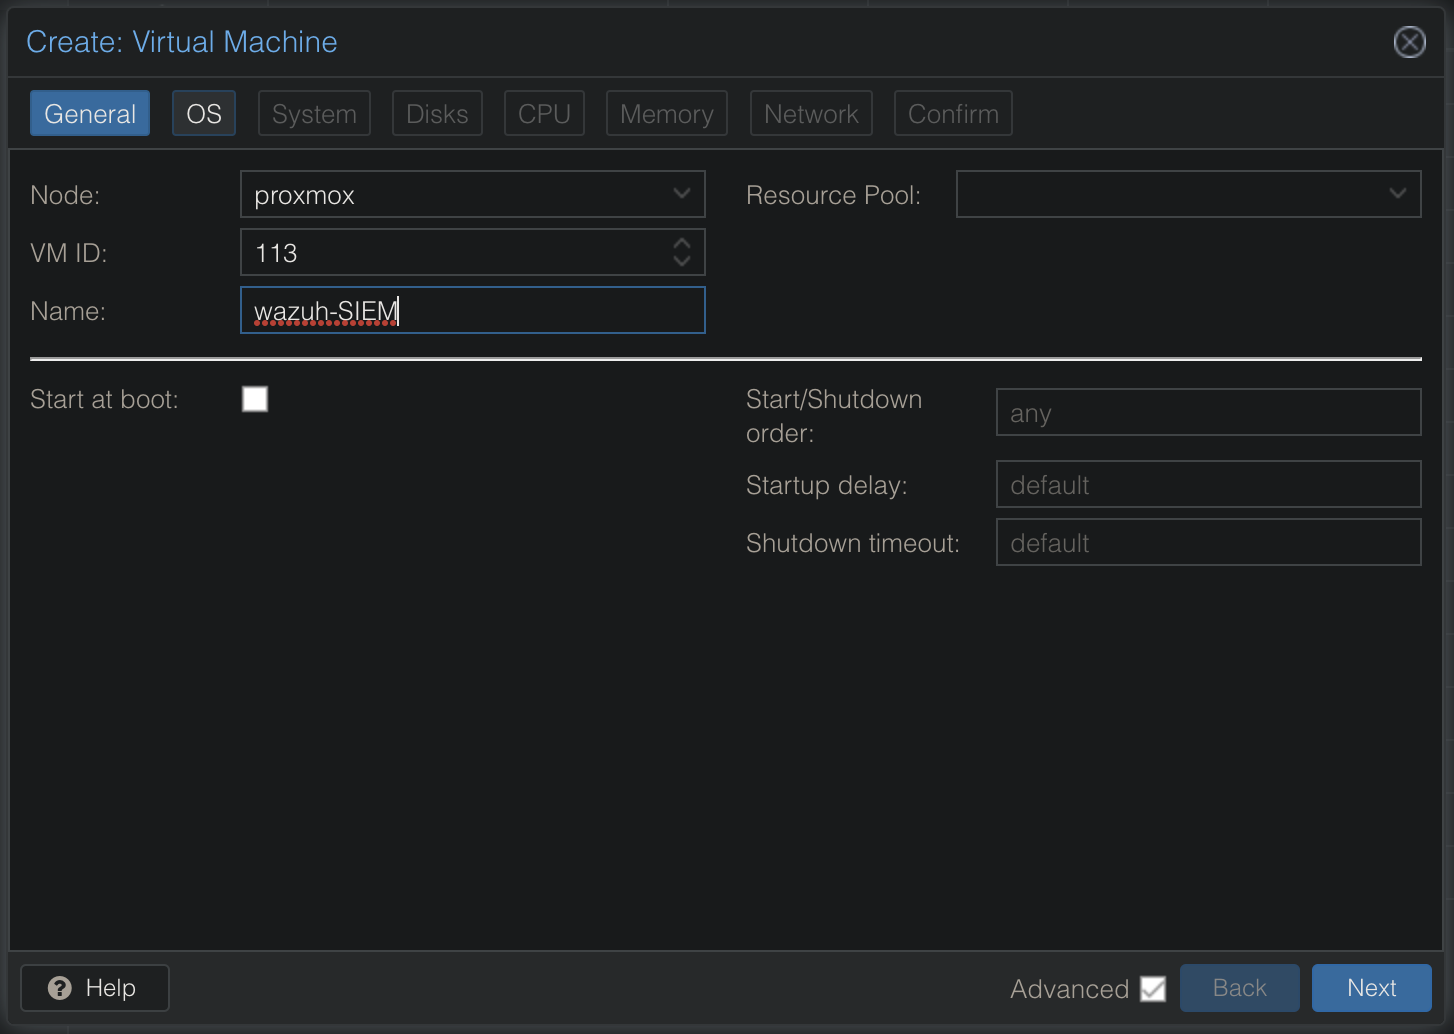
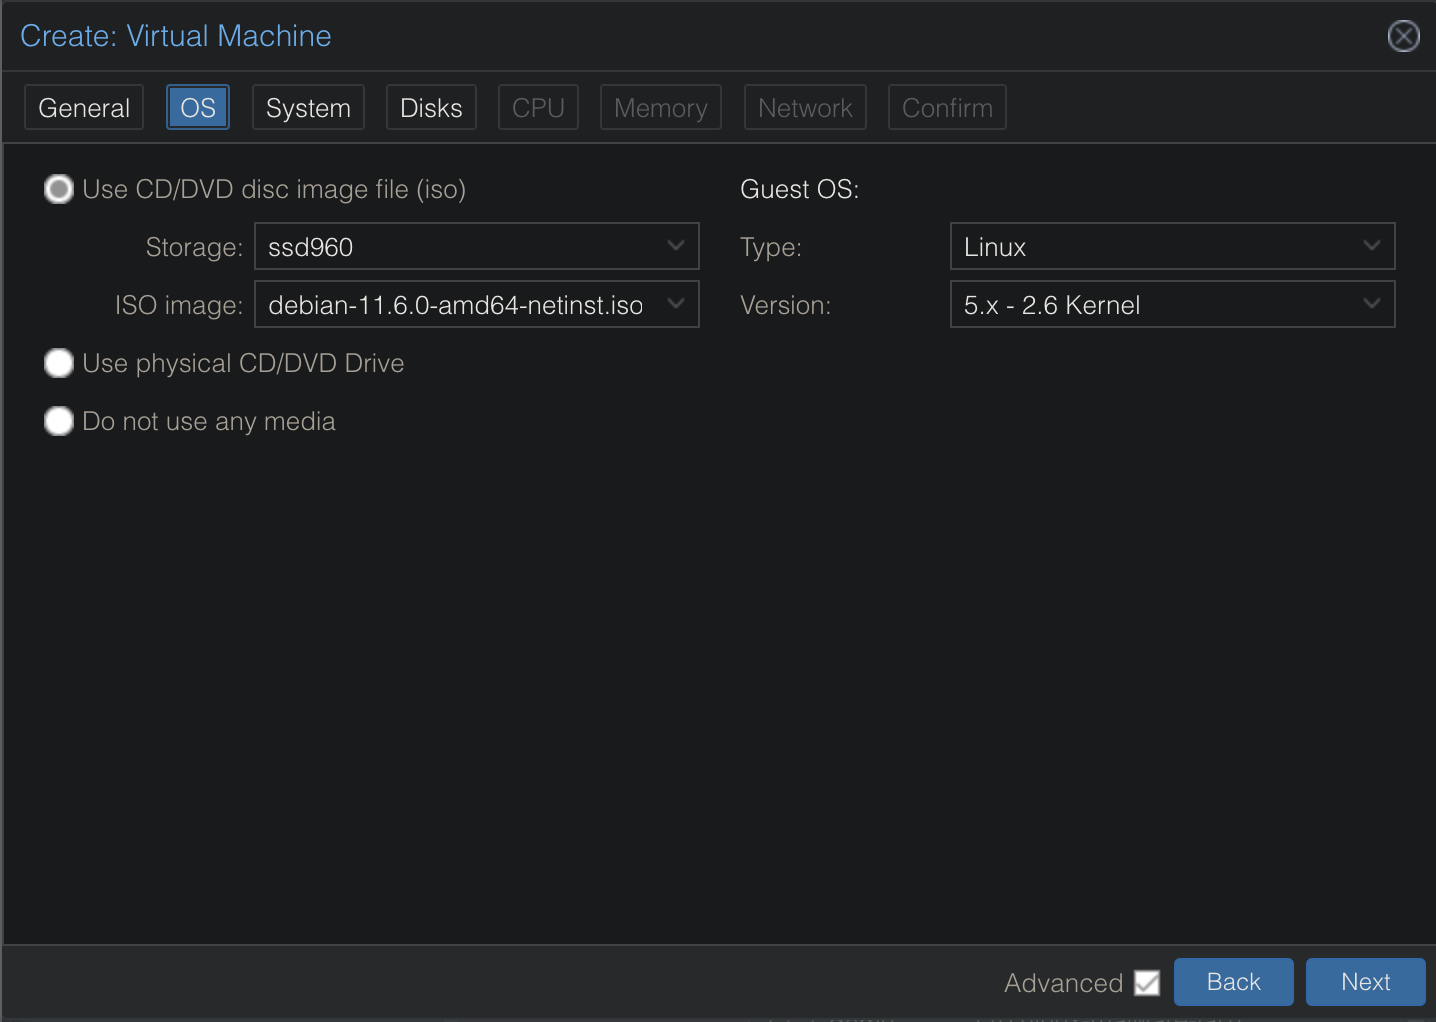
Now give it a name and click "Next", in the next window select the operating system that you want to use for the wazuh machine - we use Debian 11/12 and click "Next".
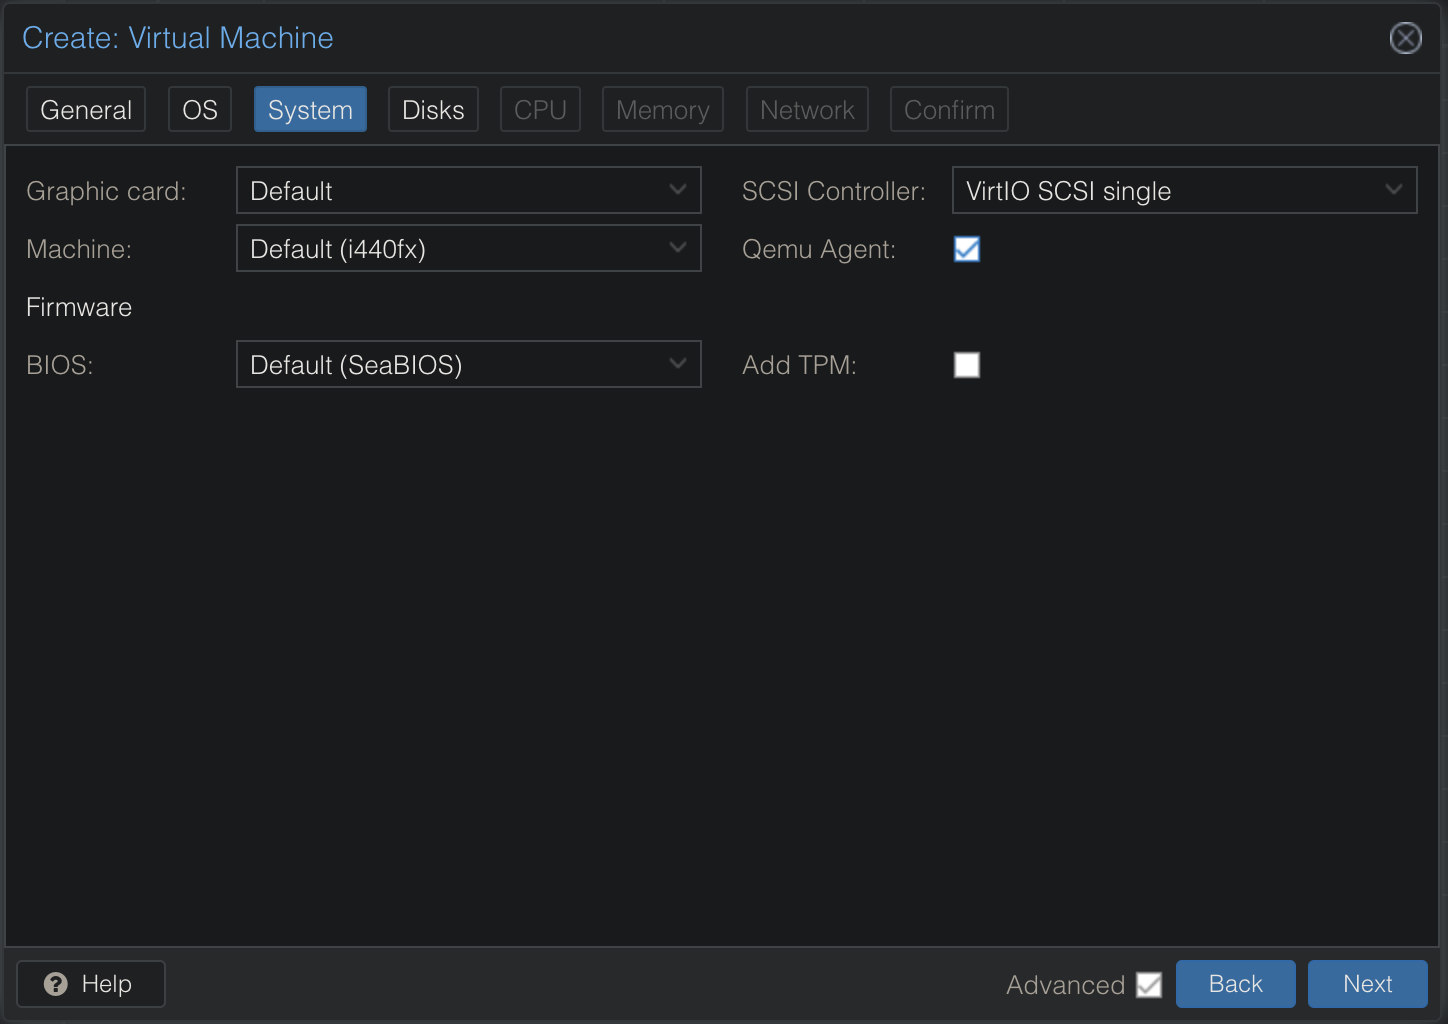
In the System window select the Qemu Agent checkbox, and leave the rest as it is.
Next up we need to decide how much power our SIEM server needs. The documentation recommends the numbers below but we will adjust them slightly.
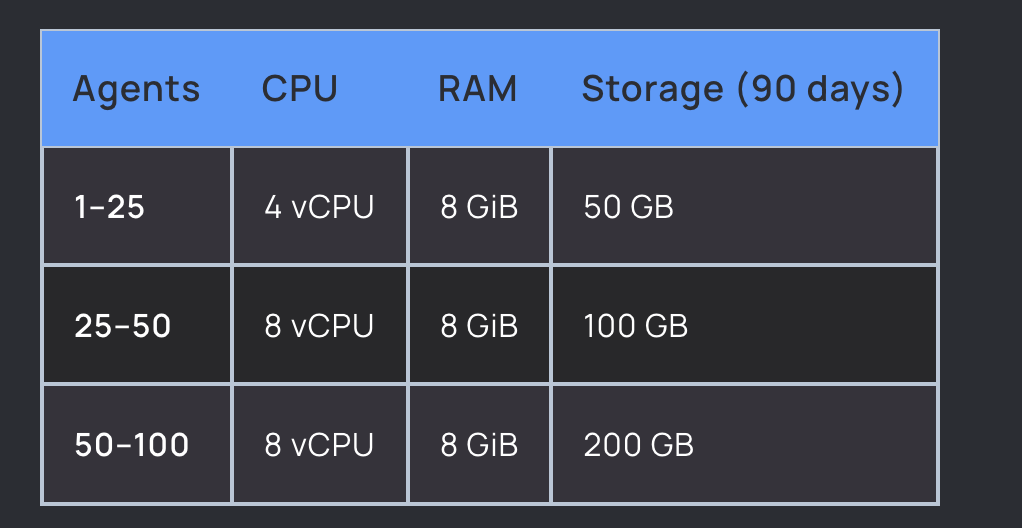
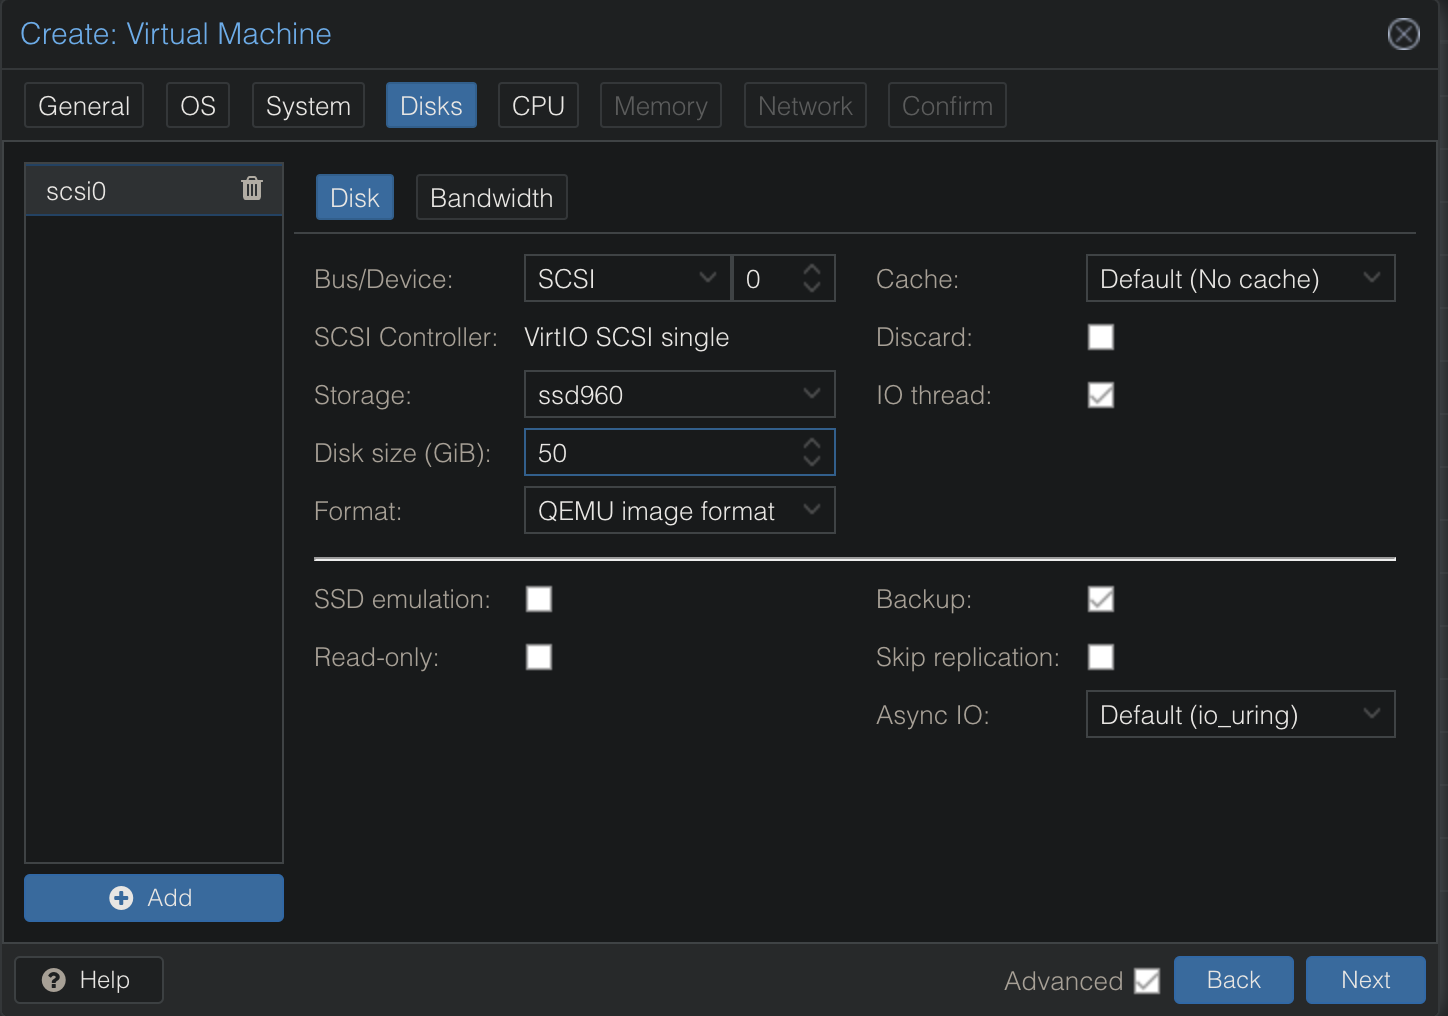
In the disk setup, make sure to use enough disk space for the VM, wazuh recommends around 50GB per 90 days of storage, since my SIEM does not run 24/7 I chose 50GB total disk space.
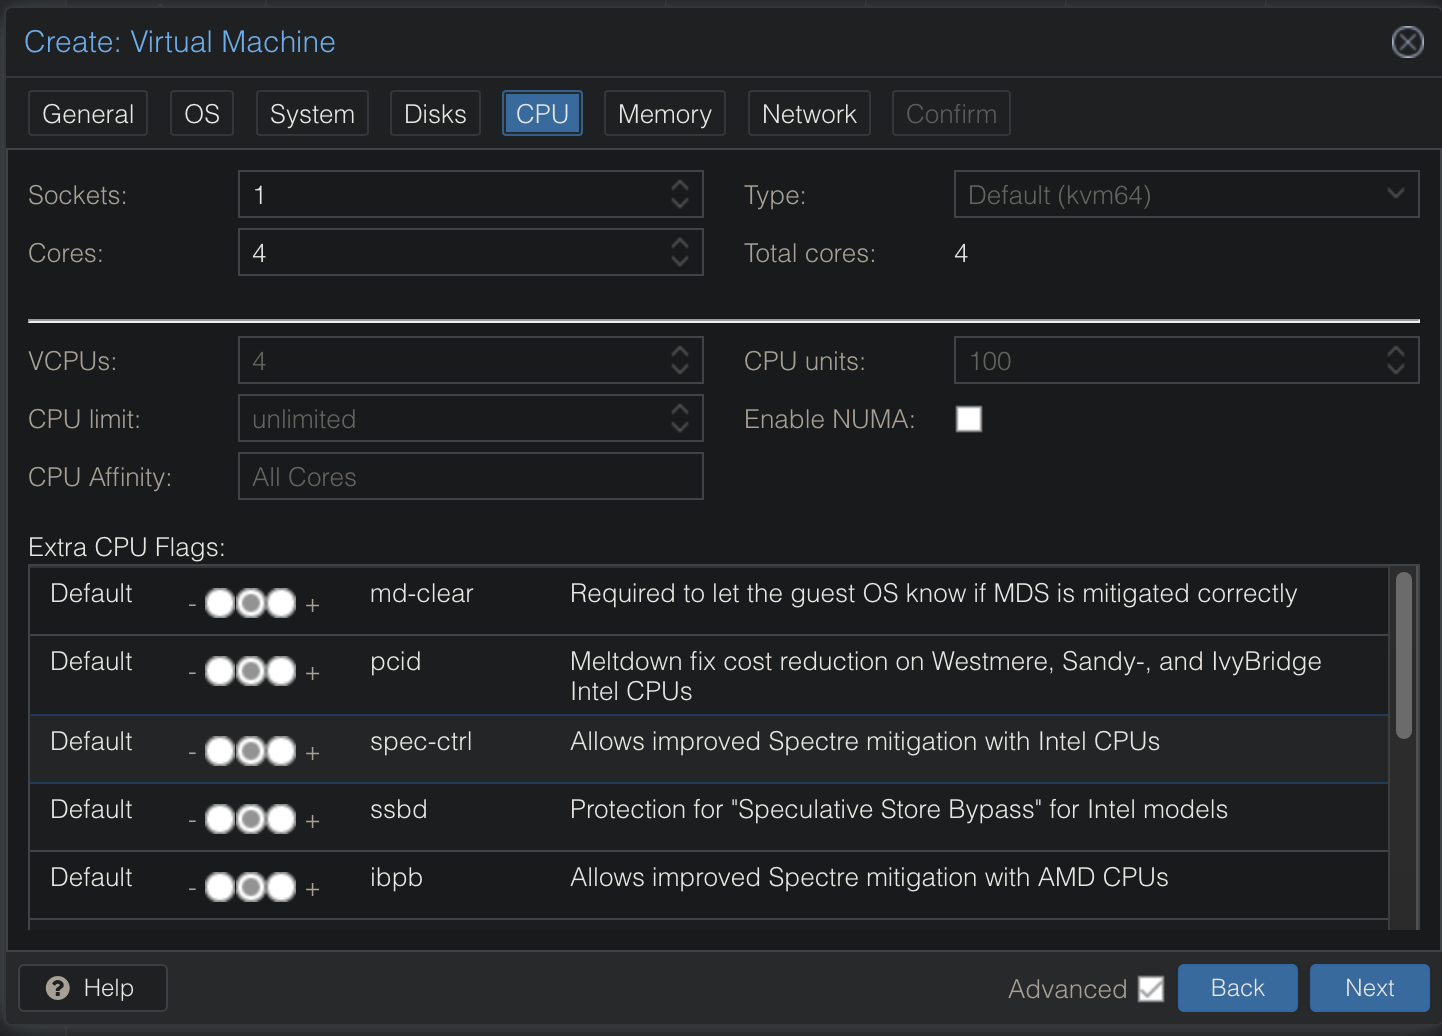
The number of CPU cores (4) was taken from the recommendations in the wazuh documentation. This is plenty, you might also get away with 3.
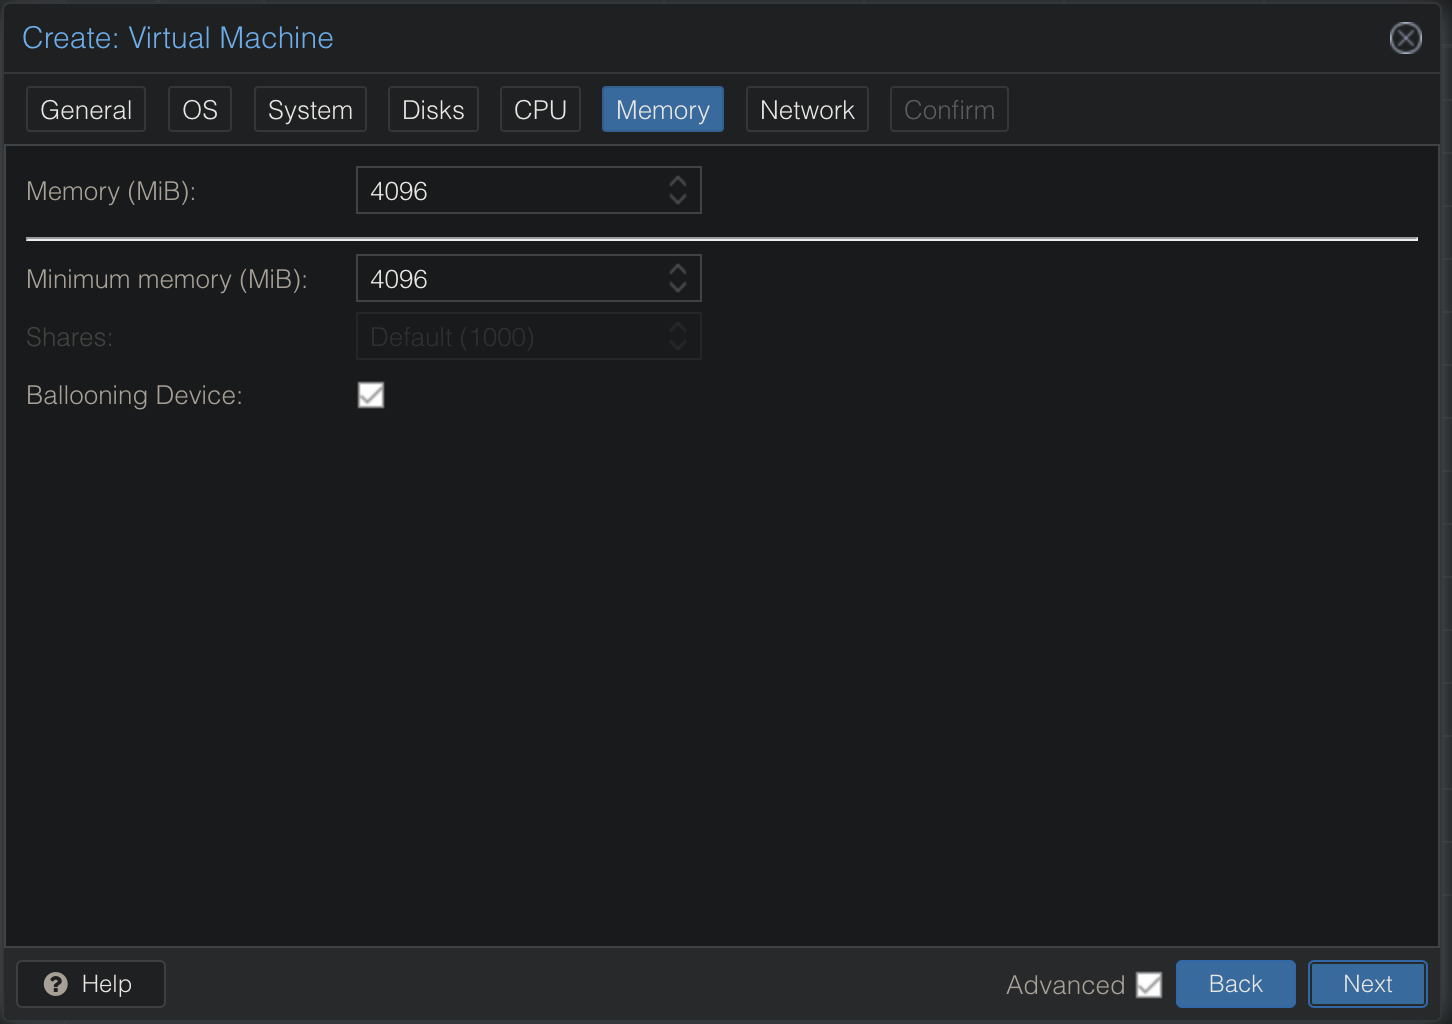
For memory, I have been using 4GB (4096 MB) and it is running smoothly with 4-8 agents reporting to the SIEM. If you have more memory to spare, you can generously upgrade this to 8GB (8192 MB).
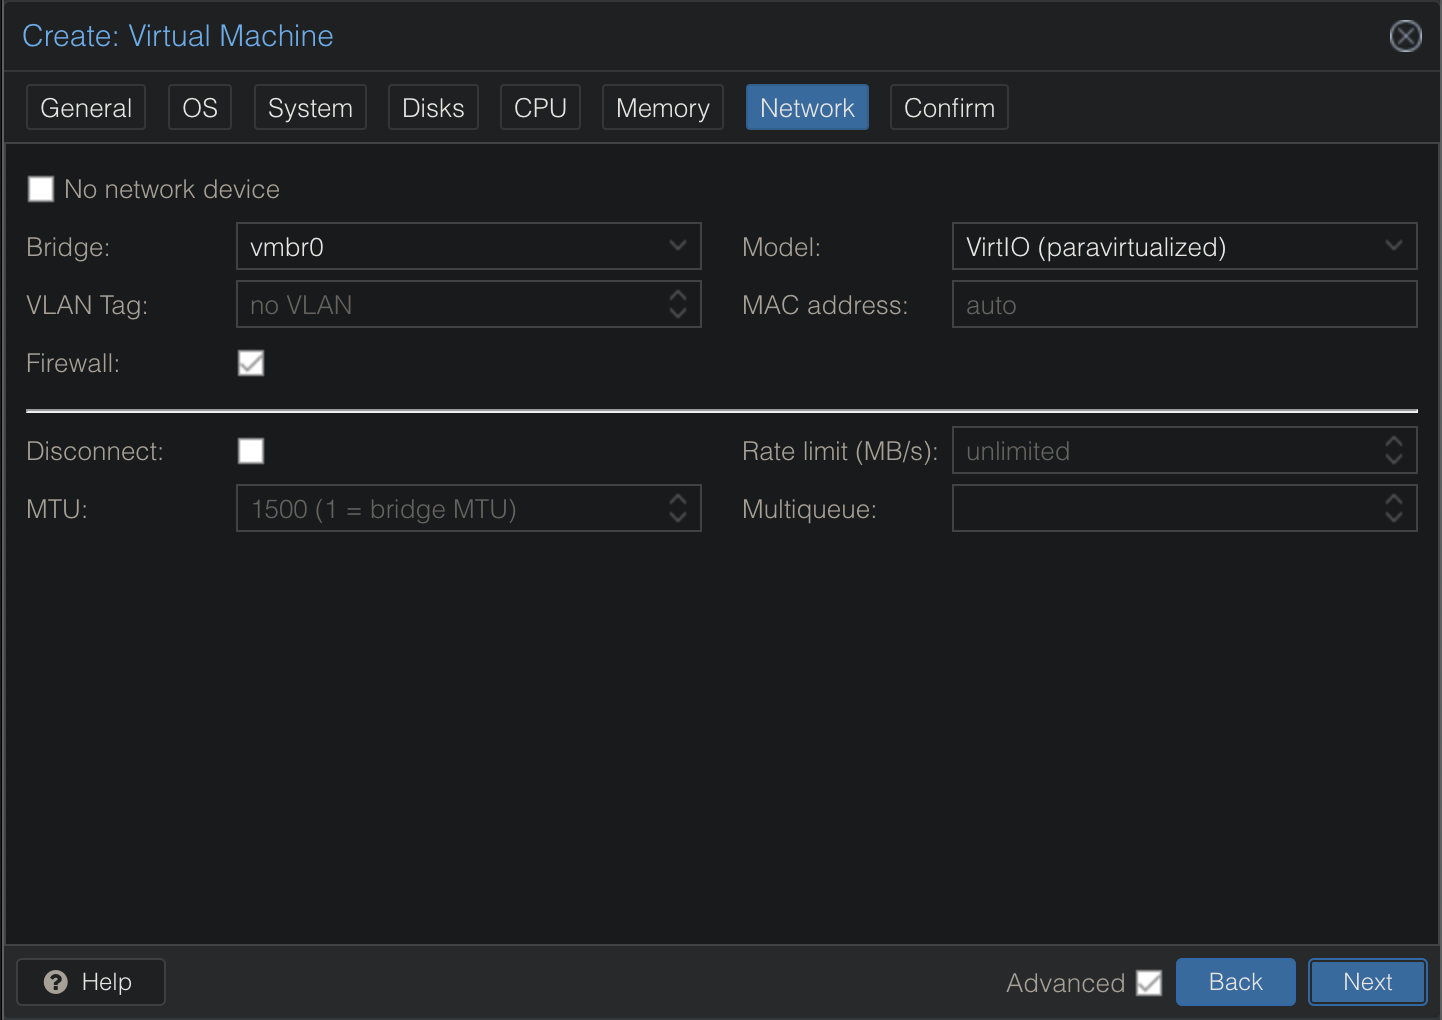
For a network device, we use the classical VirtIO (paravirtualized), if you have installed another network bridge outside of vmbr0.
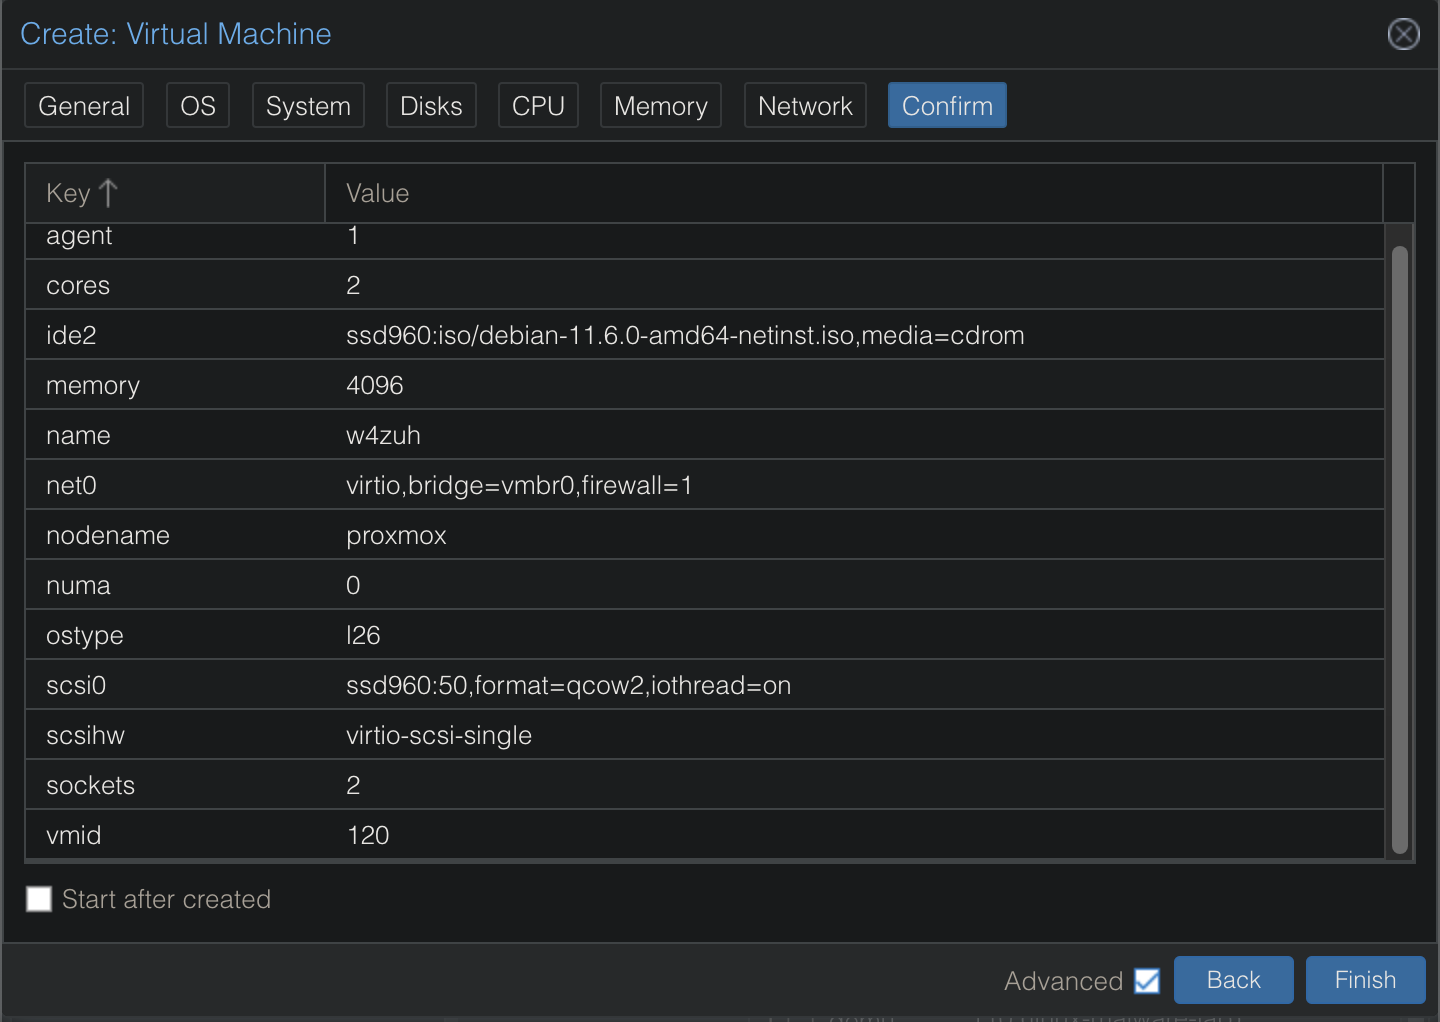
Next up we confirm all the settings and press the Finish button.
Installing debian on the VM
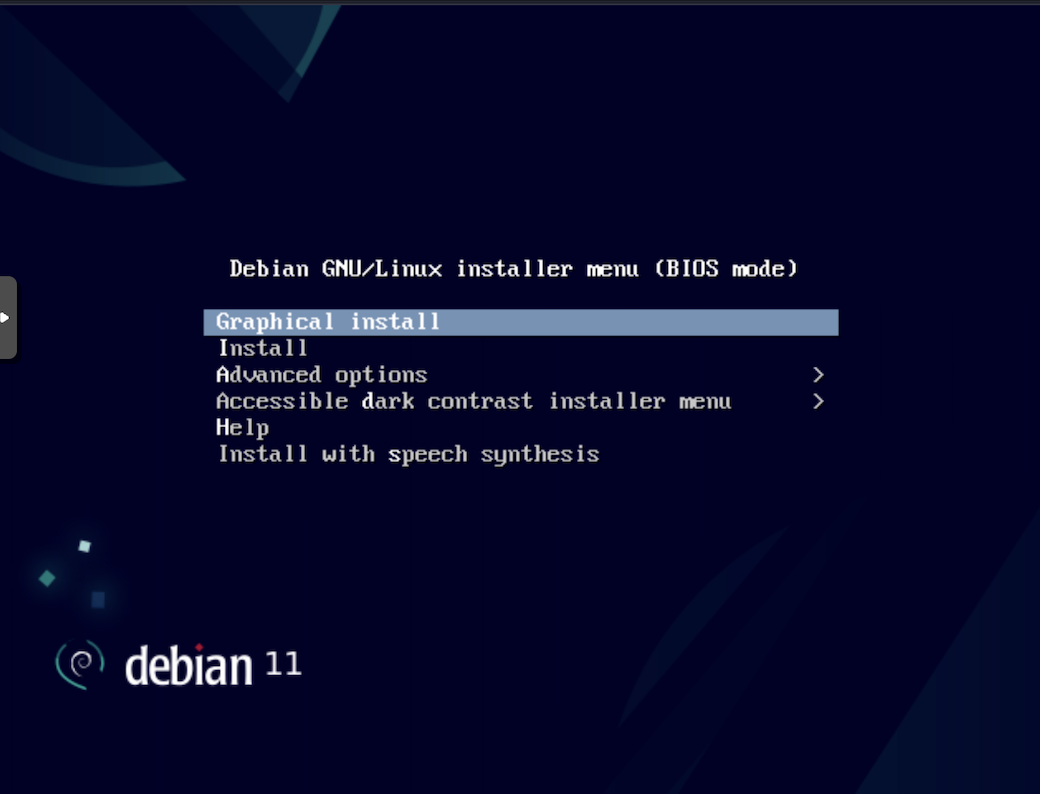
You now have to install the operating system on the virtual machine, which automatically begins after you start the virtual machine.
I suggest the graphical install option for visual pleasantries.
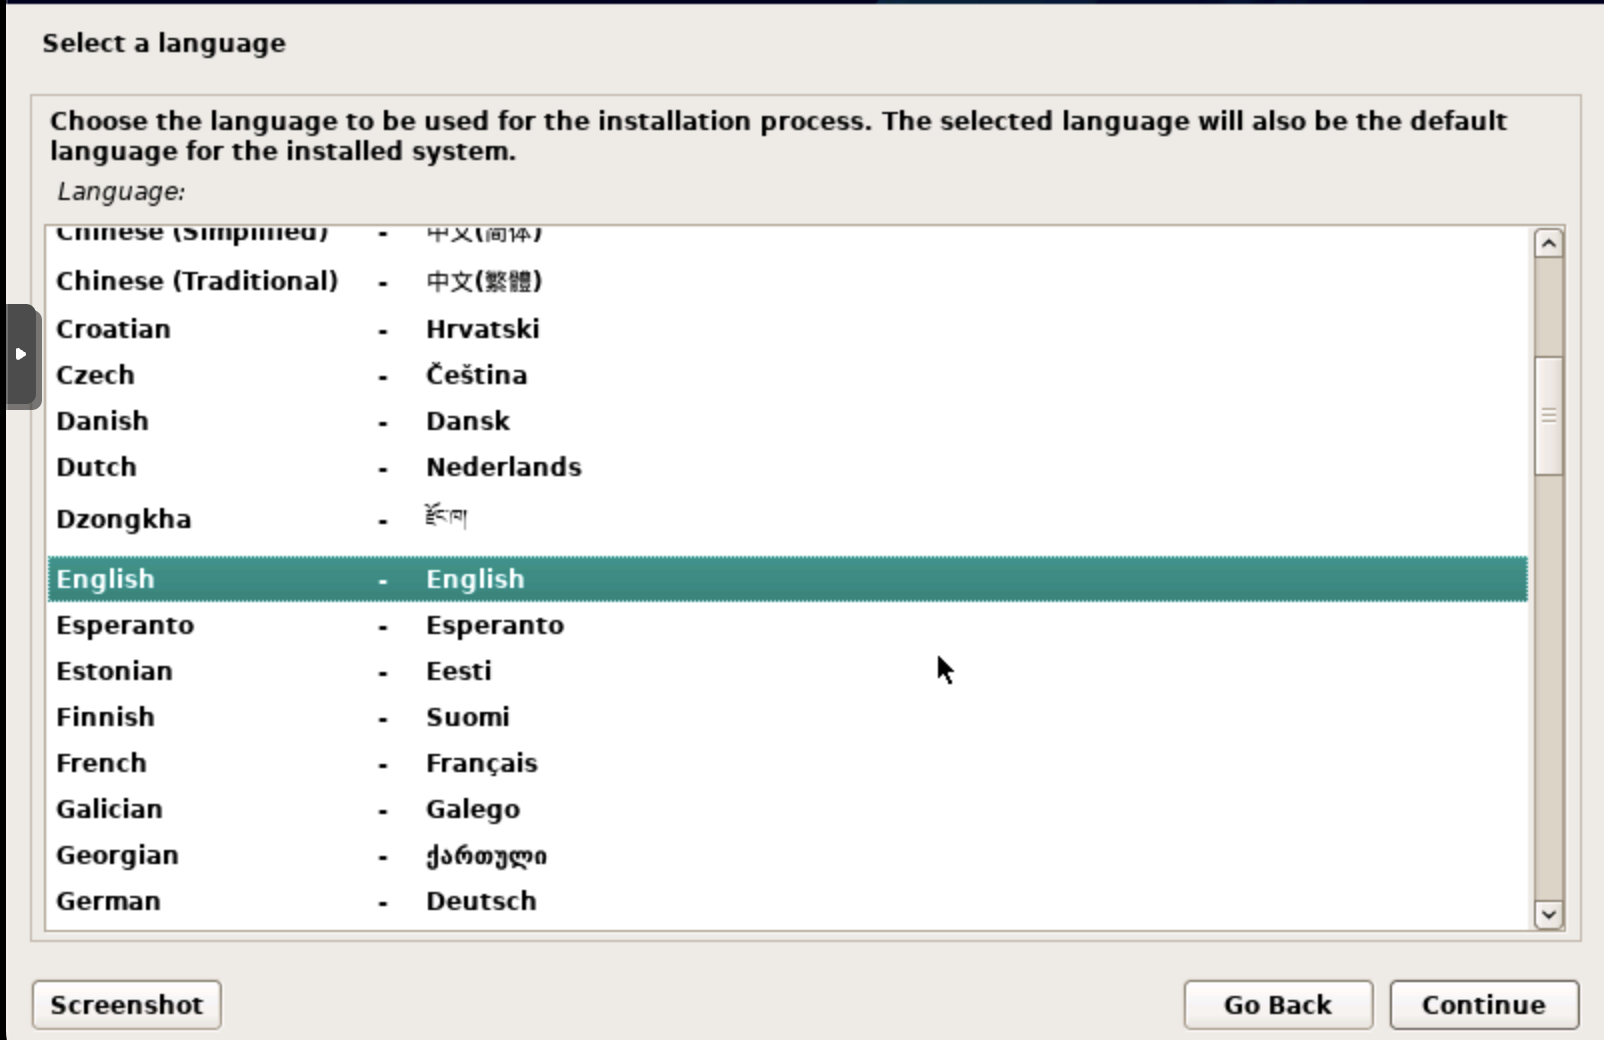
First up is selecting a language - use your favorite one, we will go with plain old English.
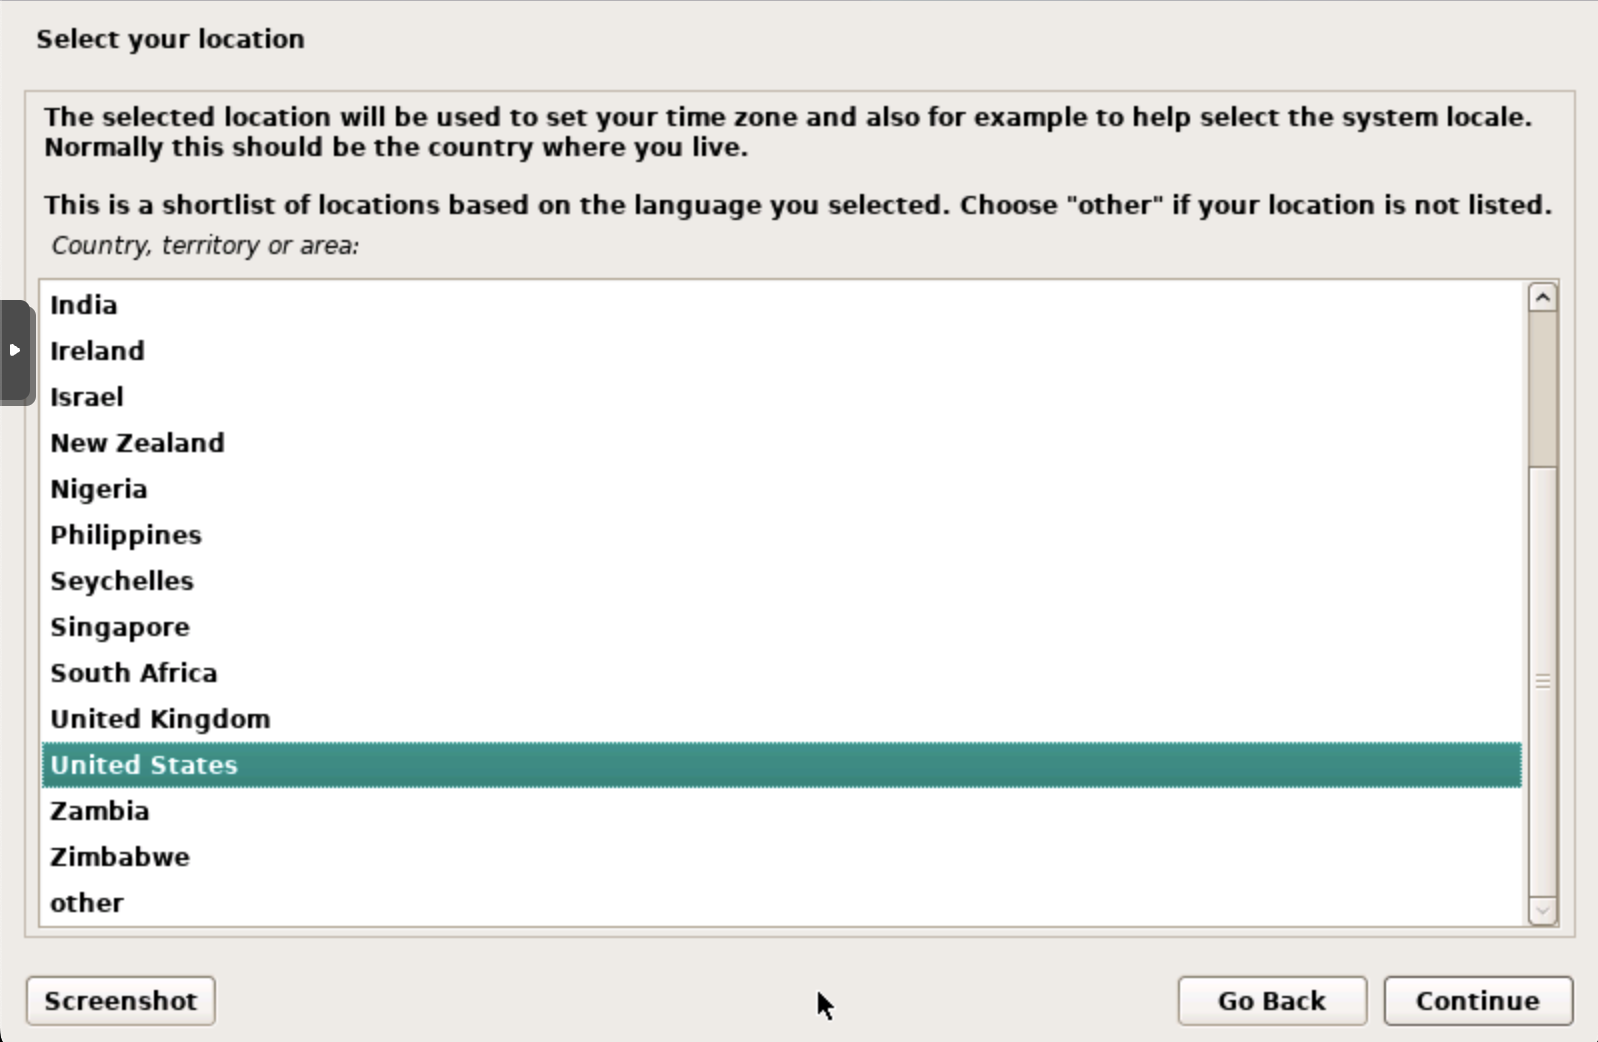
Next up is the location selection - this will be used later on for time zones as well so make sure to select the correct one for you and press the continue button.
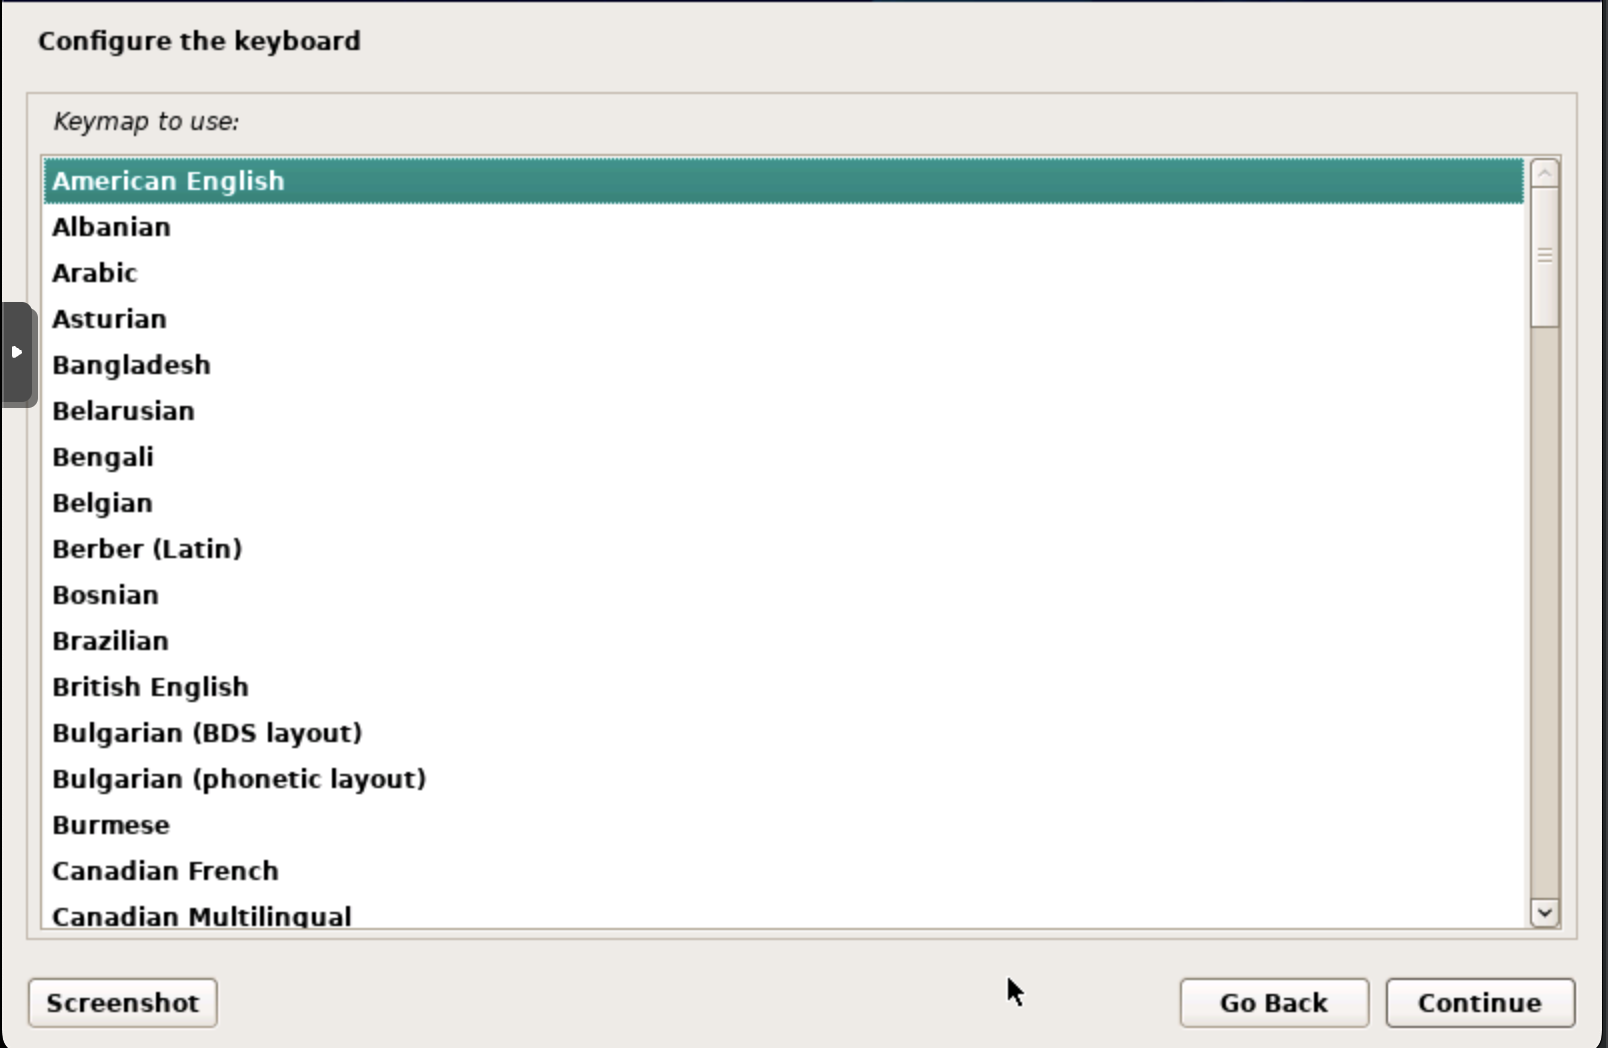
Now you need to choose the correct keyboard layout and hop on to the next selection screen.
User setup debian
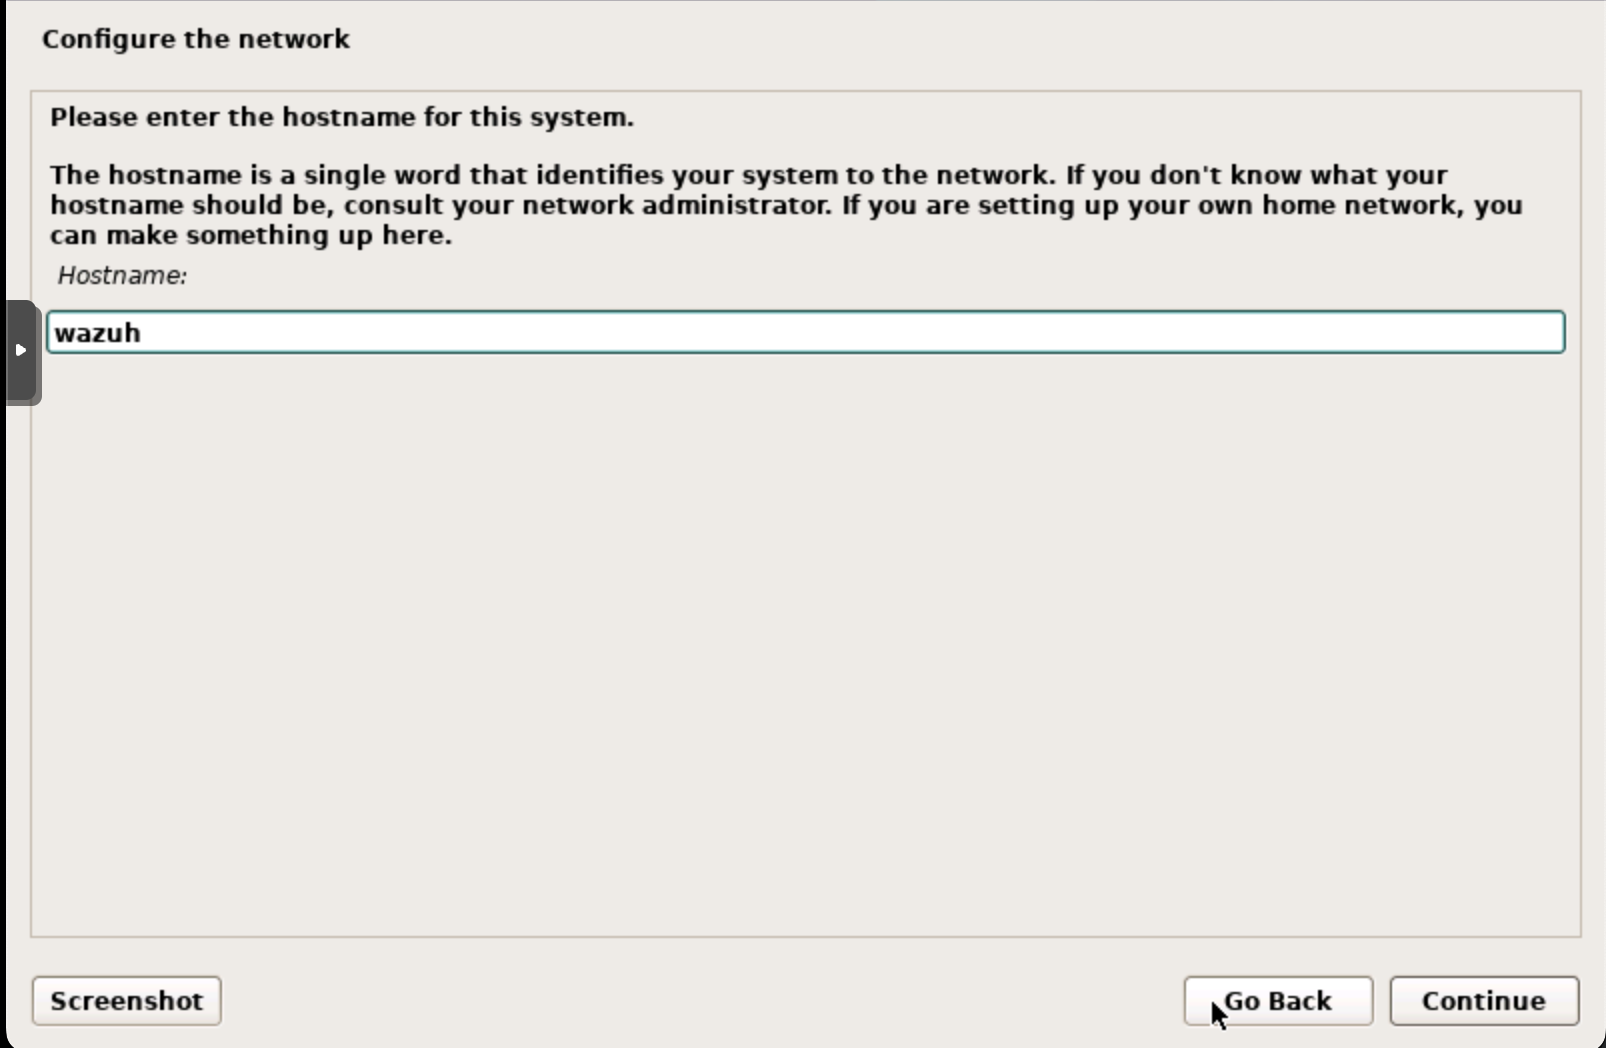
It is time for your computer to get a name, choose something descriptive or stay by your naming scheme.
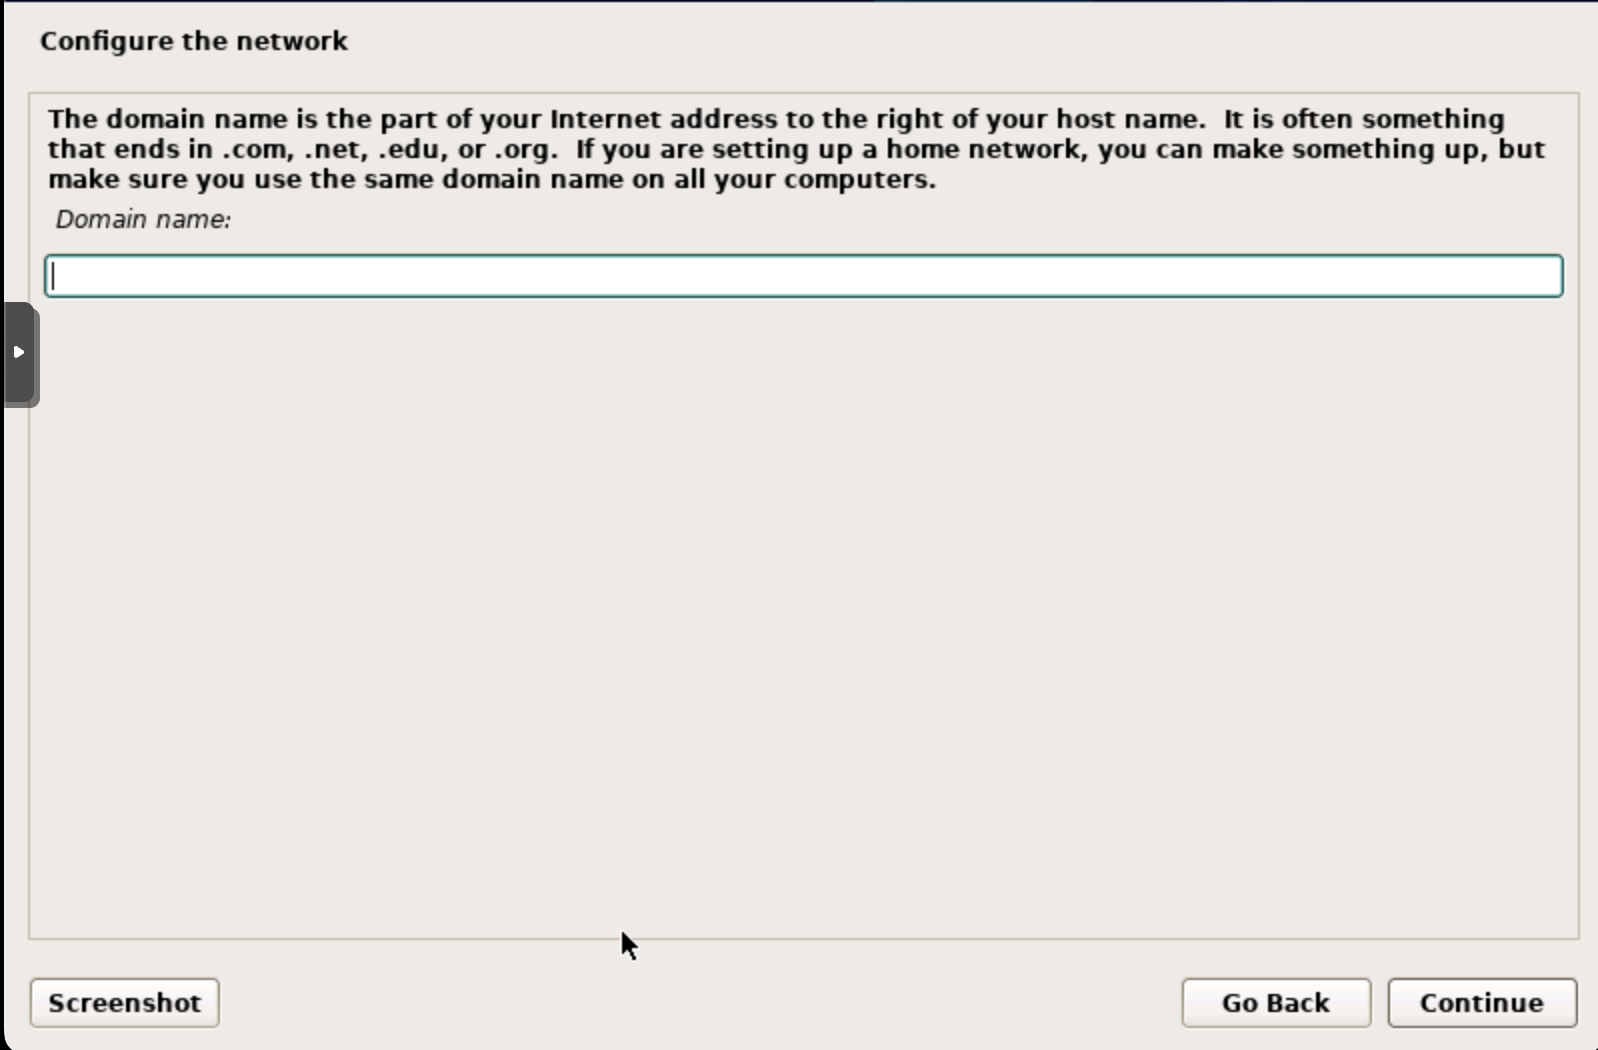
If your SIEM should be part of an Active Directory Domain you can add the name of the domain now - you can also set it up later in case you are not sure right now.
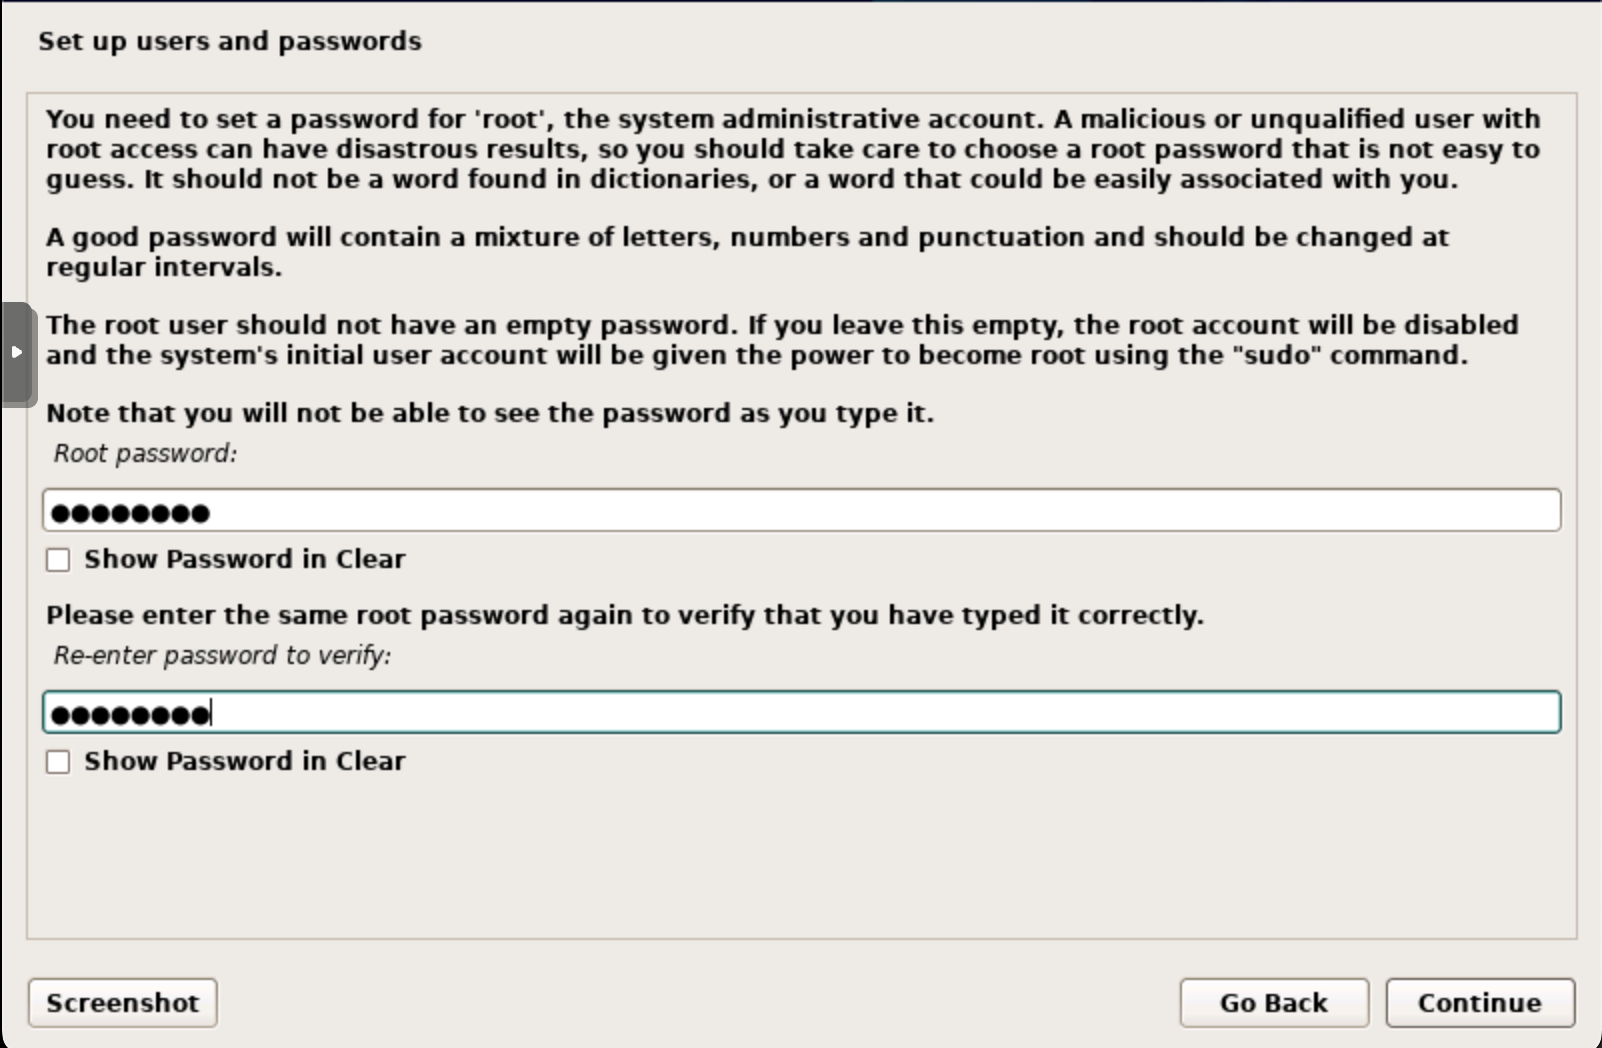
Debian will set up at least two users for you - one root user (admin) and one normal user.
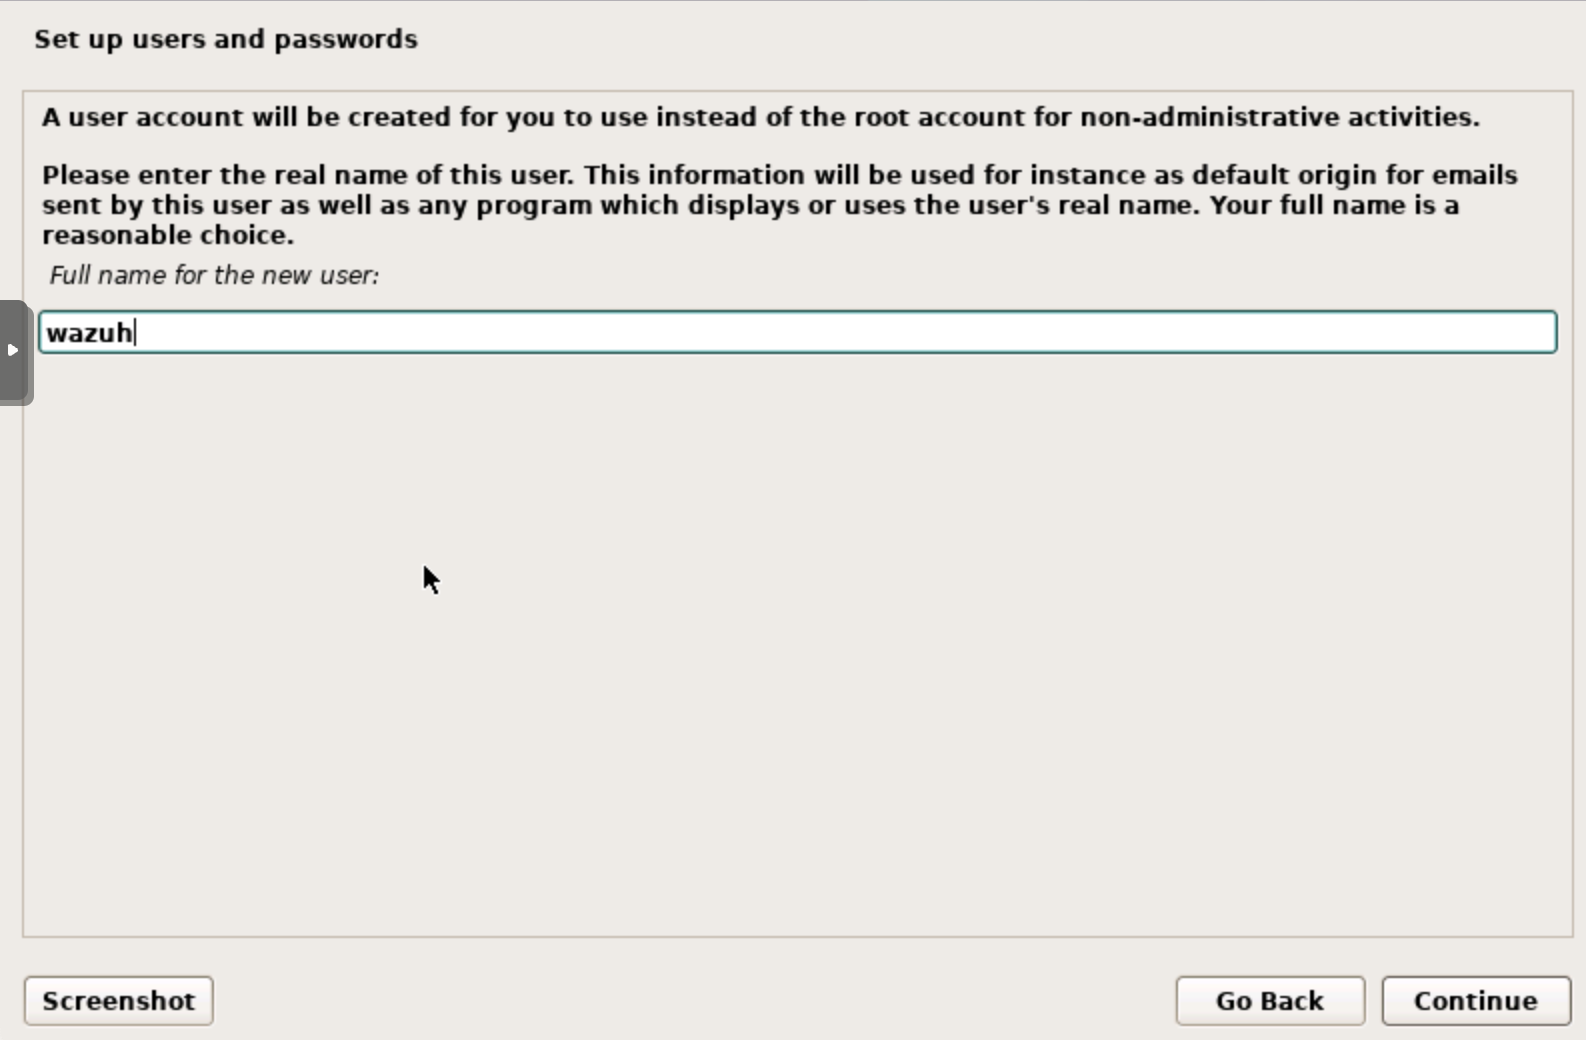
First, you enter the password for the root (system administrative) user twice and once that is done you can give your normal user a name.
This user is the one you would log in with for daily operations, make sure you remember this name or add a note to the VM.
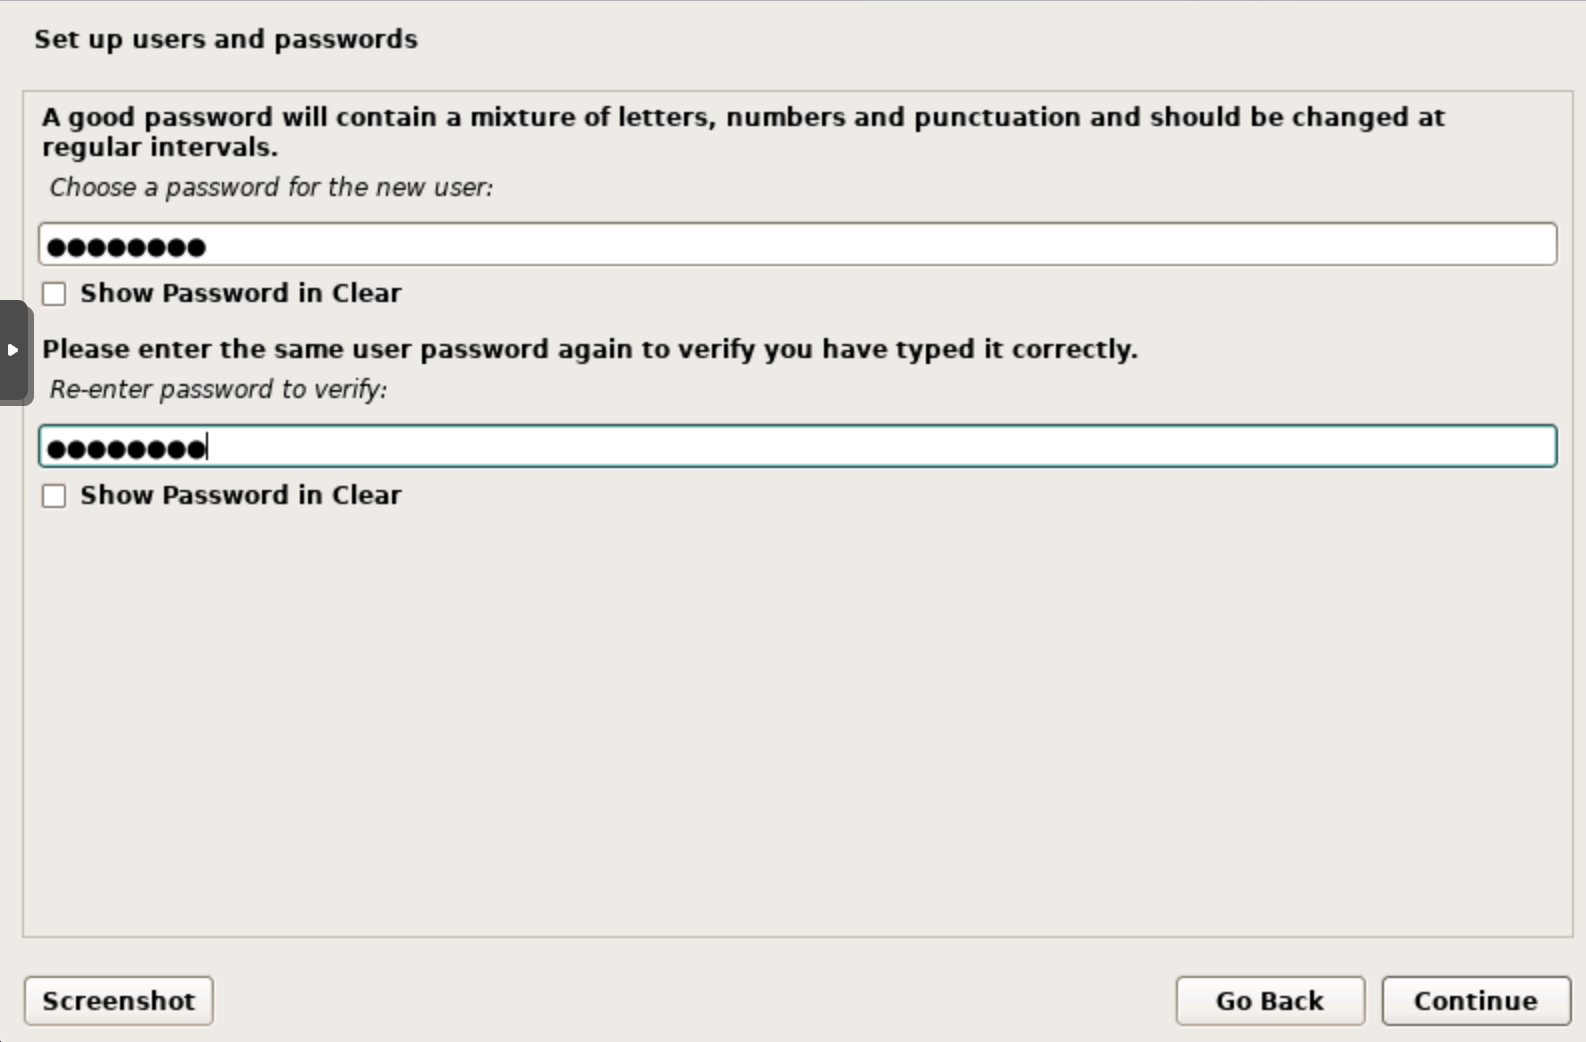
Once the username is selected you enter a password for this user twice and continue onwards.
Now comes the time zone selection, remember earlier when I said that this is limited by the country you choose? Hopefully you selected the correct one and can find your time zone now, otherwise either choose a random one and change it later or go back to the country selection.

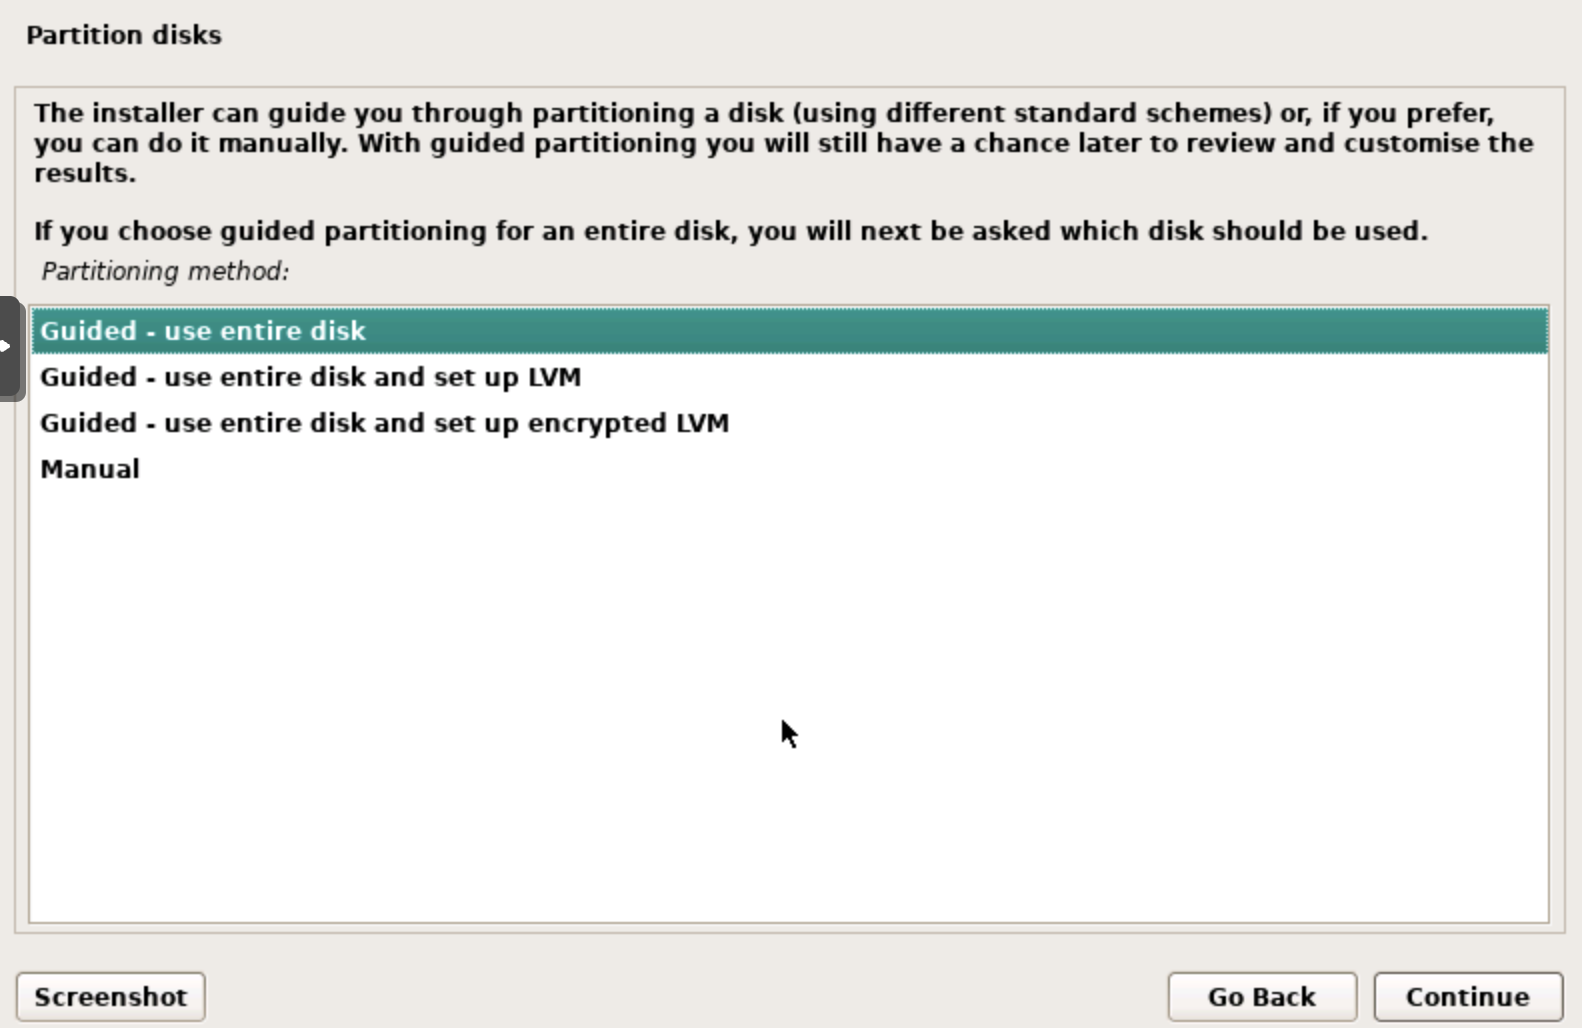
Disk setup debian
Next, you can opt to choose a guided or manual approach to setting up the disk for your debian installation. I suggest you use the first option Guided - use entire disk.
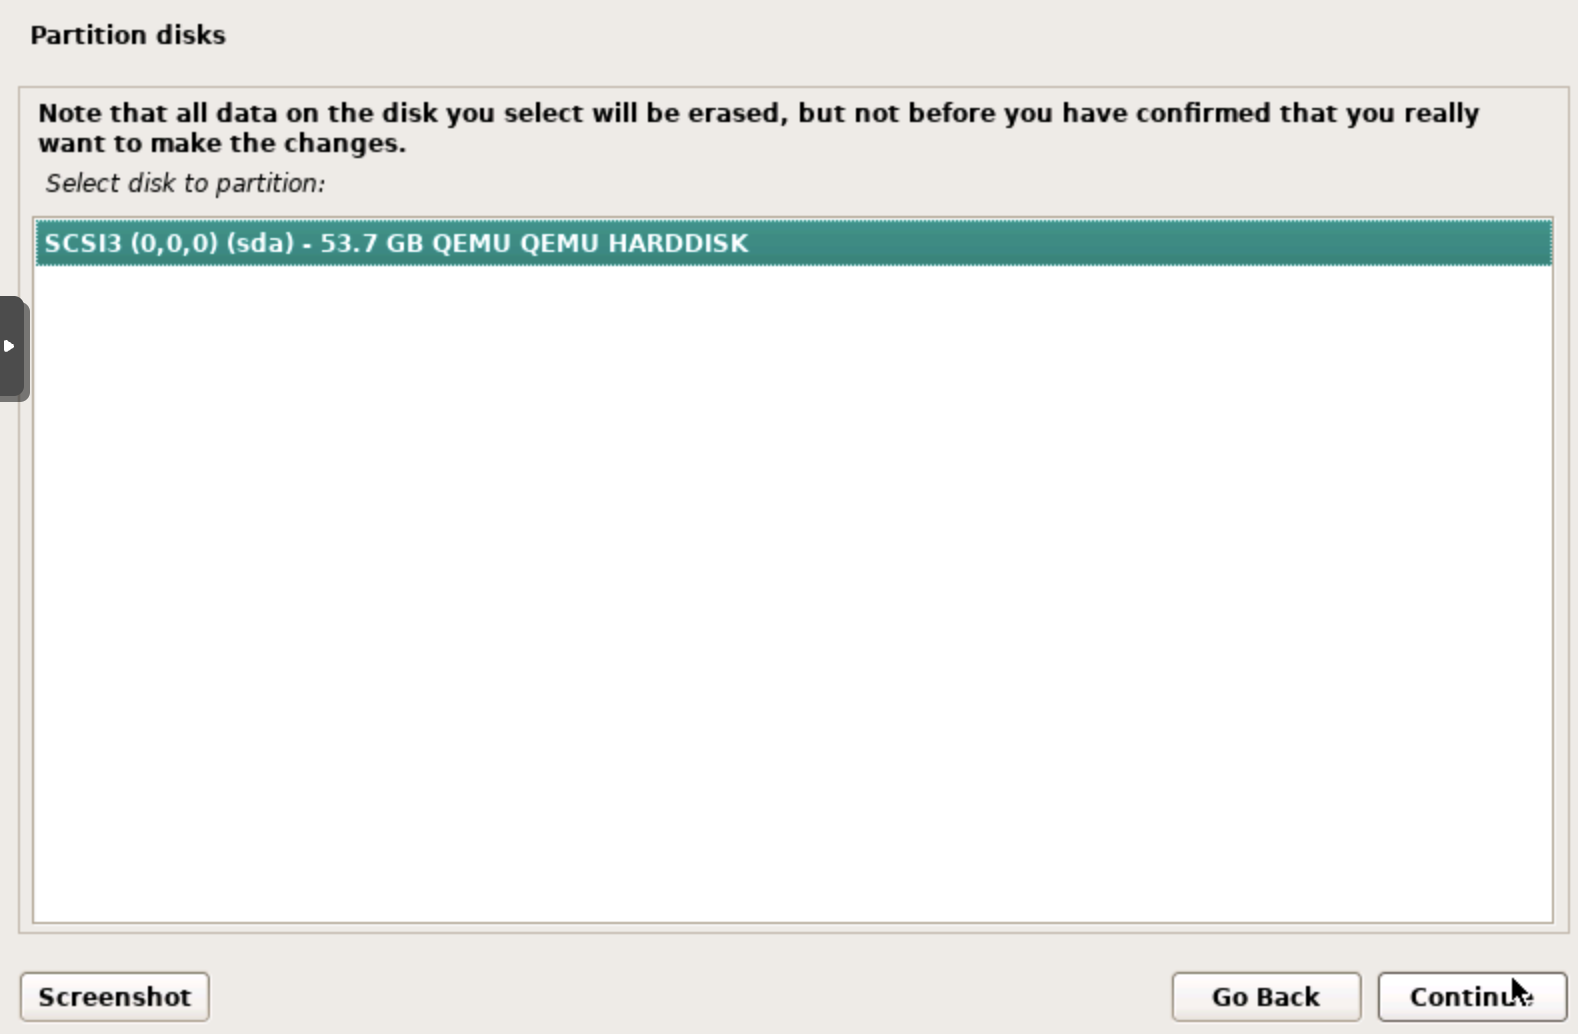
The next three steps are single select & continue workflows. First is the disk selection, you probably have only one disk available if you followed the process until now. Choose that one and continue.
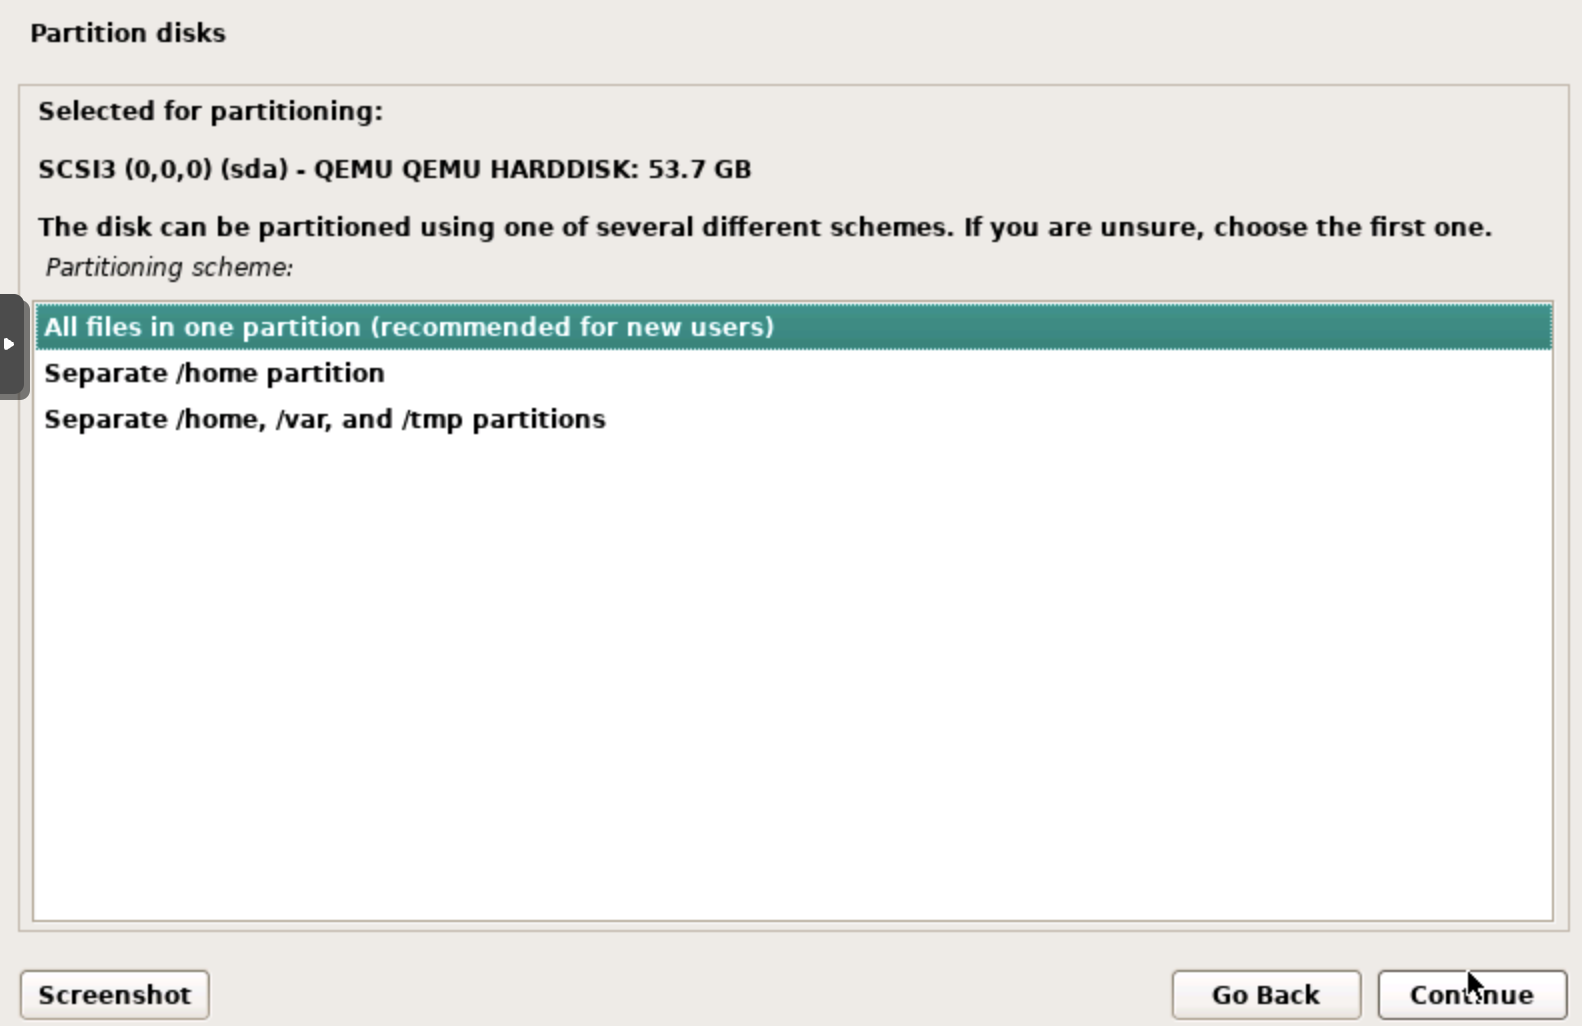
We are now able to choose if you want different partitions (think of "virtual hard drives") or a single one - I suggest using the single one for ease of use.
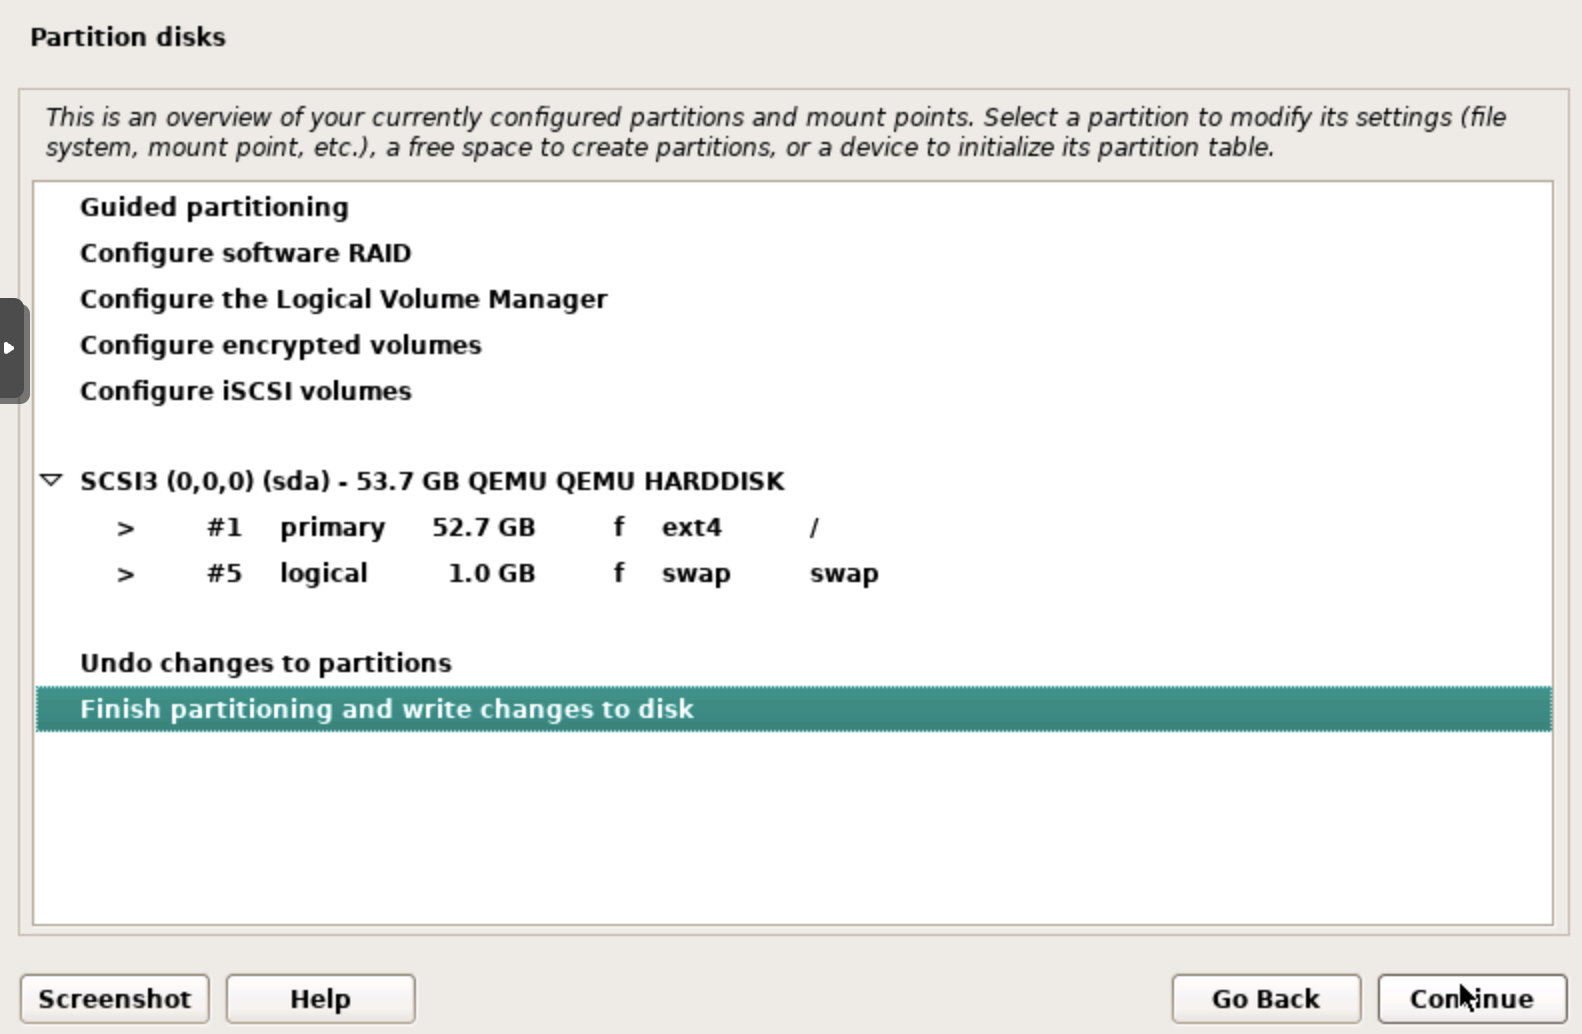
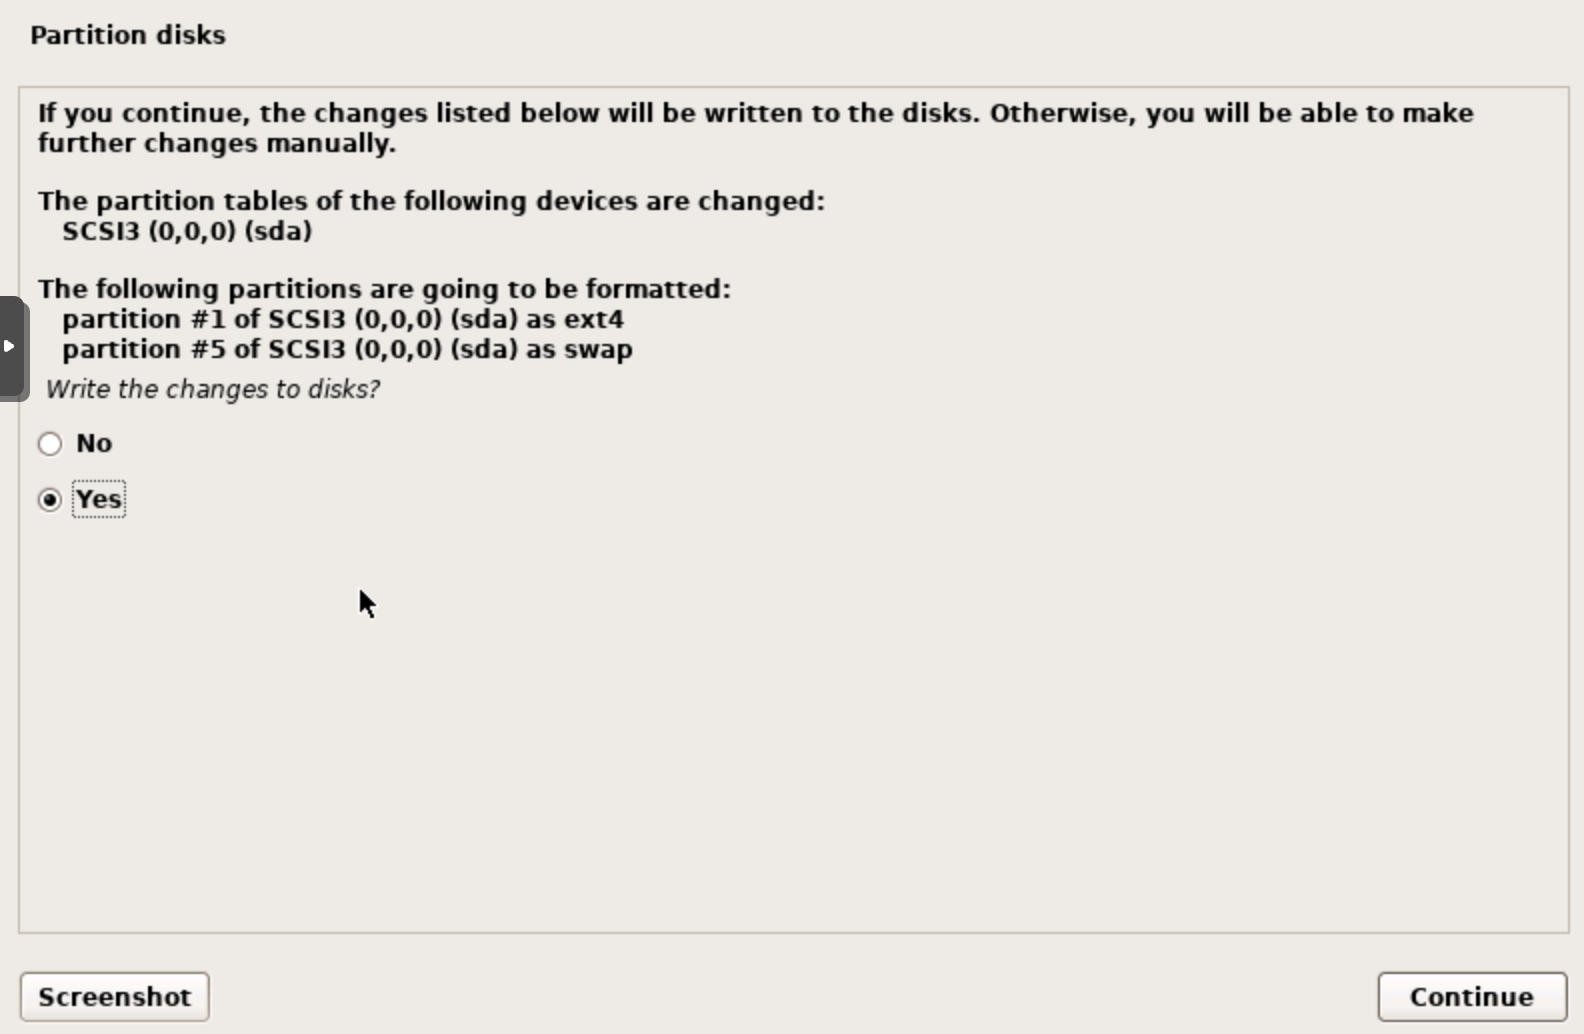
Now all the details are figured out and you need to finally confirm the partitioning + disk erasure.
Confirm once more and you are done with the disk setup.
Software setup debian
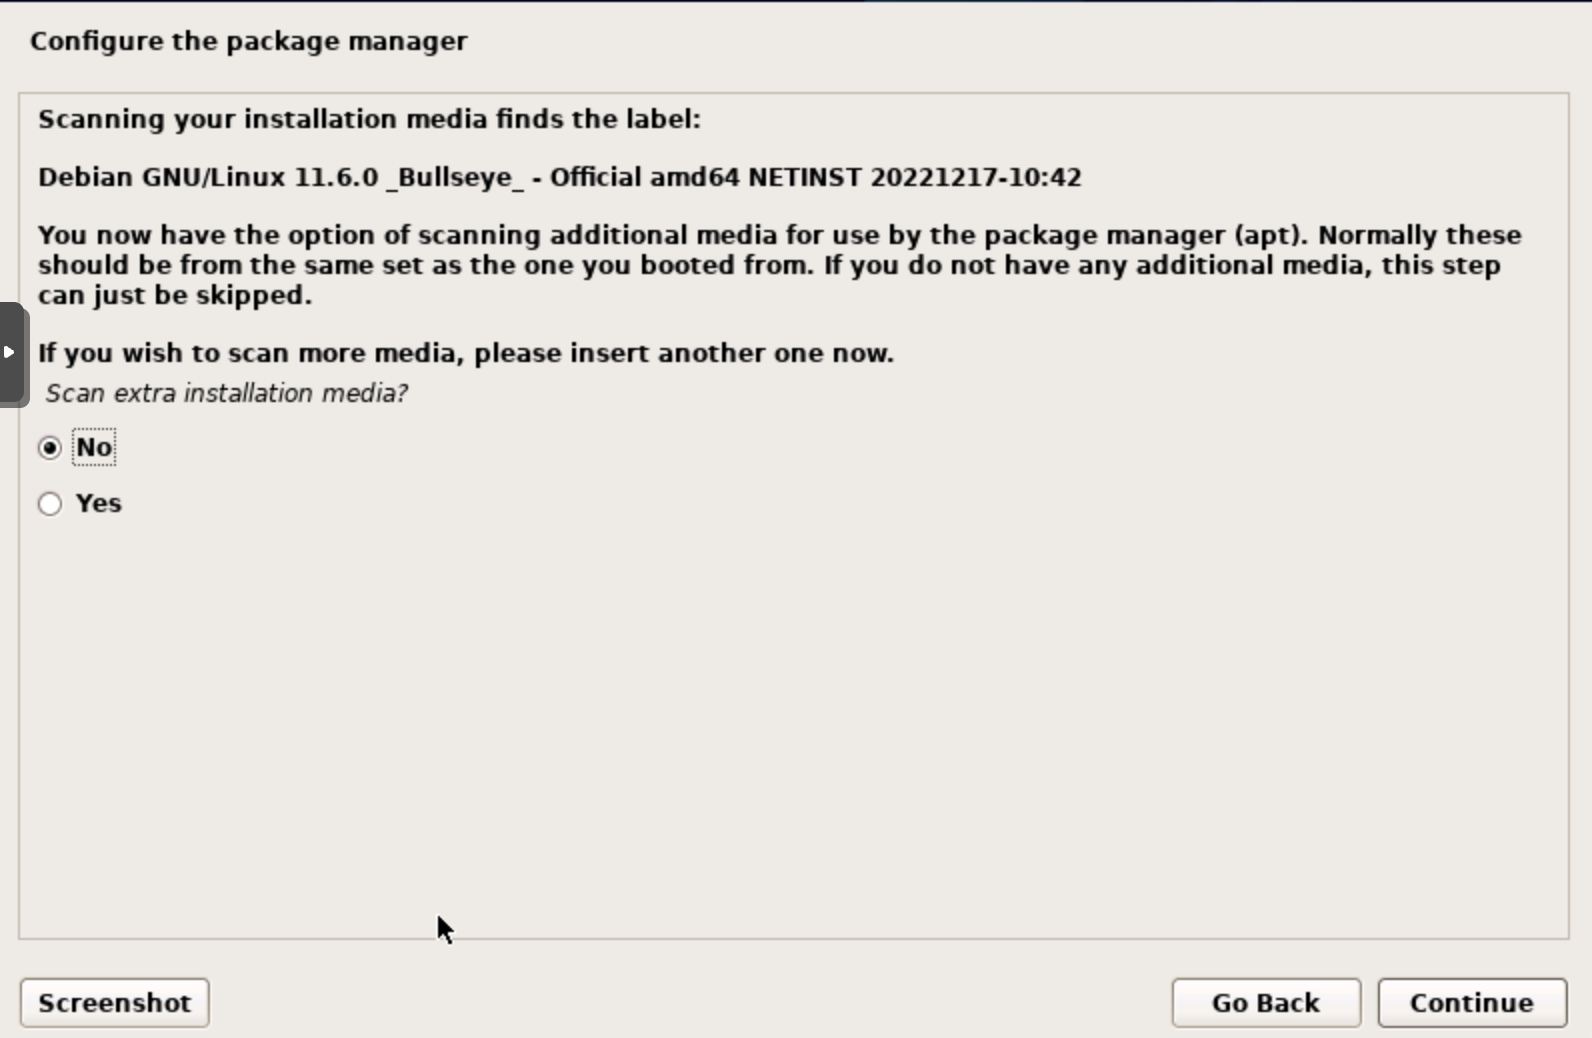
You will want your debian to be and stay up-to-date and to achieve that you need software updates. The first selection screen will give you the option to load packages/libraries from a USB disk/external hard drive. Since you most likely don't have one you can choose No and continue.
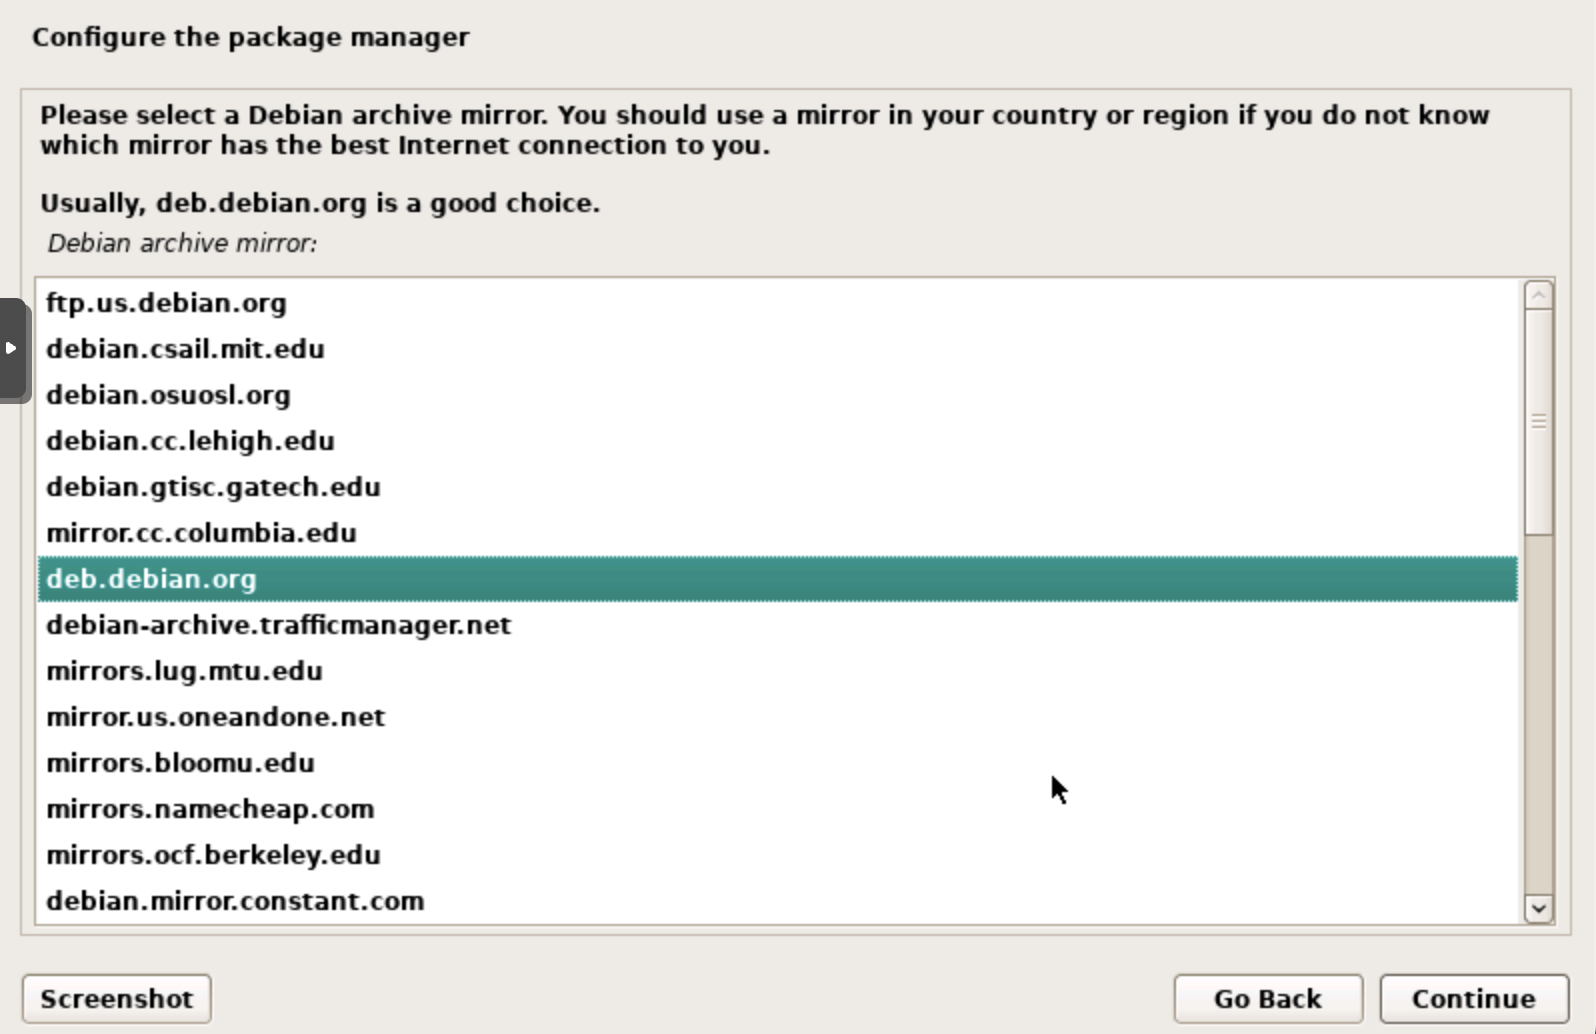
debian uses apt (Advanced Package Tool) for most of the software installation. Apt works with mirrors + archives which hold the actual libraries you want to install and since the world is a big place you can choose the mirror location closest to you to have minimum latency.
You can leave this in the default setting, it should not have much impact on your daily work.

Now comes the actual mirror selection, just leave this at deb.debian.org and continue.
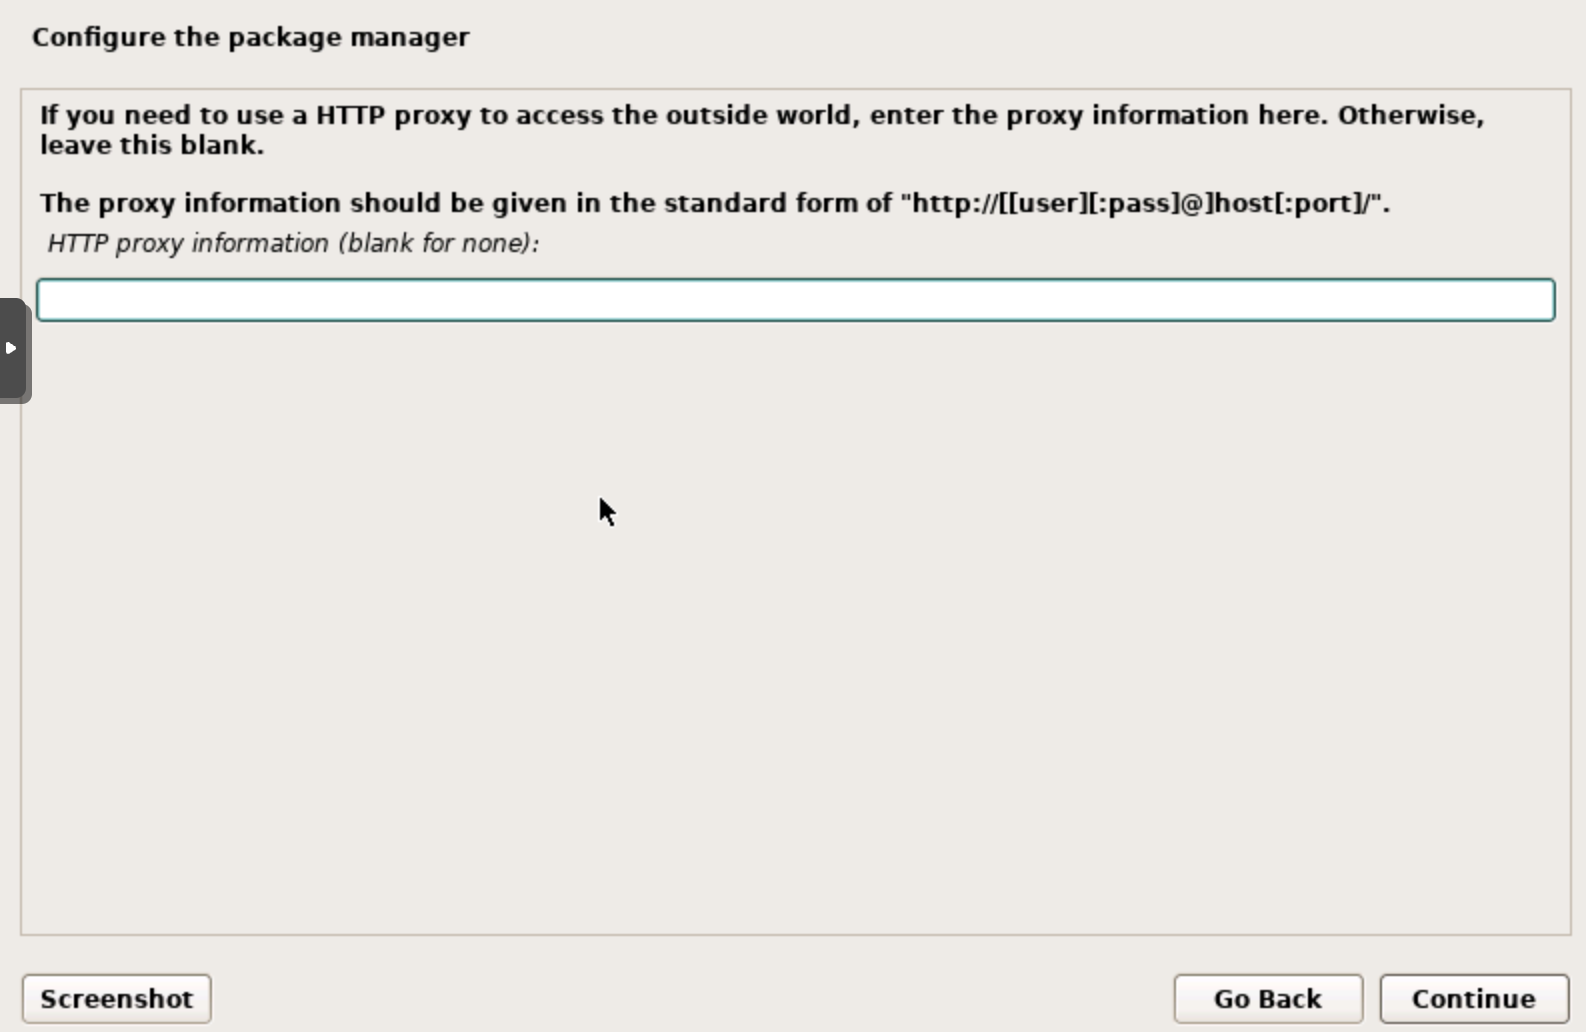
If your internet is proxied you can now enter the correct proxy information - if you have not set one up then leaving this blank is most likely the right choice.
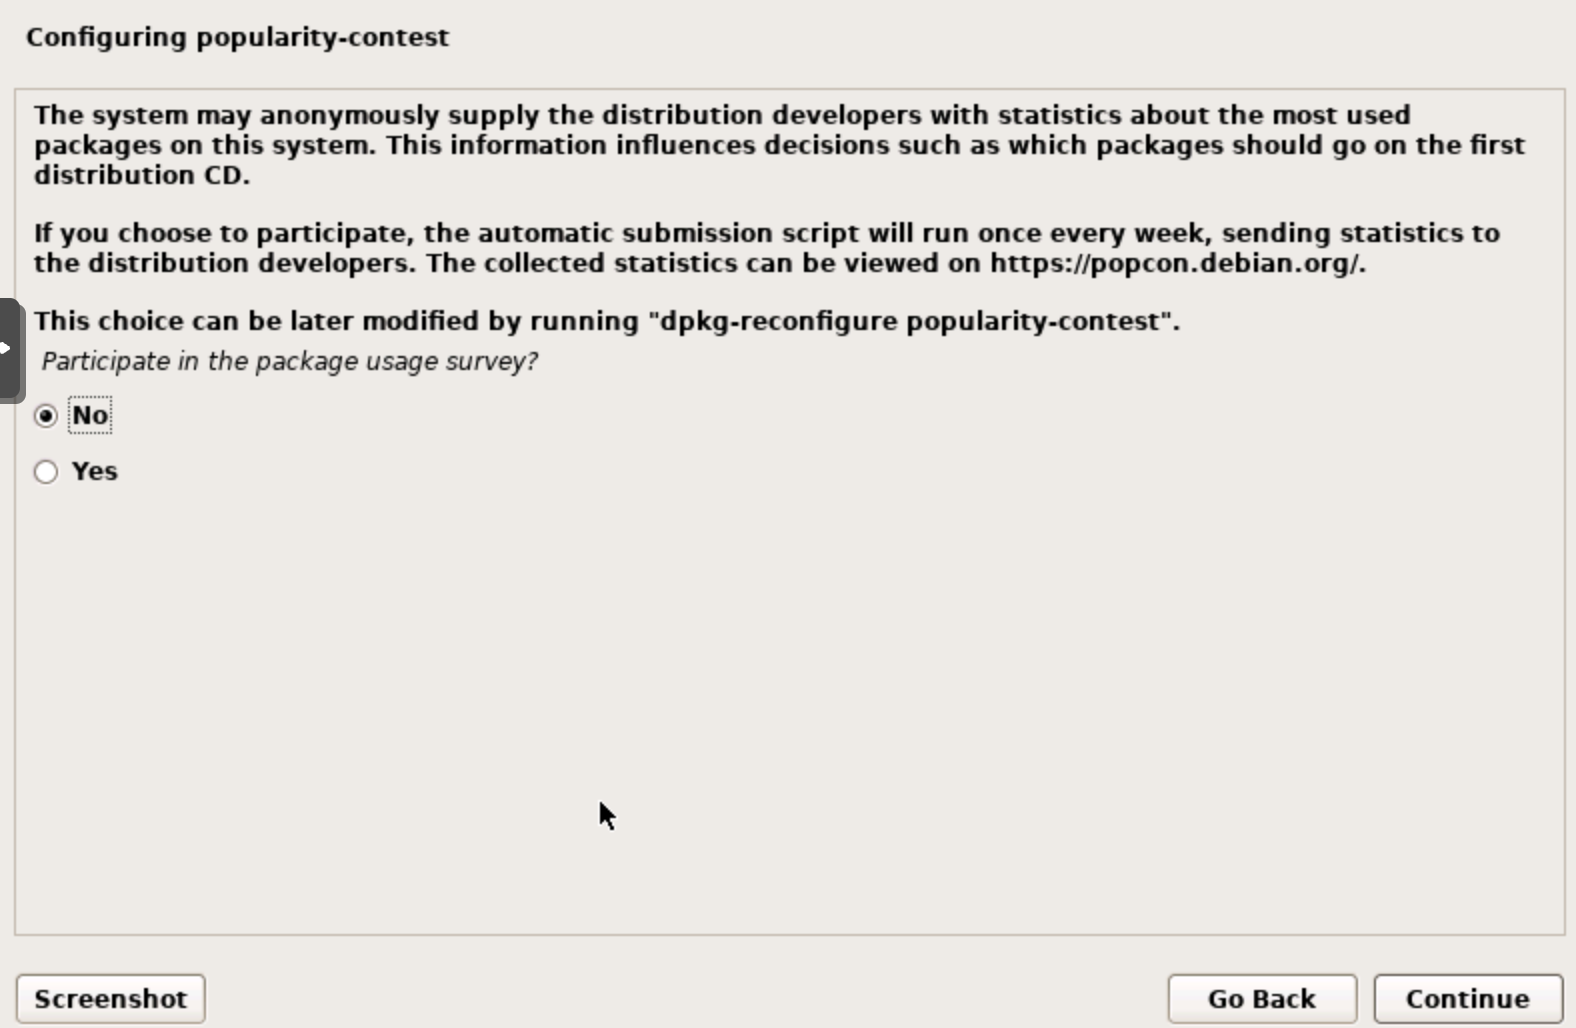
Now comes the option to share anonymous usage data for the packages you installed/use - I choose No because I don't like telemetry data collection, anonymous or not.
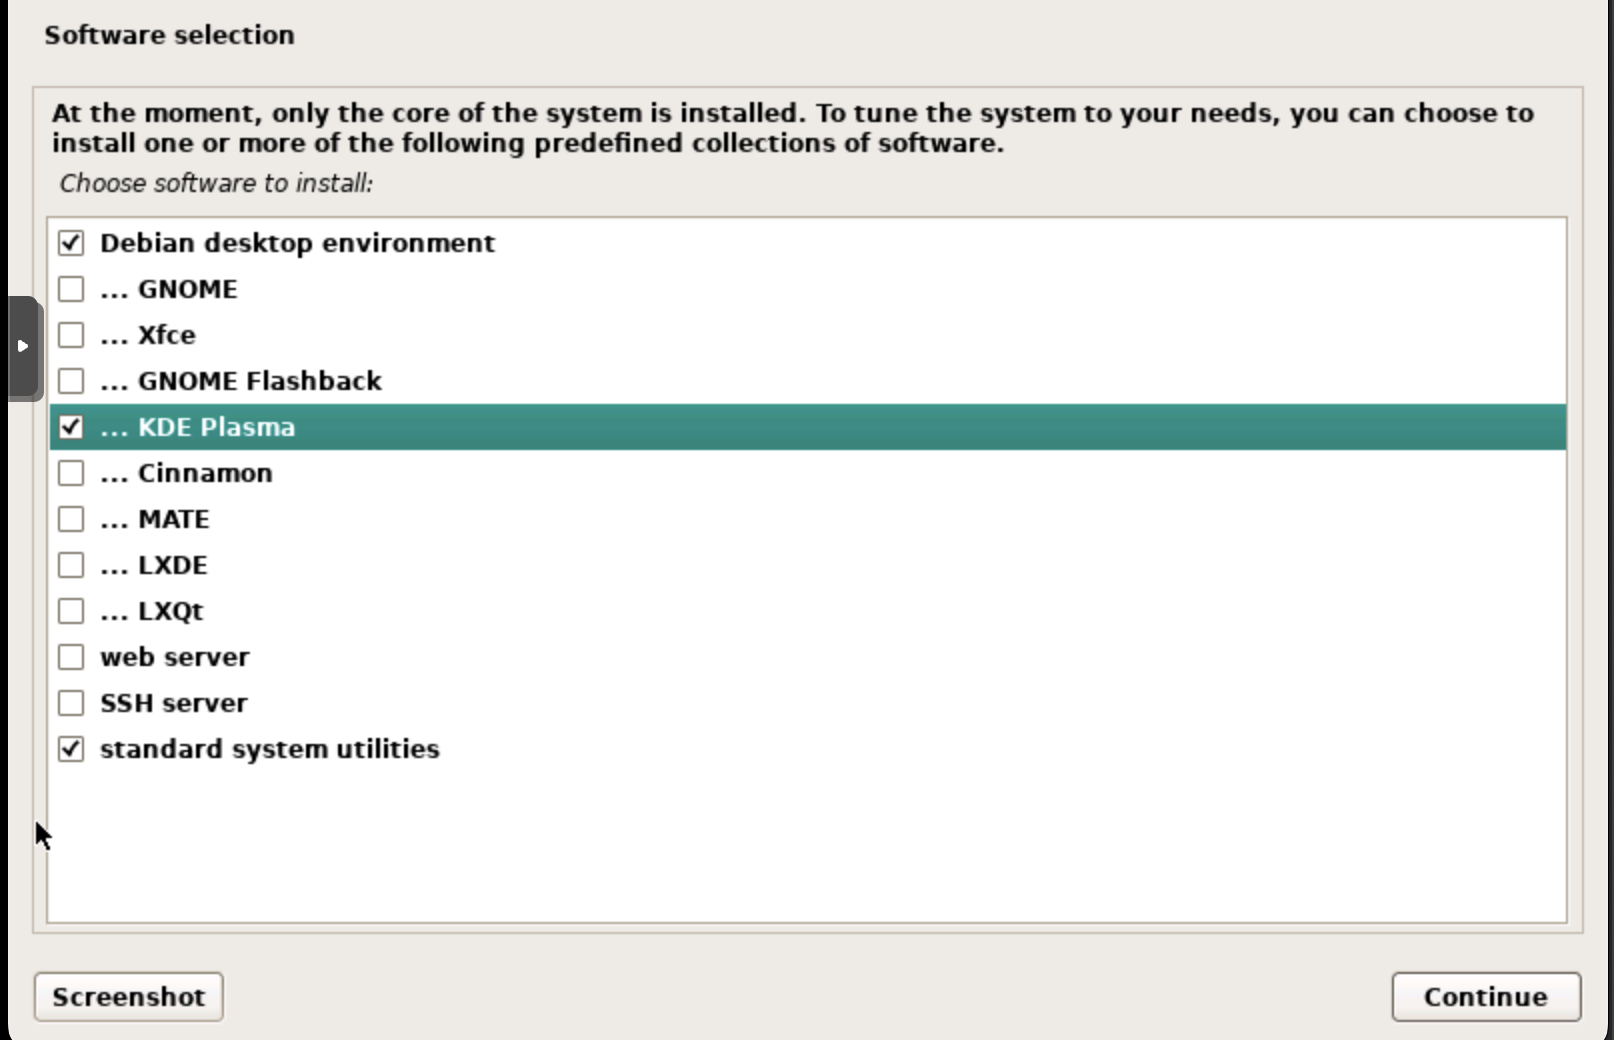
The next step is a little confusing if you are doing this for the first time - but fear not you can do it.
This selects your desktop environment (if you want one) - the default setting is Debian desktop environment, GNOME, and standard system utilities. I prefer KDE (taskbar at the bottom, similar to Windows/Mac) over gnome and thus have chosen Debian desktop environment, KDE Plasma and standard system utilities.
You could also get away without the desktop environment and would then probably need the SSH server to connect easily to the VM.
If this interests you let me know in the comments and we can dive deeper into how that setup would look.
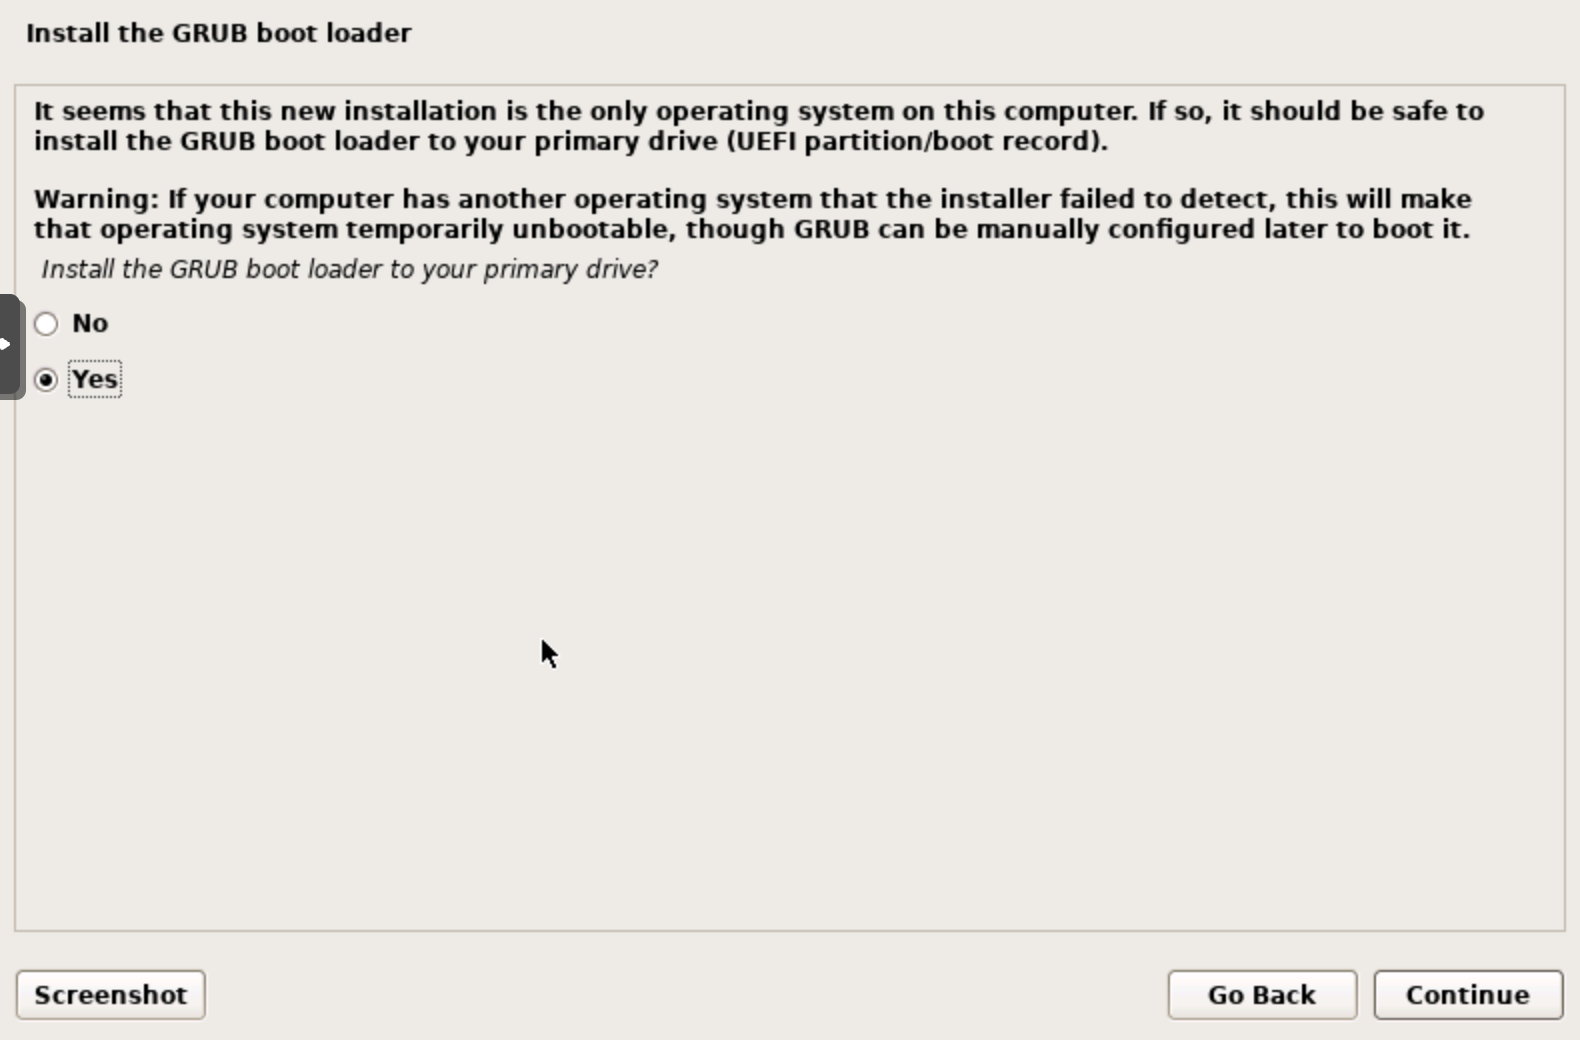
Finishing debian installation
The penultimate step is to set up the grub boot loader which is accomplished by choosing yes to the question below.
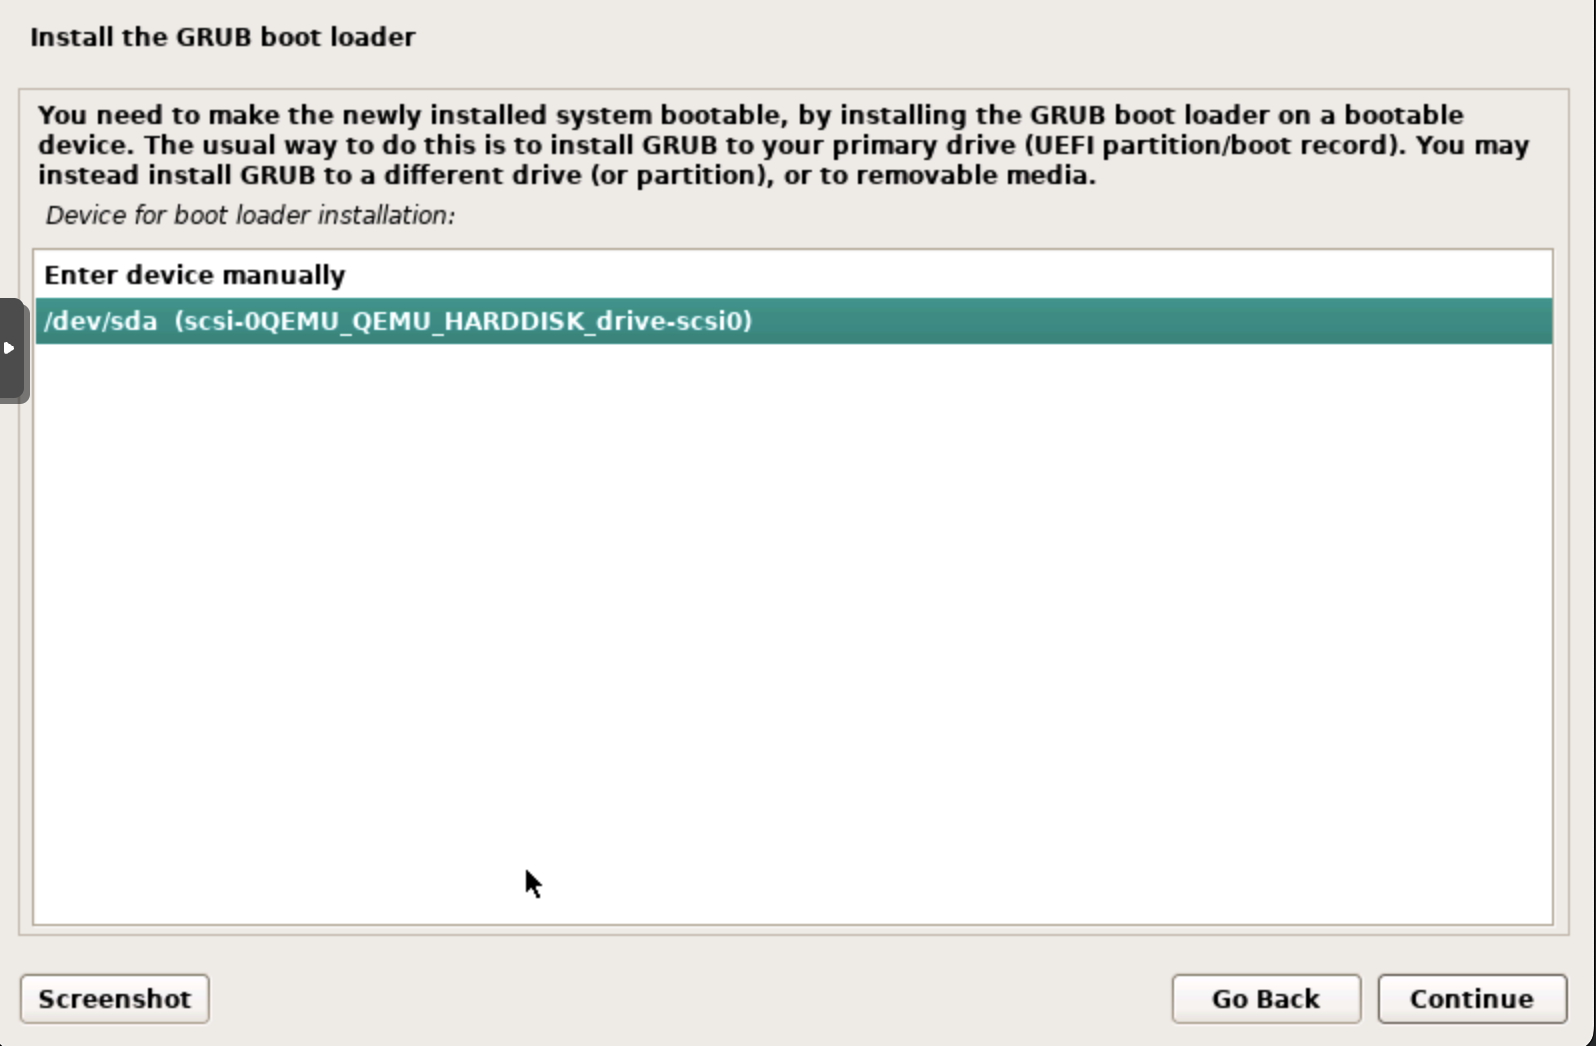
Last but not least we need to install said boot loader on the (only) disk we have and that is the last step of the debian install.
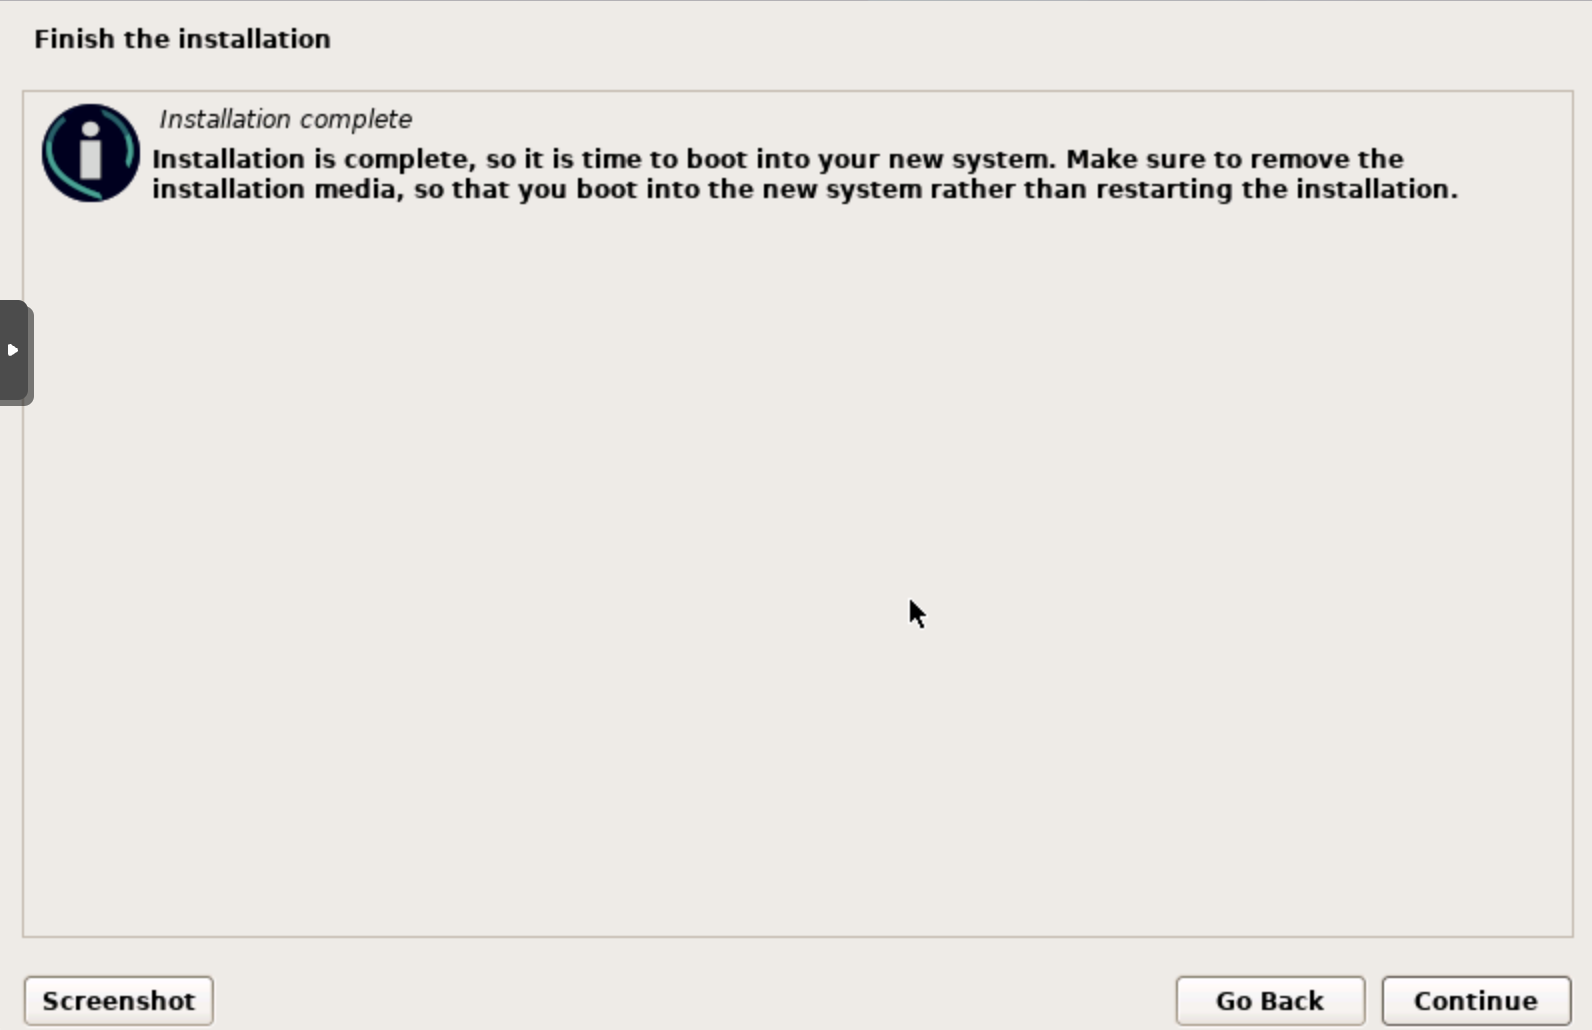
Reboot and login as the user you defined earlier.
Installing wazuh SIEM
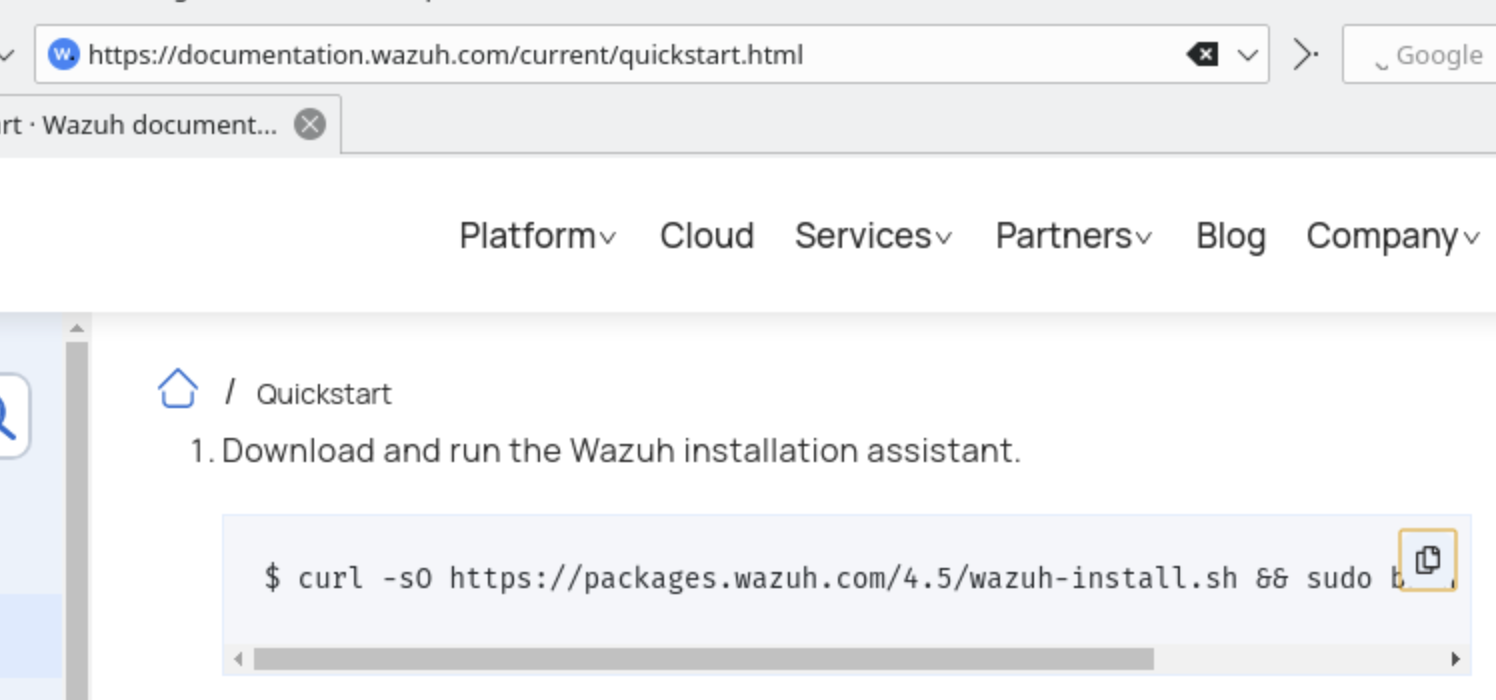
The first thing you have to do is visit https://documentation.wazuh.com/current/quickstart.html#installing-wazuh and copy the command shown.
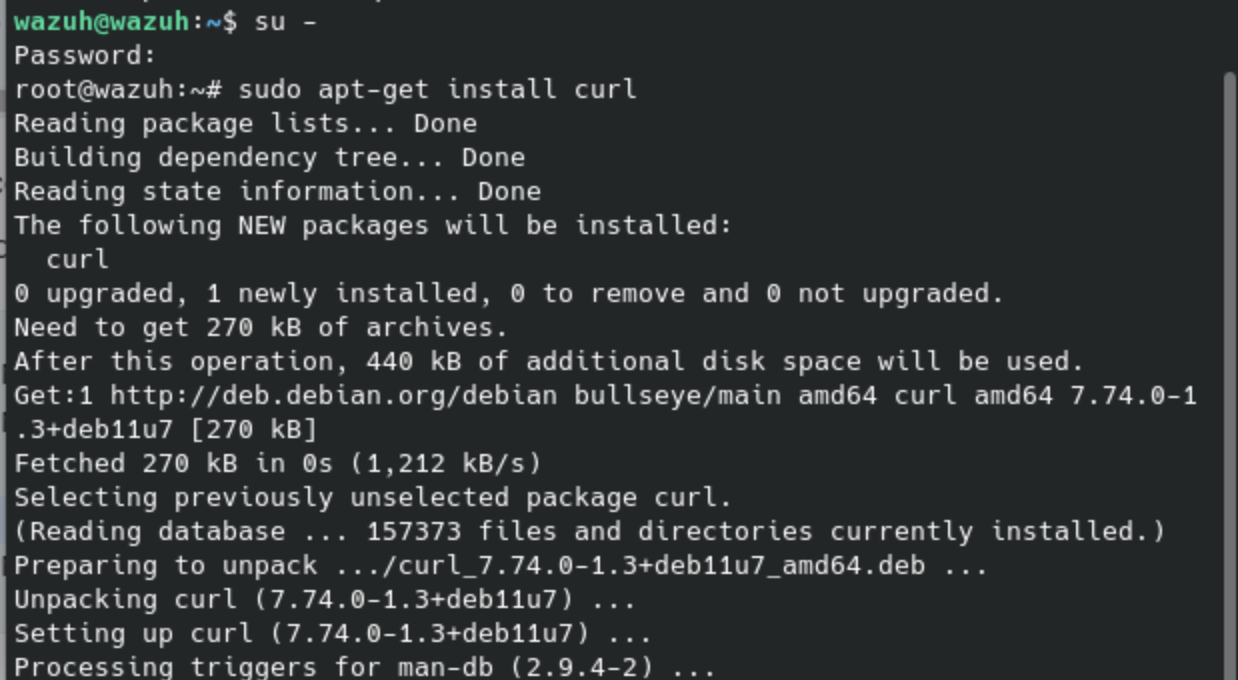
There is one more task before the install process can commence - debian by default does not have curl installed so we need to do that.
You can copy the commands below to get it started.
# first we become root so that we can install packages
su -
# next install curl
apt-get install curl
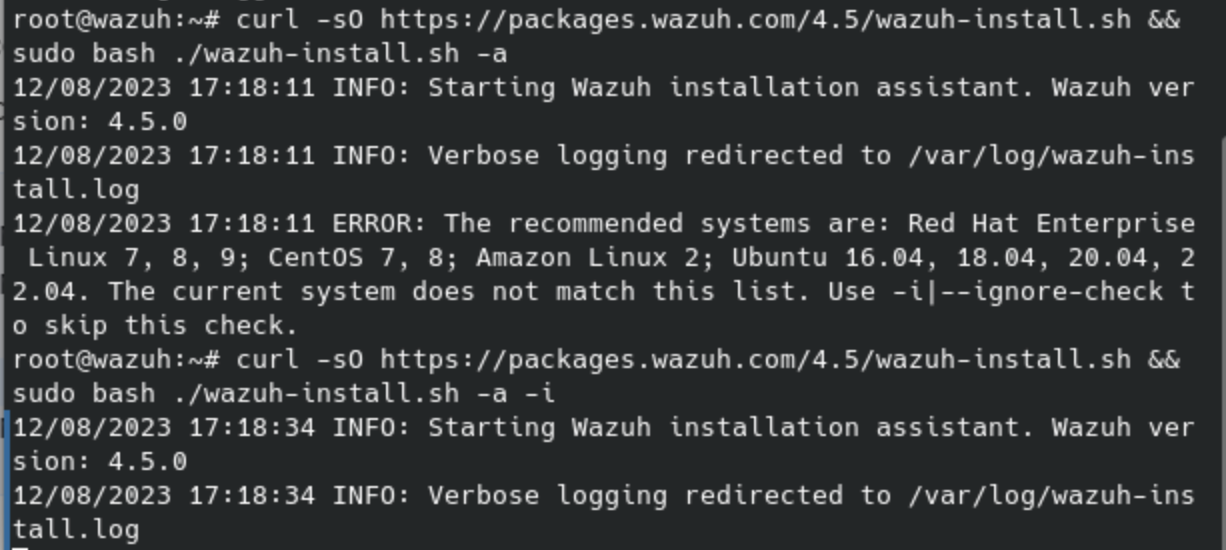
# and install wazuh
curl -sO https://packages.wazuh.com/4.5/wazuh-install.sh && sudo bash ./wazuh-install.sh -a
In the end, there will be a username/password combination for you to copy and paste into your password manager.
You are using a password manager, right?! RIGHT!?

Now the installation is finished and if all went well wazuh is running on your machine.
How do you access it?!
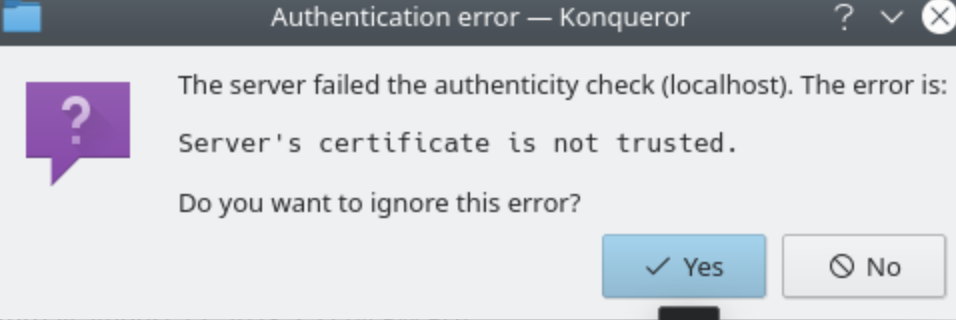
Glad you asked, you can either open the browser on the SIEM machine - or if you want to connect remotely type https://<IP_of_your_wazuh_machine>.
There will be an error telling you that the Server's certificate is not trusted which is expected because it does not come from a certificate authority (CA).
You can safely ignore this error and will be greeted by the login screen of wazuh.
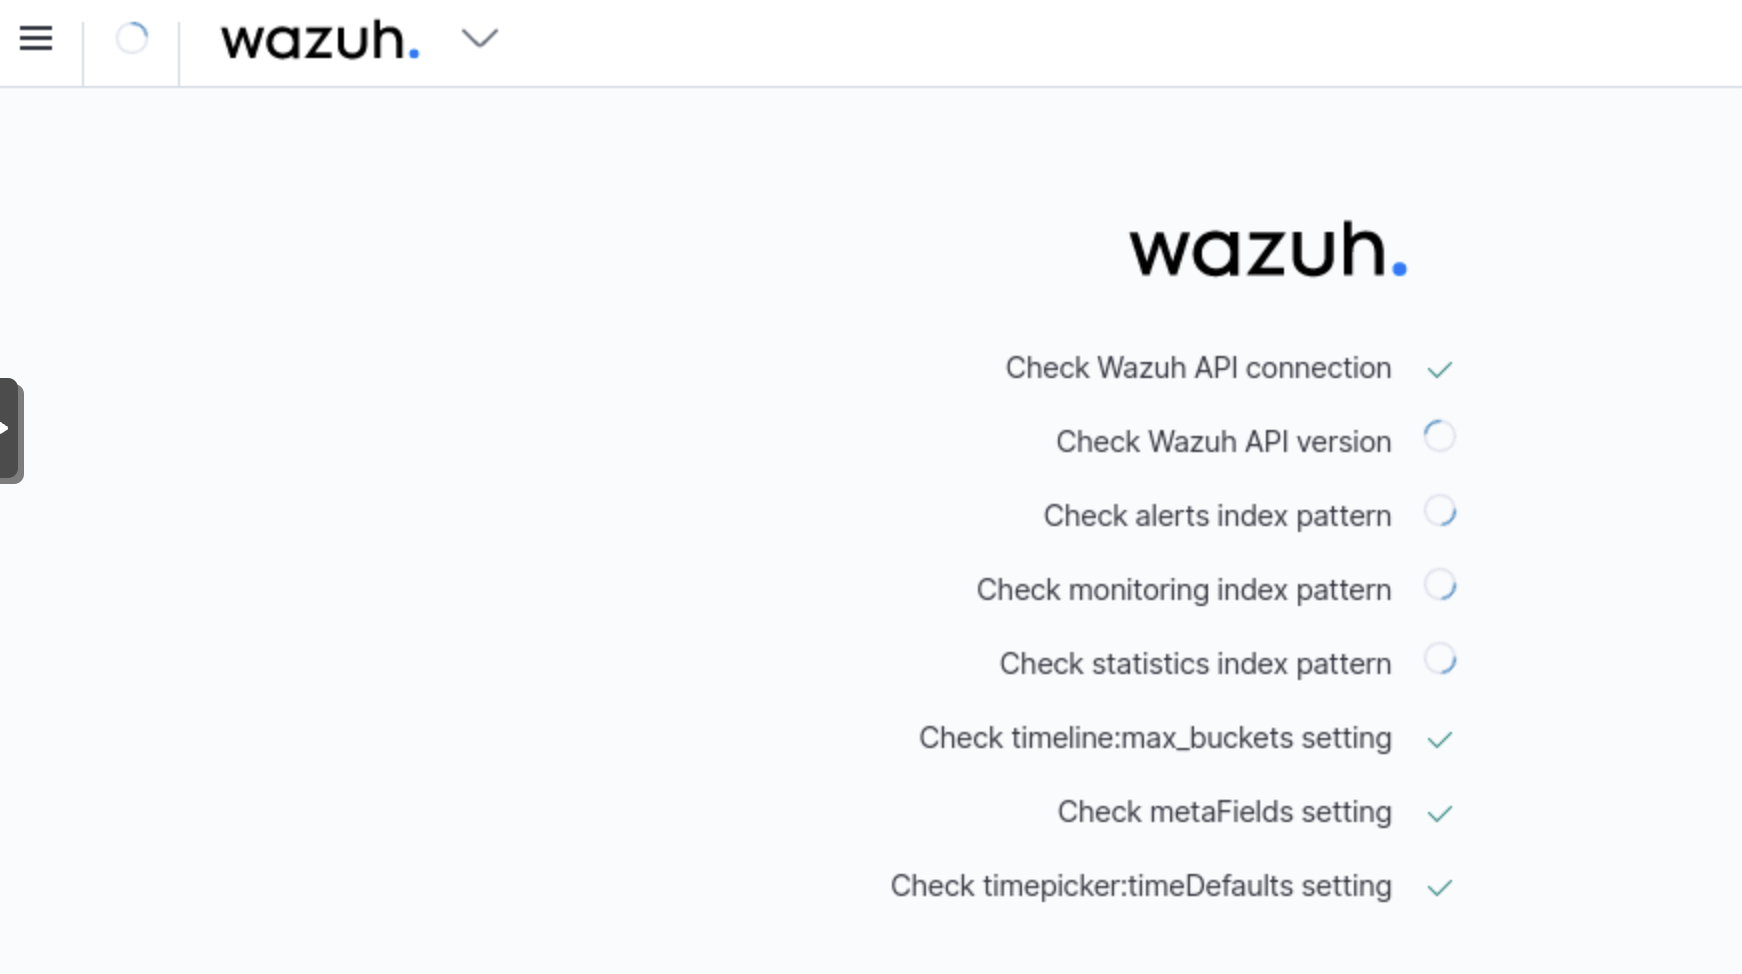
After the login wazuh checks the availability of it's APIs and services and once that is done you can see the wazuh dashboard.
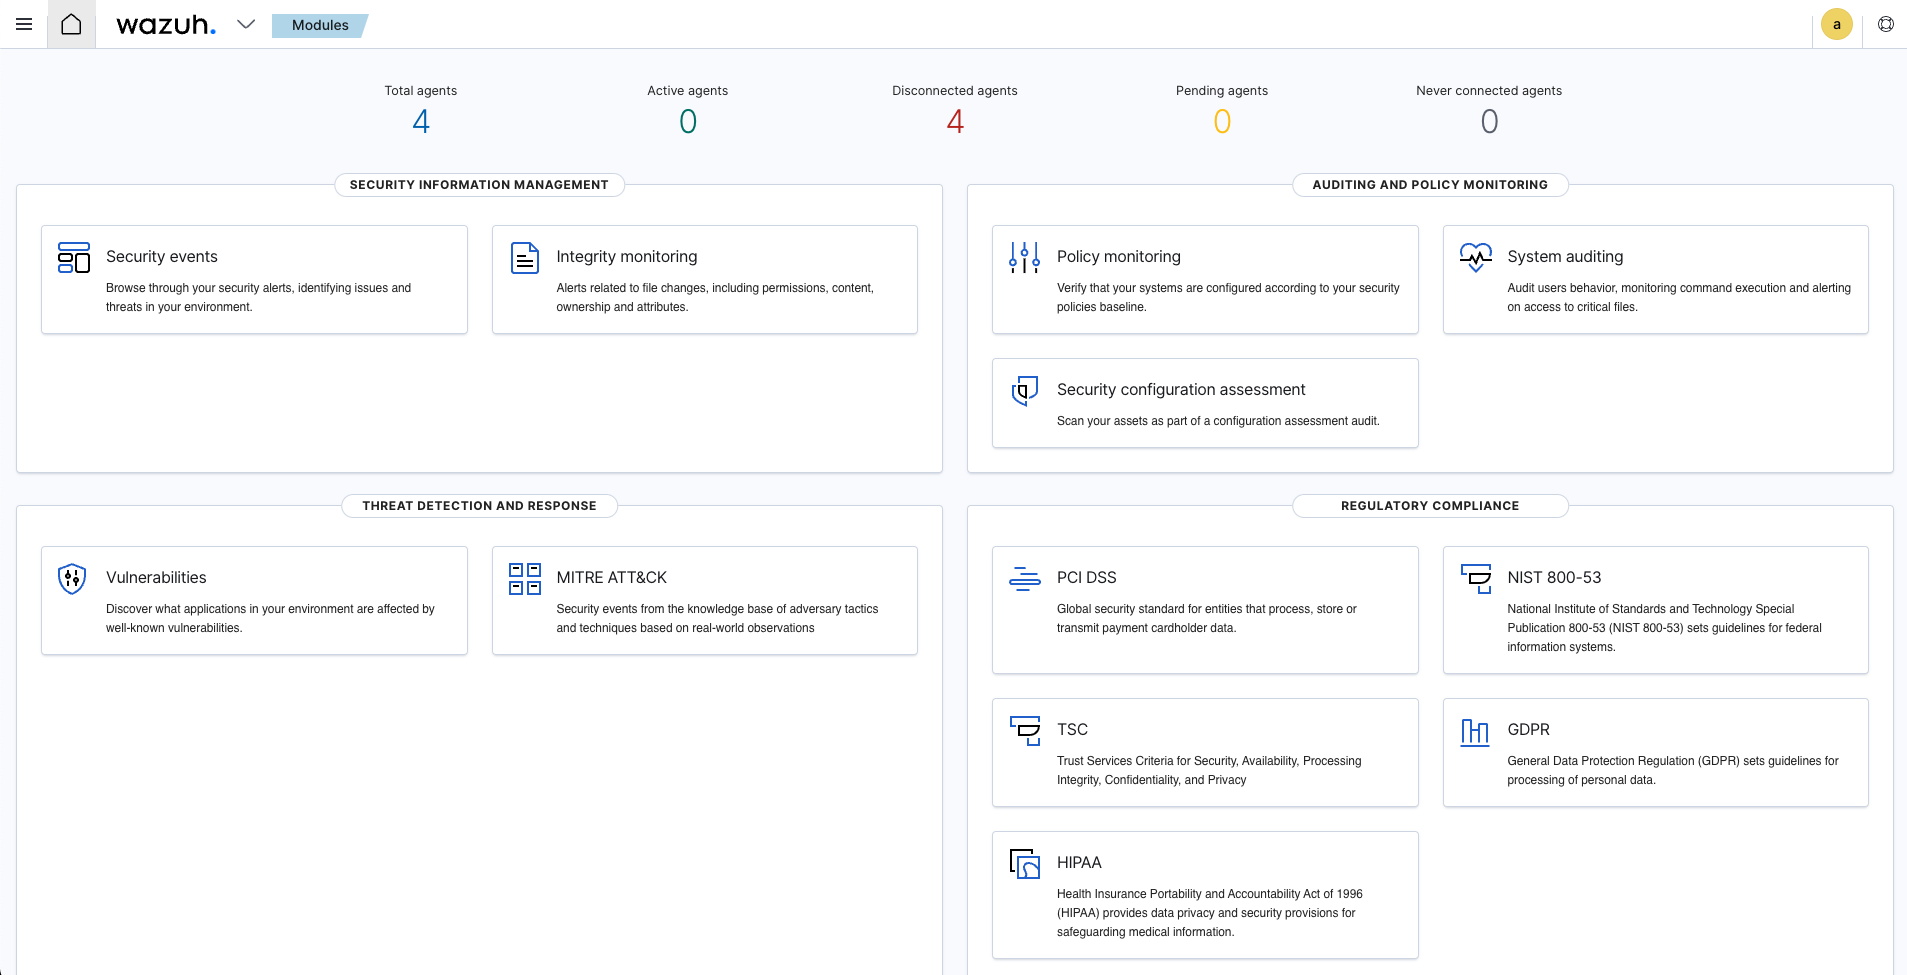
The dashboard looks like this and while yours will not have any agents registered you can do that next.
installing wazuh windows agents

You will now install a wazuh agent on a windows machine first
Start the Windows VM and open the following URL in your browser
We will use the Graphical User Interface (GUI) of the wazuh agent to set everything up
You can get the installer here:
https://packages.wazuh.com/4.x/windows/wazuh-agent-4.5.1-1.msi
You need administrative privileges to set everything up - keep that in mind.
Download and double-click that bad boy as if there is no tomorrow.
and then do the following:
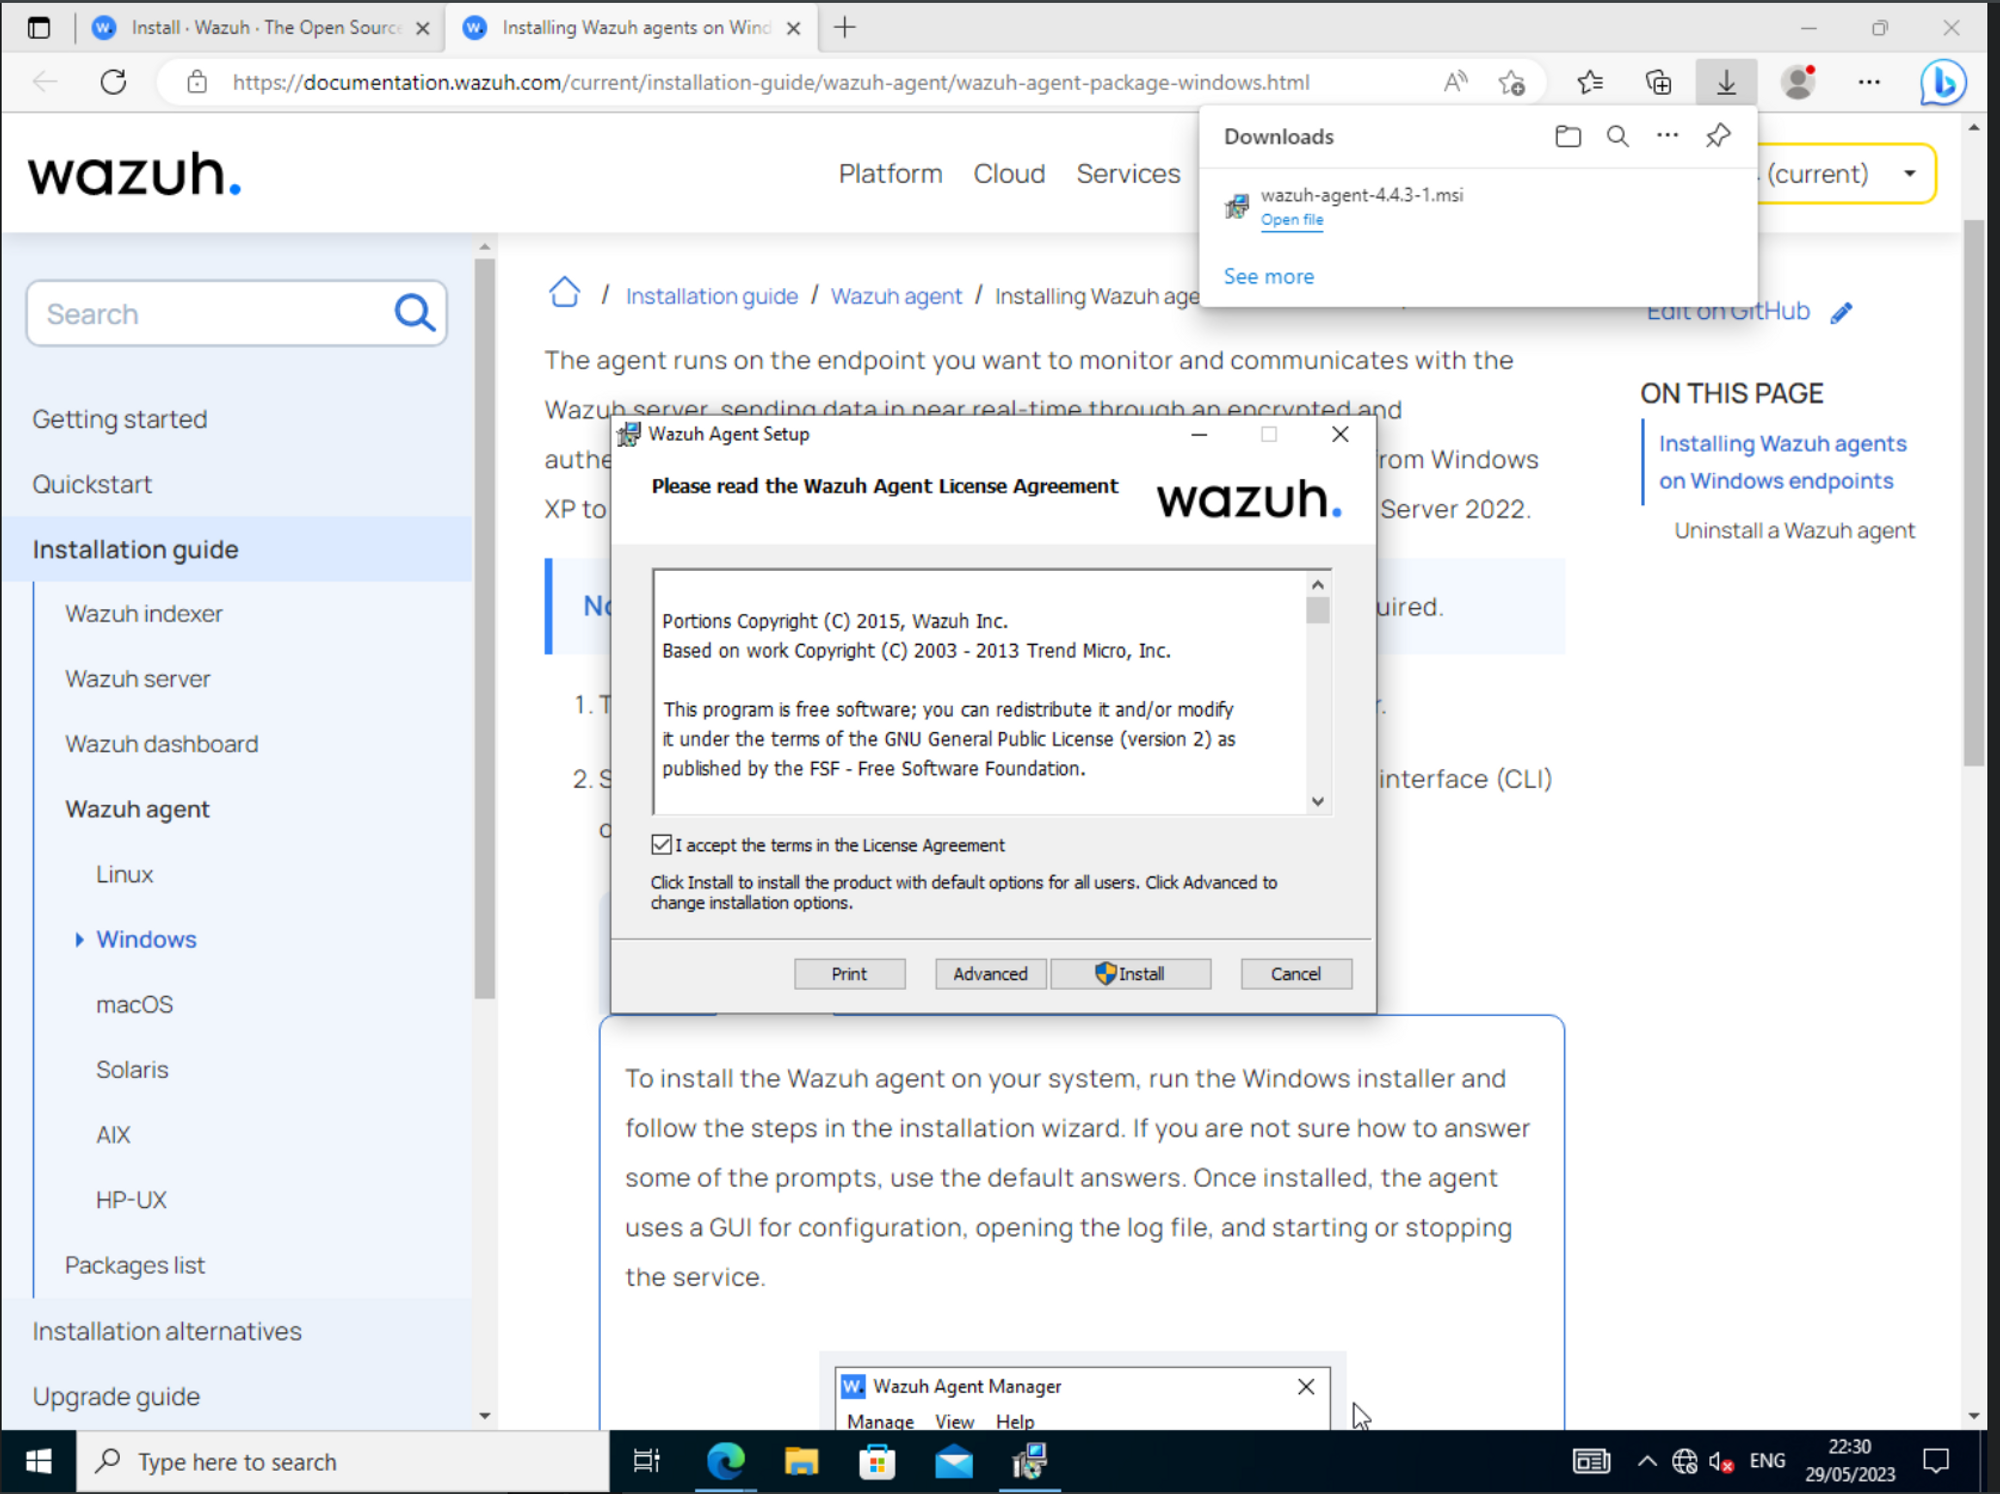
You can change the location of the installation via the “advanced” button
but generally, the “Install” button should be your best friend, so click that one
When the installation is finished there is a checkbox that you can try to click on - “Run Agent configuration interface”
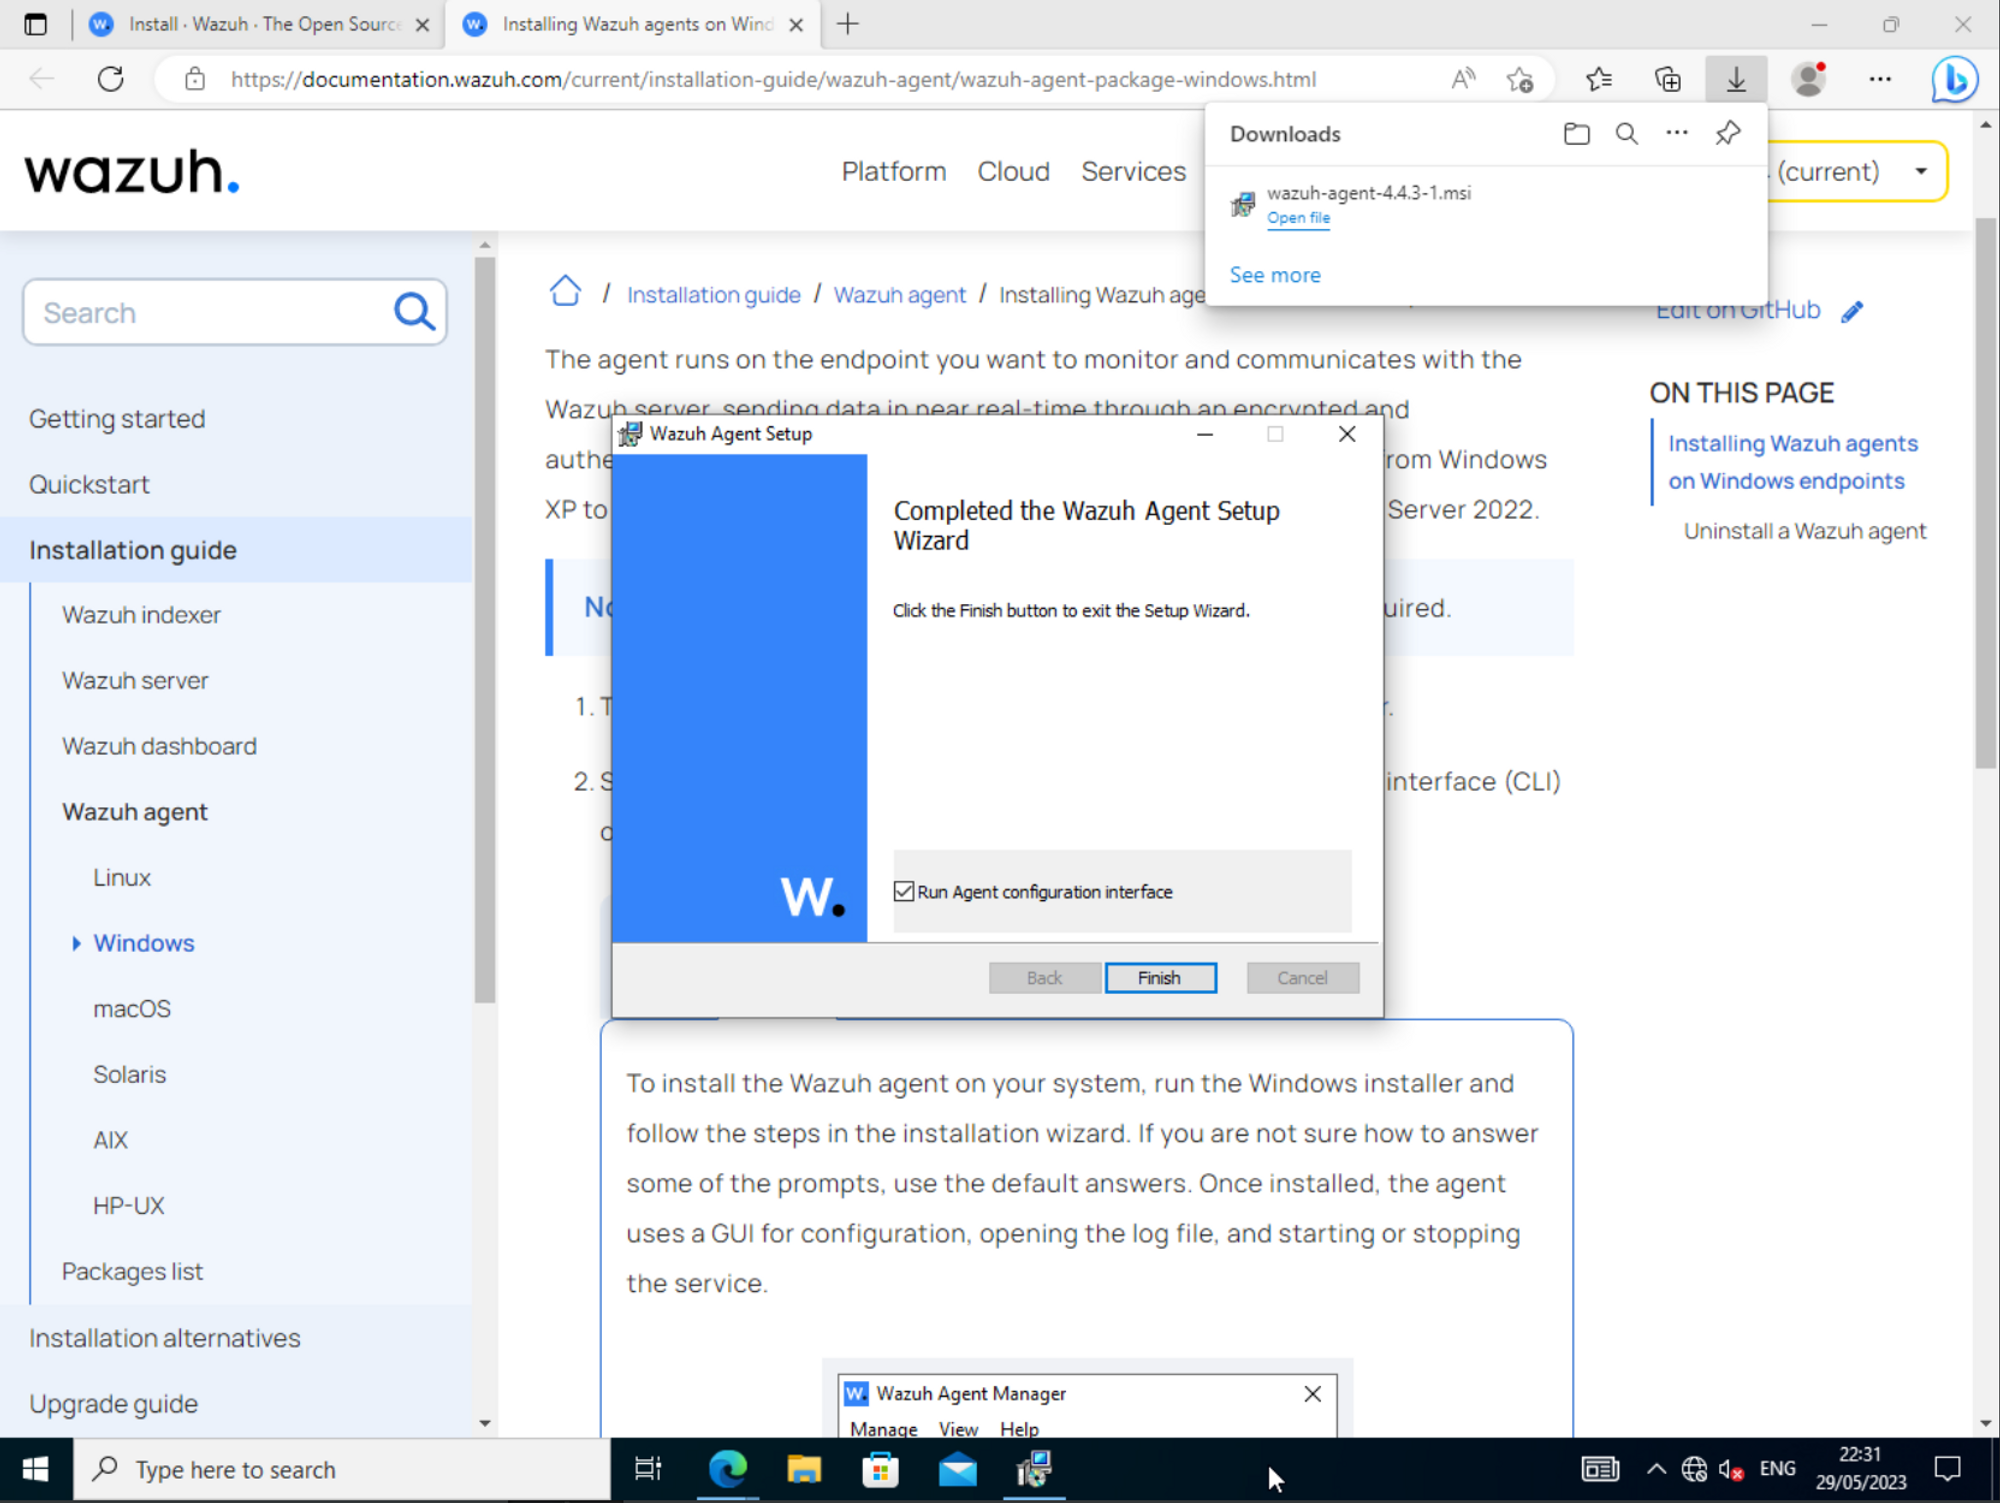
For me that sometimes works and sometimes does not, here is a trick that always works:
open C:\Program Files\ossec-agent
and double click on win32ui.exe
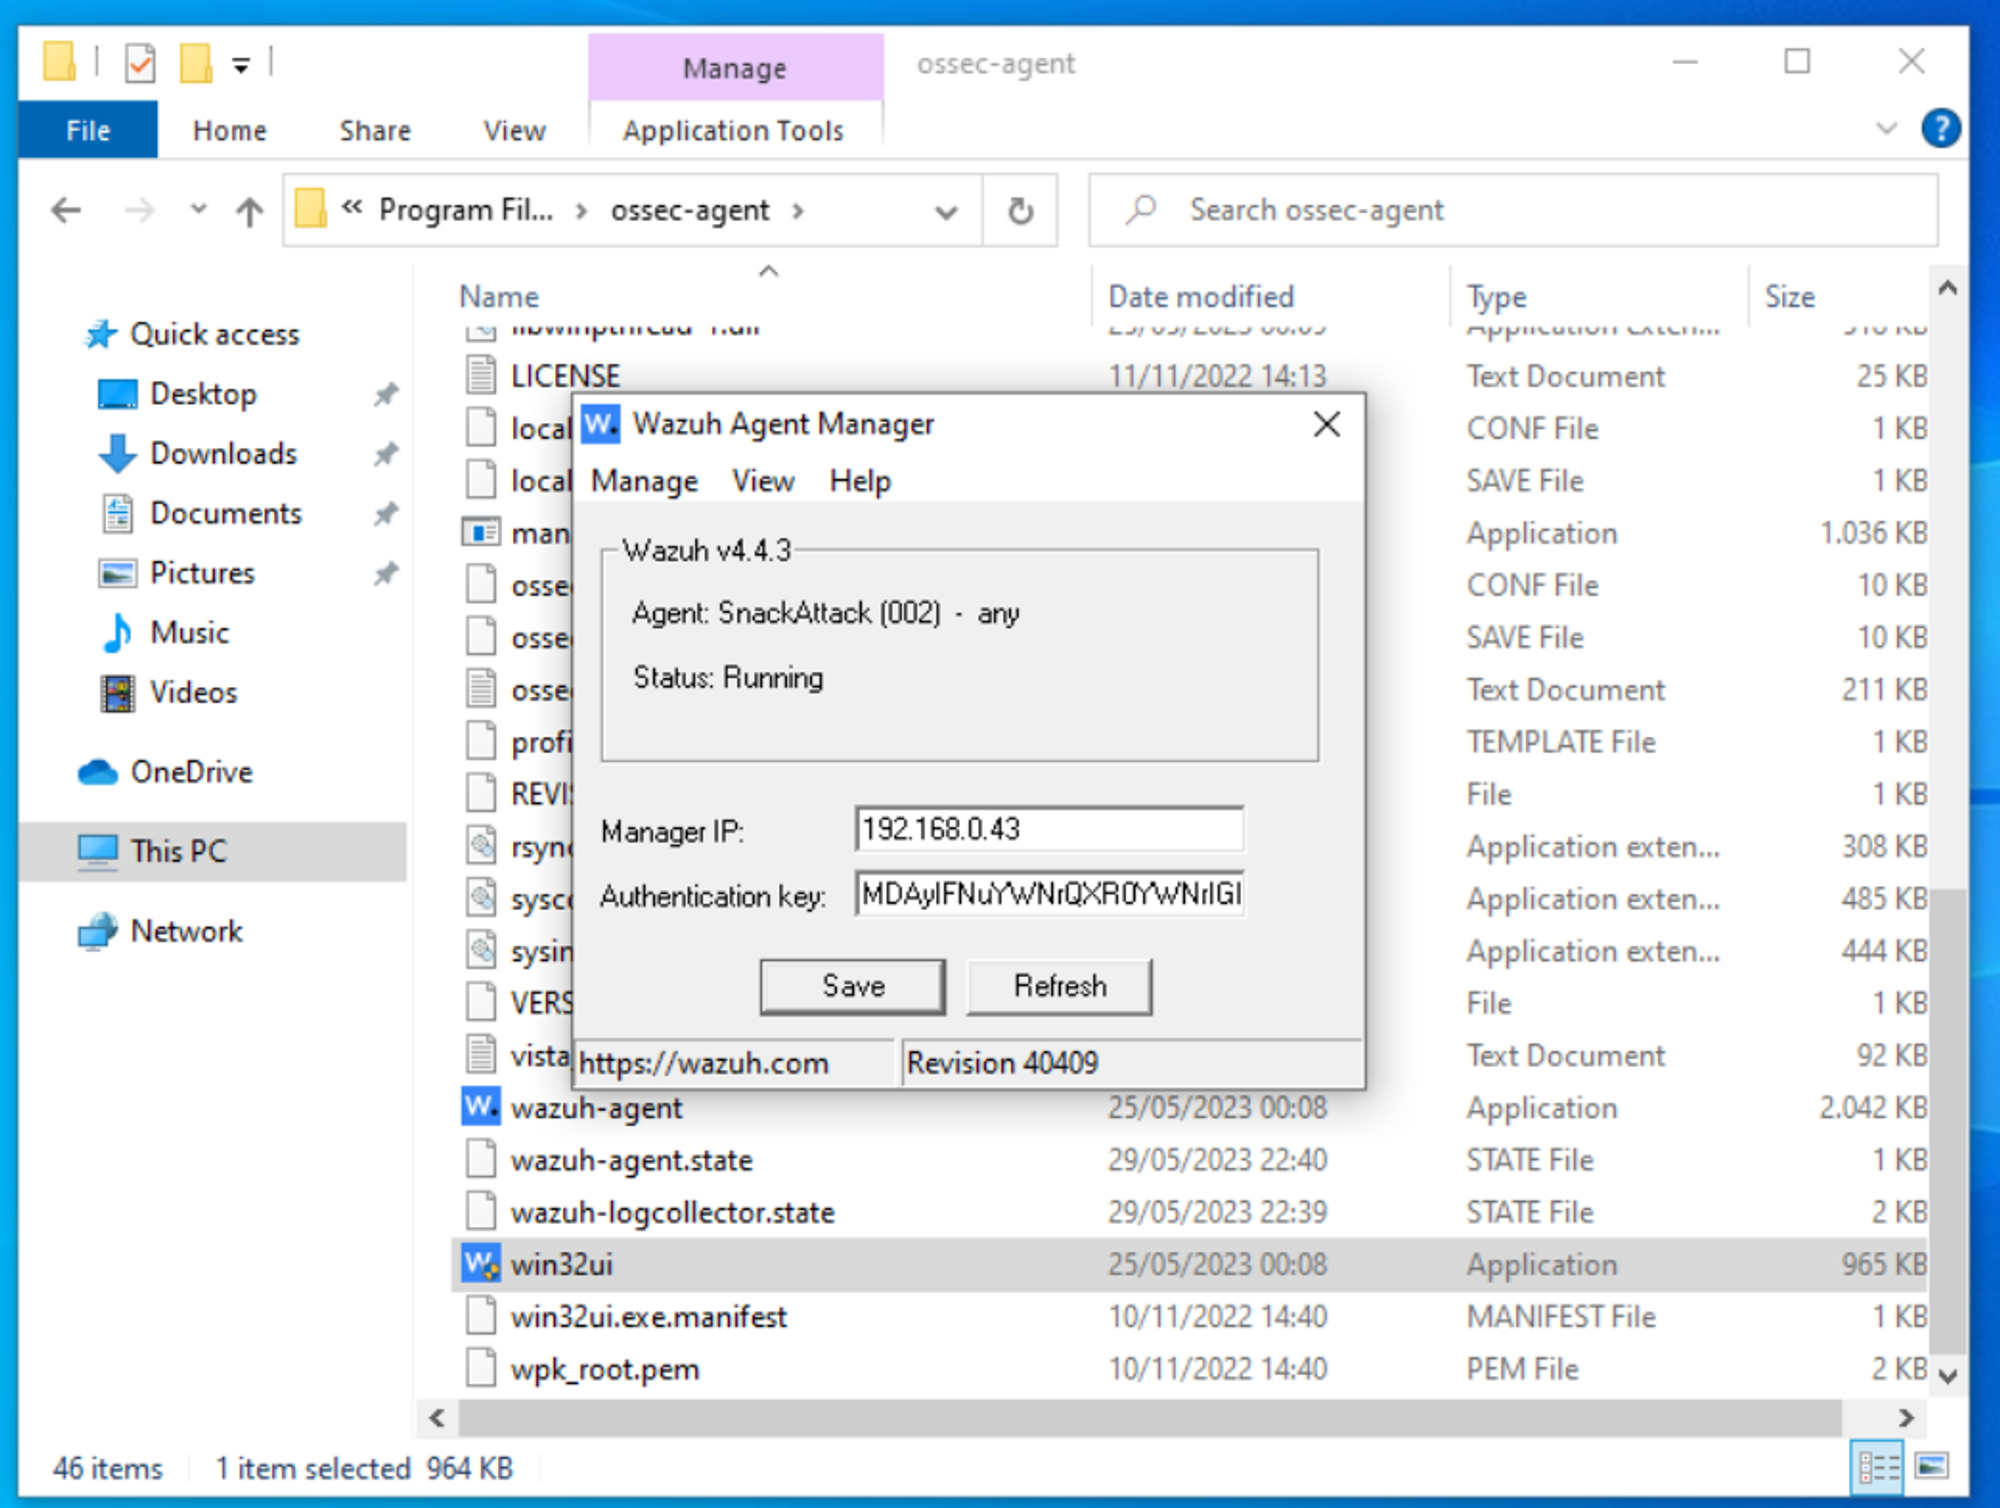
That will spawn a management window where you enter the IP of your SIEM server, click on Save and pray that you get an Authentication Key back
IF not…
You need to make sure that the wazuh-server is running
- that the machines are on the same subnet / have a working connection
If all works:
You should see the agent in your wazuh dashboard if all went well 🥳🎊
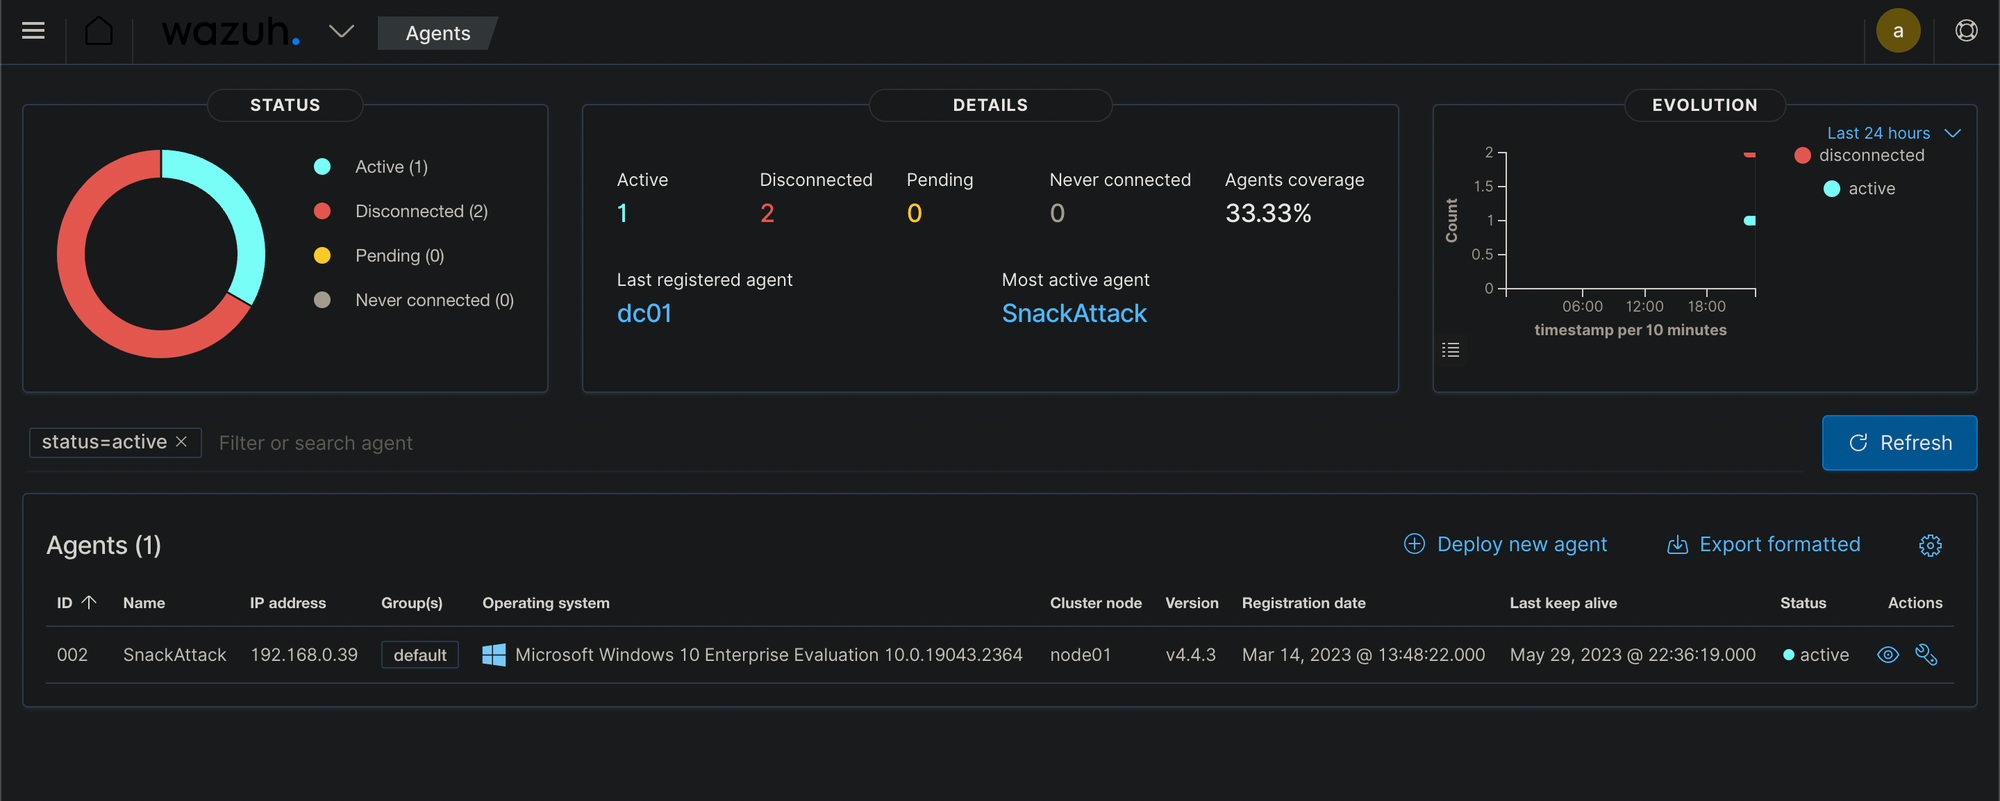
🥳 1 down, 1 to go for today.
Next up is linux.
install linux agent
Installing the agent on a linux system depends a little on which linux distro you are running.
The process starts like this:
and click on the correct linux 🐧 package manager:
Hint:
Amazon Linux / CentOS → Yum
Debian-based (e.g. ubuntu/kali) → APT
Container (Alpine) → APK
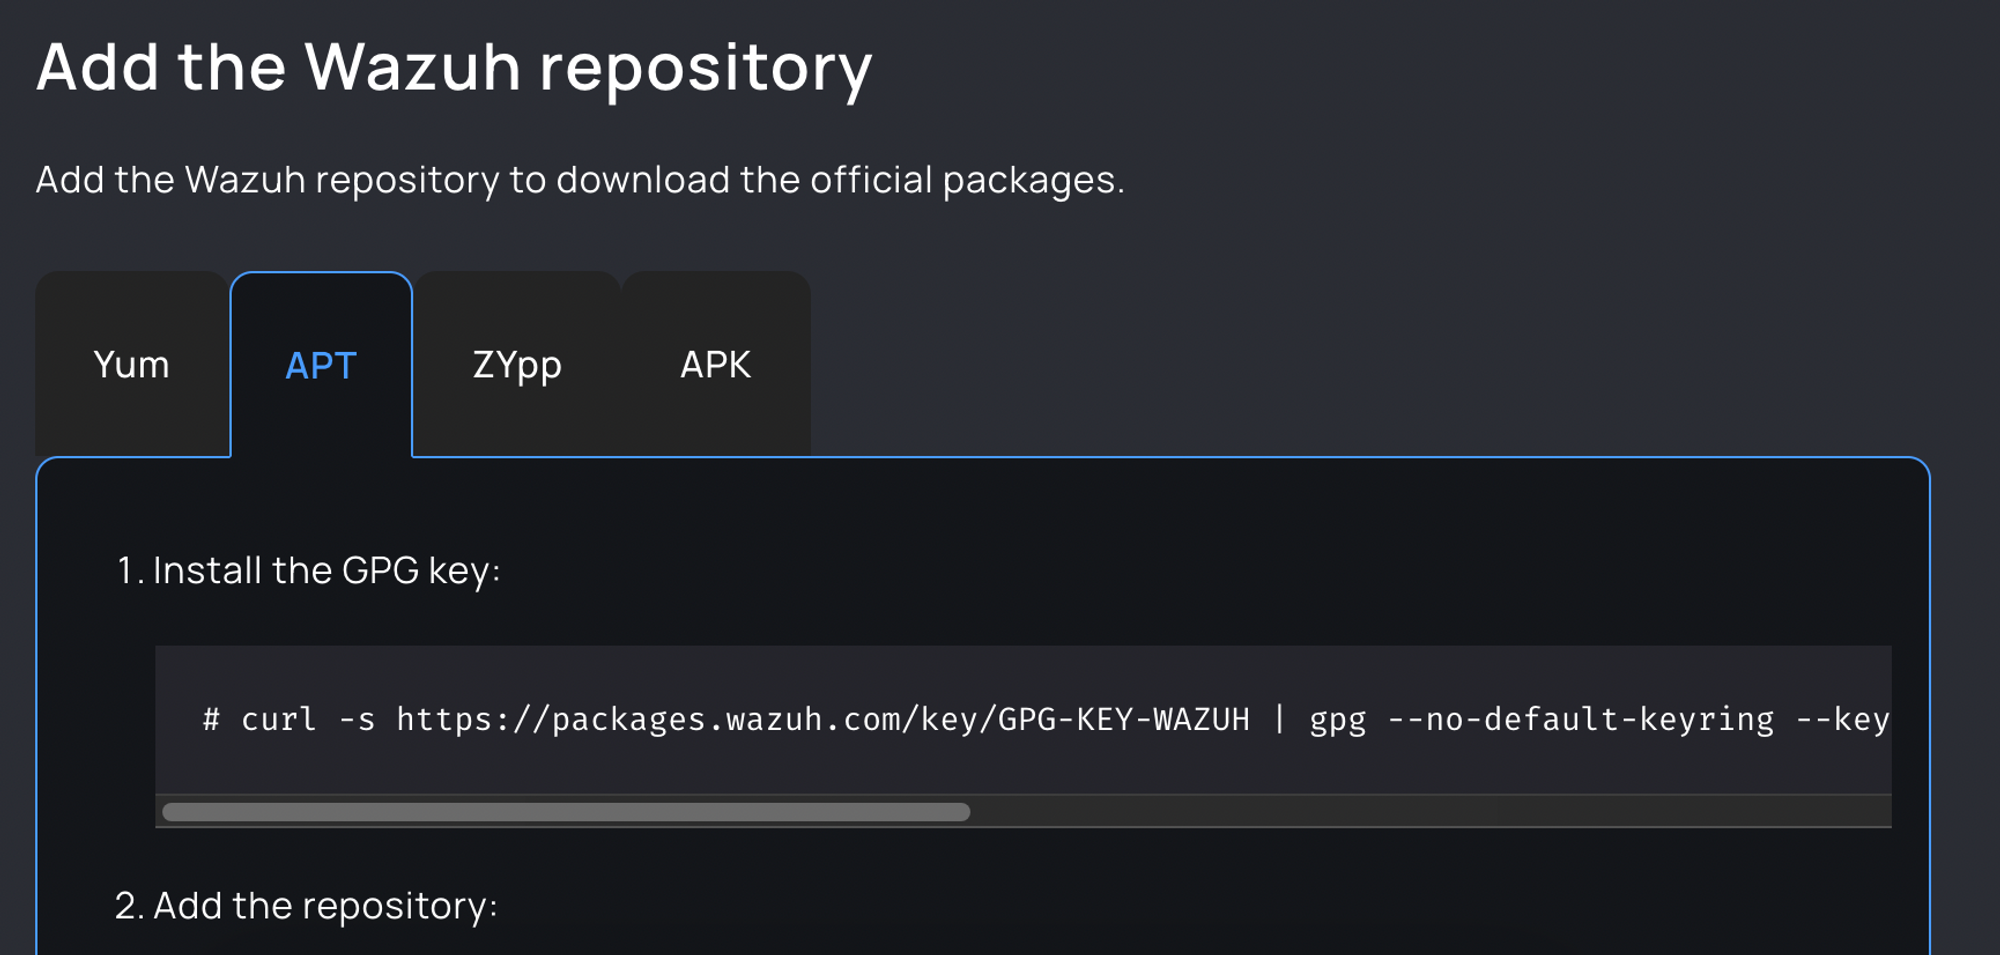
I will show the process with a debian box, so I choose apt.
Now we need to follow the steps for APT in my case (ubuntu/debian)
copy the first command and paste it into your terminal inside the linux VM
then the 2nd
and so on
Don’t forget to press Enter in between 🤓
But what do the commands do?!
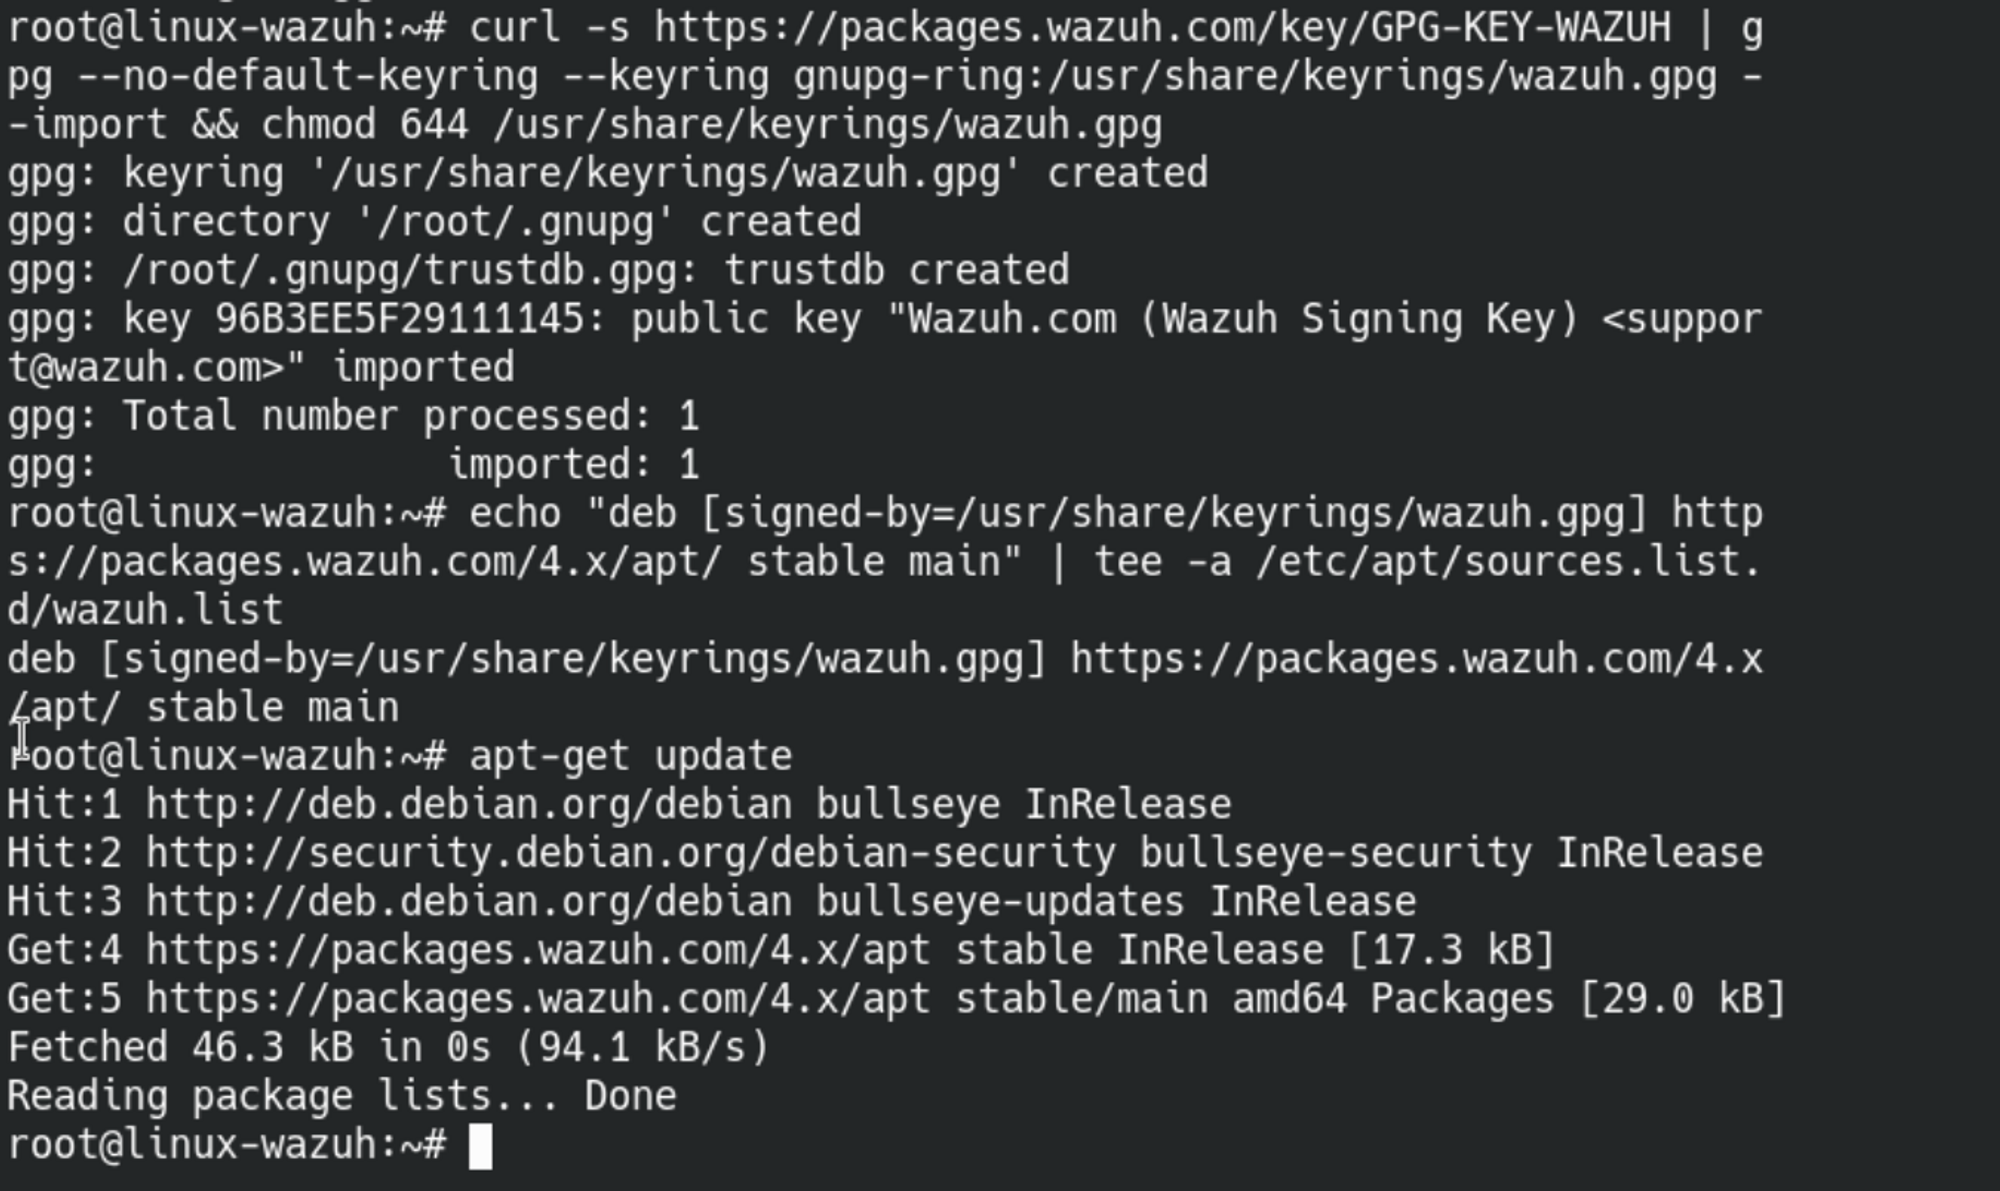
First you add the public encryption key to your linux key store (keyring)
Then you add 2 new repositories to your linux source list
The 3rd step updates your local package cache so that you can now use
apt to install the wazuh agent.
There is a teeny-tiny BUT though…
In order to properly connect your SIEM and the agent you need to feed a variable called WAZUH_MANAGER with the SIEM IP into the command
EXCUSE ME - WHAT ARE YOU TALKING ABOUT MR MAIKRO?!
There is some black magic going on behind the scenes that automagically connects your wazuh agent with the SIEM server 🪄
BUT only if you provide the IP address of the server:
WAZUH_MANAGER=<IP_HERE> apt-get install wazuh-agent

You can however also register the agent after installing by editing
/var/ossec/etc/ossec.conf
and adding the Manager_IP between the address tags:
<client>
      <server>
        <address>MANAGER_IP</address>
                [...]
If all went well you can now add the agent service to the auto start services by running three commands:
systemctl daemon-reload
systemctl enable wazuh-agent
systemctl start wazuh-agent
Once that is done you should see the agent appear in your wazuh dashboard

🔥 CONGRATULATIONS 💙
You installed two wazuh agents plus a SIEM in your HomeLab 🎉